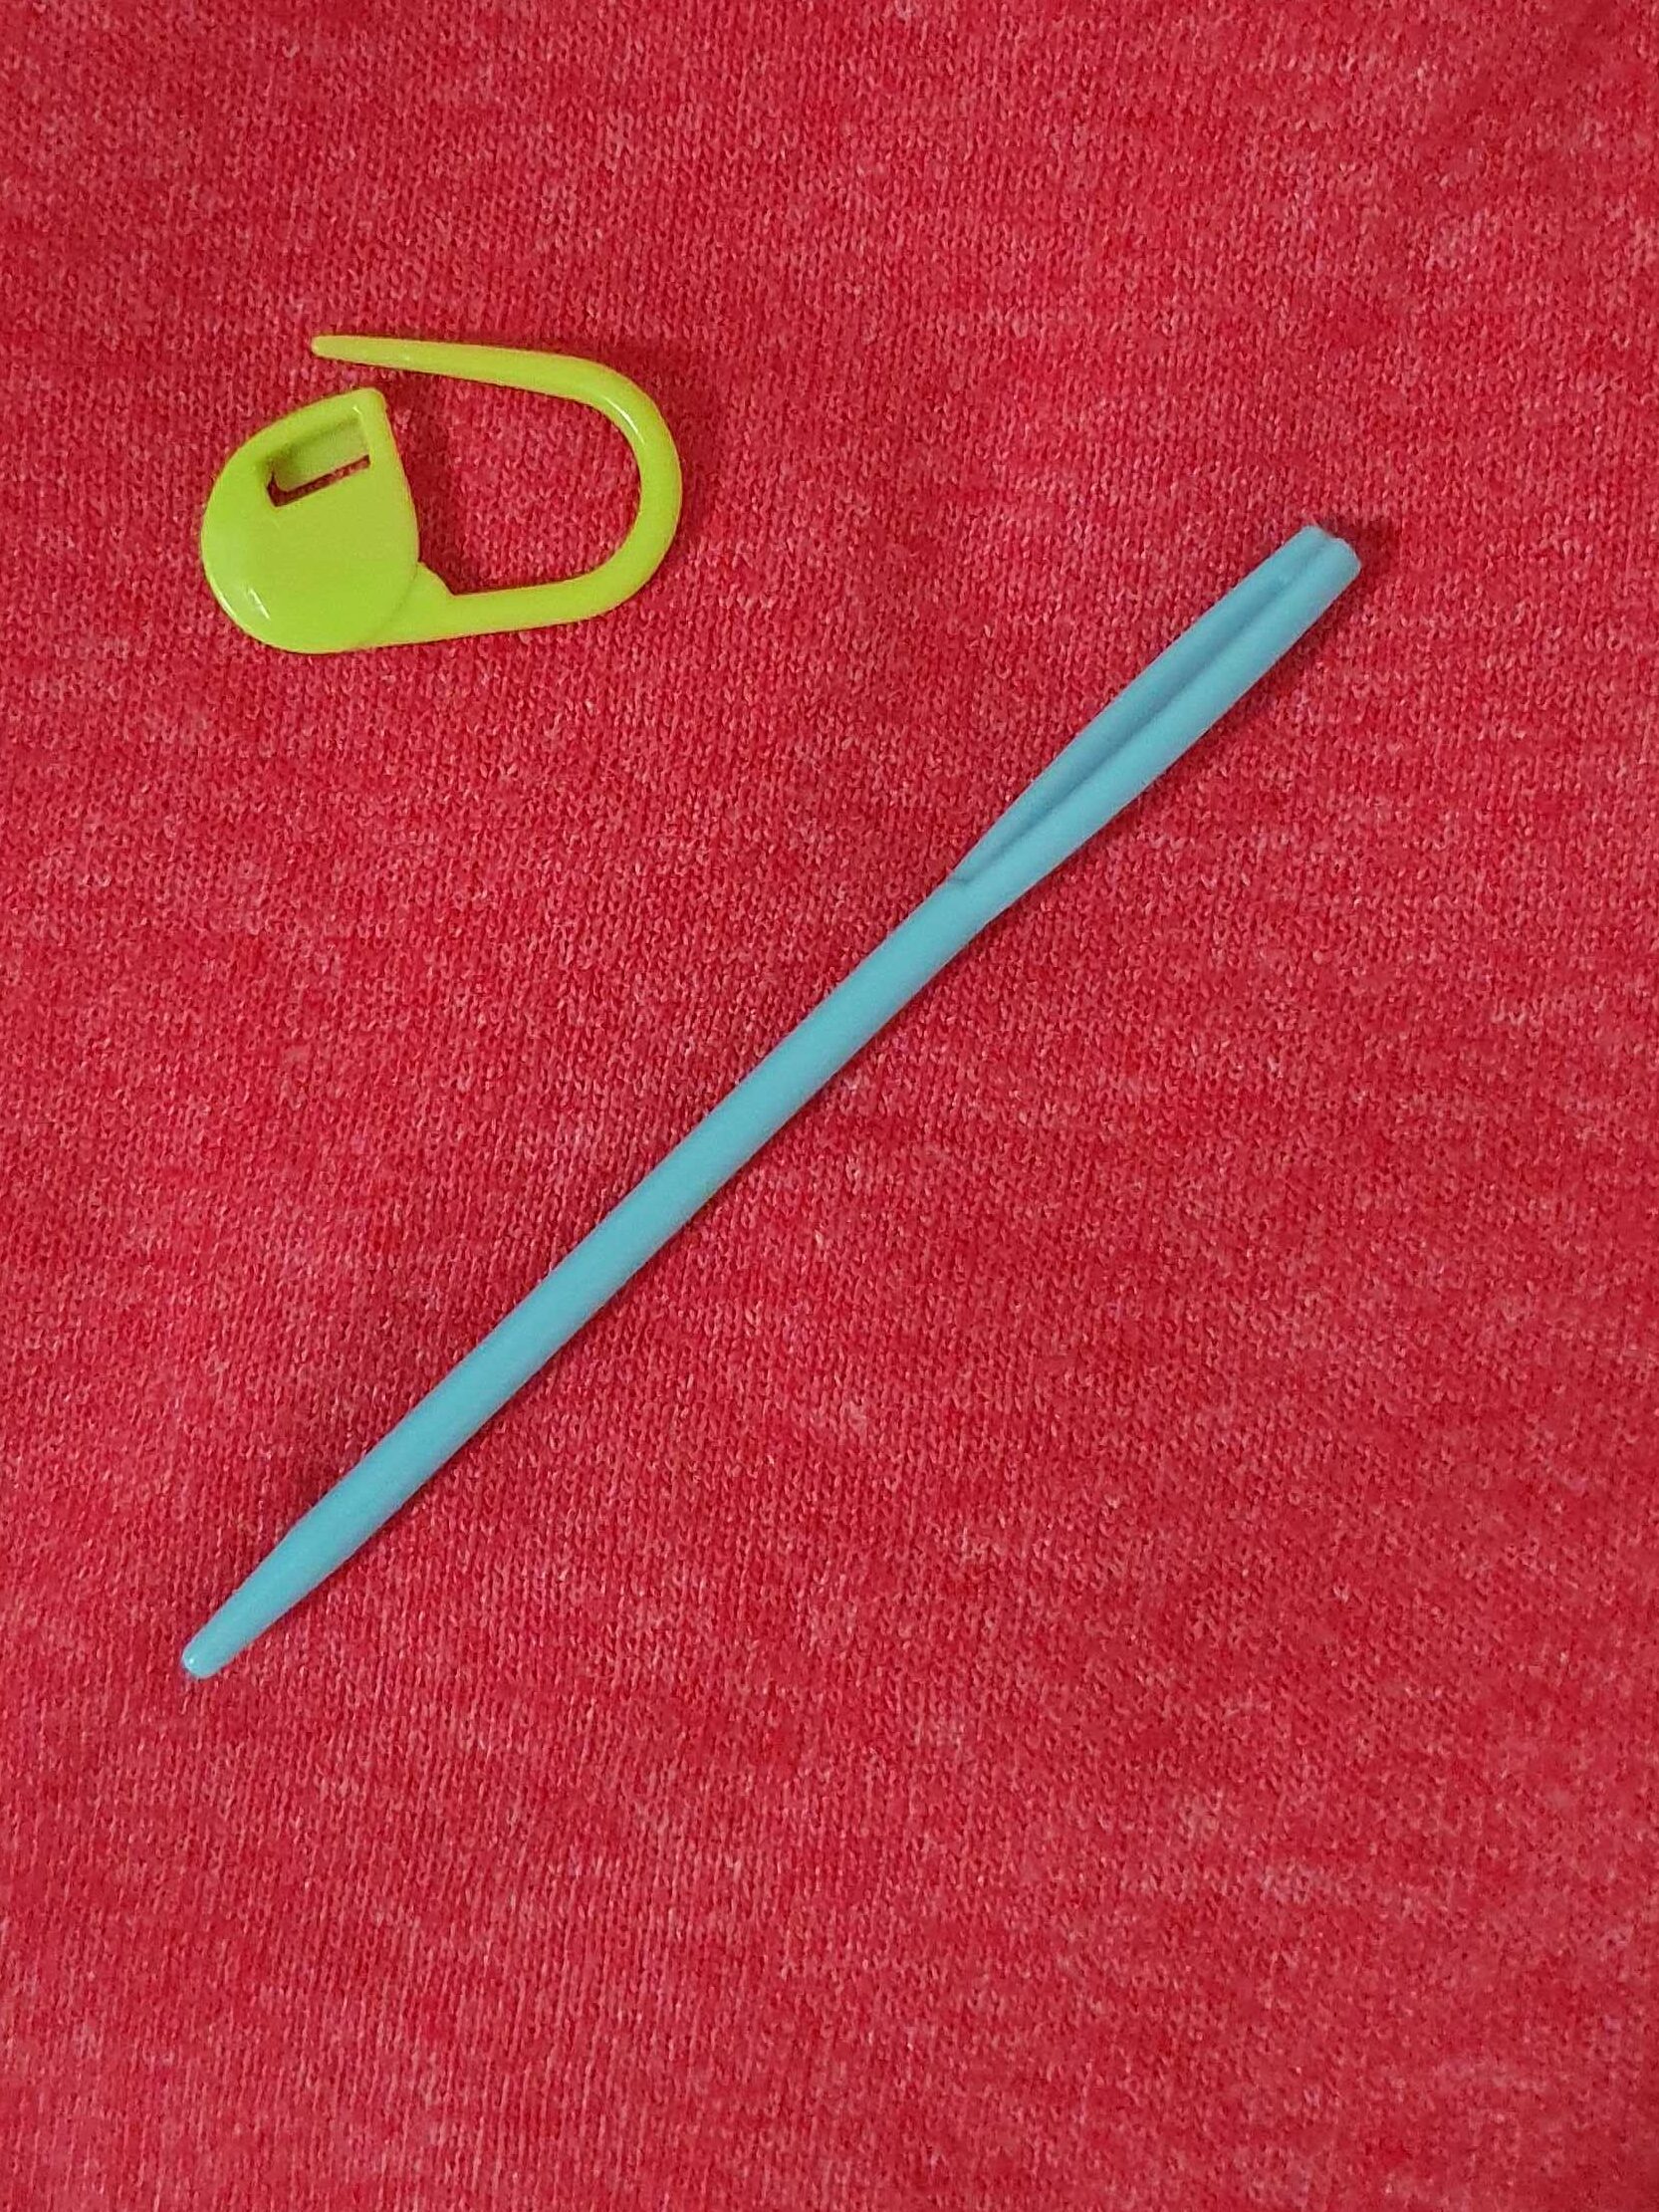
What Are These Weird Plastic Bits in Your Kit?
You open your new crochet kit and there they are: colorful plastic clips, rings, or even tiny pins. They’re not part of the yarn, and they’re definitely not buttons—so what are they? They’re stitch markers!
But here’s the secret: these small tools can make a big difference in your crochet journey. Stitch markers help you stay organized, avoid mistakes, and save yourself from the dreaded frogging (ripping out stitches). Once you learn how to use them, you’ll wonder how you ever crocheted without them.
Let’s break it down: what stitch markers are, why they matter, and how to start using them with confidence.
Table of Contents
- What Are Stitch Markers?
- How to Use Stitch Markers (Step-by-Step)
- Where Stitch Markers Help Most
- Quick Tips
- Wrap-Up
What Are Stitch Markers?
Stitch markers are small tools used to mark specific points in your crochet work. Think of them as bookmarks for your yarn—visual reminders that help you stay on track as you stitch.
Types of Markers
There are several types of markers, and they each serve a slightly different purpose:
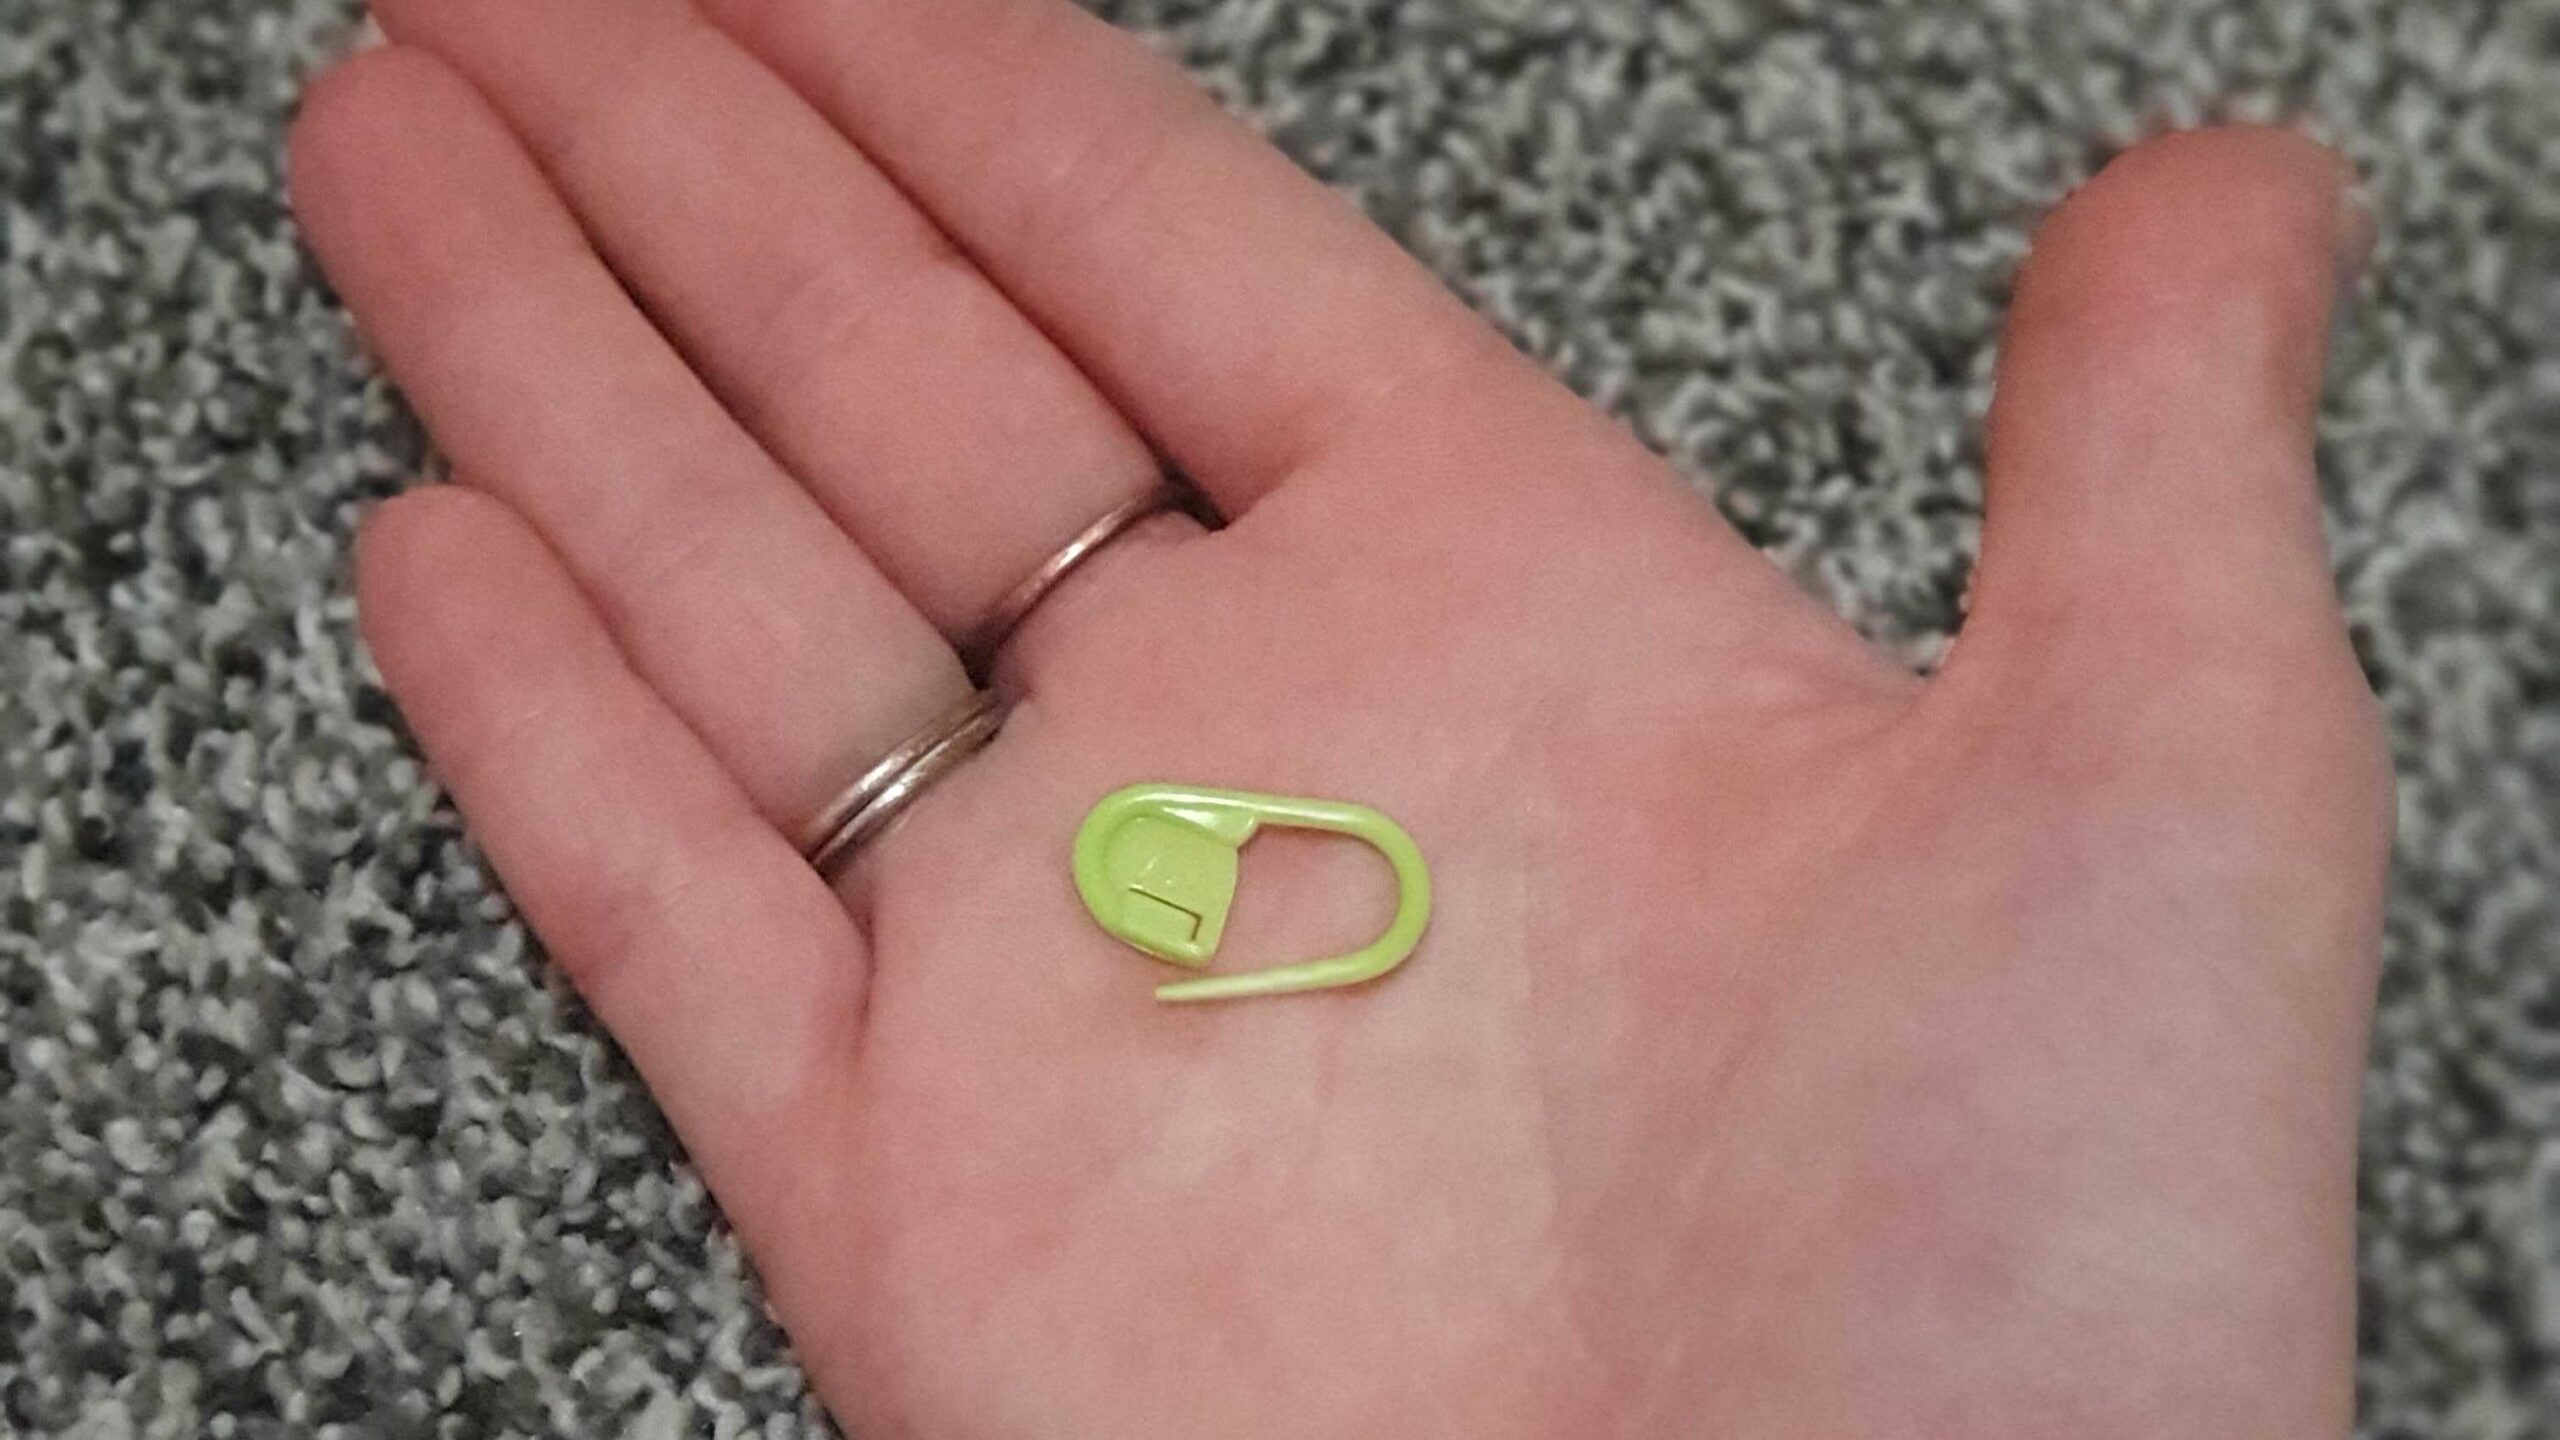
- Locking stitch markers – These resemble tiny plastic safety pins. They can be opened and closed, making them perfect for crochet.
- Ring stitch markers – Solid rings that slide onto your needle or hook. They’re more common in knitting but can be useful in crochet if used carefully.
- DIY stitch markers – You can also make your own from things like safety pins, paperclips, bobby pins, or short pieces of contrasting yarn.
Why Stitch Markers Are Helpful
Stitch markers can:
- Mark the beginning of a round or row
- Help you remember where to increase or decrease
- Indicate where a pattern repeat begins
- Reduce mistakes and make it easier to check your work
How to Use Stitch Markers (Step-by-Step)
Where to Place Them
Here are some of the most useful places to insert stitch markers:
- Start of the Round: Especially in projects worked in the round, like amigurumi or hats, place a marker in the first stitch of each round to keep track.
- Pattern Repeats: Use markers to divide sections of repeating stitch patterns—like shells or clusters—so you can easily count and track them.
- Increases and Decreases: Marking where to increase or decrease can help keep shaping even and symmetrical.
How to Insert and Remove Stitch Markers
- To insert: Slide a locking marker under both loops of the stitch you want to mark and close it.
- To remove: Unlock the marker and gently pull it out before crocheting the marked stitch.
Important: Make sure the marker surrounds the stitch—it should not be worked into the stitch. You don’t want to crochet it in by accident!
Tips for Success
- Move them up as you go: As you finish a round or section, move the stitch marker to the new location to keep things up to date.
- Use different colors: Assign colors to specific tasks—blue for the start of a round, red for pattern repeats, green for increases, etc.
- Double up when needed: Place two markers side-by-side in super important spots like a turning point or corner.
Where Stitch Markers Help the Most

Stitch markers shine in specific types of projects. If you’ve struggled with any of these before, stitch markers might be the answer.
Amigurumi
In amigurumi, you often work in continuous spirals. Without a visible start or end to each round, it’s easy to lose your place. A stitch marker in the first stitch of each round solves this problem.
Granny Squares
Mark chain spaces, corners, or color changes in granny squares to keep your design crisp and symmetrical.
Hats in the Round
When making hats from the crown down, stitch markers help you track increases and maintain even shaping.
Want to try these techniques? Use stitch markers in one of your next projects.
Get inspired and find beginner-friendly and advanced patterns here:
Get patterns here: [Insert link to Bugalicious Crochet patterns page]
Quick Tips for Using Stitch Markers
Use Color-Coded Markers
Assign different colored markers to different tasks. For example:
- Blue: Start of round
- Red: Increase or decrease
- Yellow: Stitch repeat
Color coding makes it easier to spot where you are in the pattern at a glance.
DIY Marker Ideas
Don’t have stitch markers? Try these household stand-ins:
- Scrap yarn tied into a loop
- Safety pin
- Paperclip
- Bobby pin
- Loop of embroidery floss
These options work great in a pinch and are especially useful if you need lots of markers for one project.
Keep Extras Handy
Stitch markers have a strange habit of disappearing—seriously, they vanish like socks in the laundry. Keep a few extras in a small tin or pouch so you’re never left hunting for one mid-project.
Wrap-Up
Stitch markers might be small, but they’re mighty. From keeping your rounds tidy to helping with intricate stitch patterns, these little tools make crochet smoother and less stressful.
Try them in your next project and see how much more confident and in control you feel. Whether you’re working on a cuddly doll, a classic granny square blanket, or a perfectly shaped hat, stitch markers can take your work to the next level.
Ready to put them to the test?
Get patterns here: [Insert link to Bugalicious Crochet patterns page]