Table of Contents
Method 1: Making Pom Poms with a Pom Pom Maker
Method 2: Making Pom Poms with Cardboard
Method 3: Making Pom Poms with Your Fingers
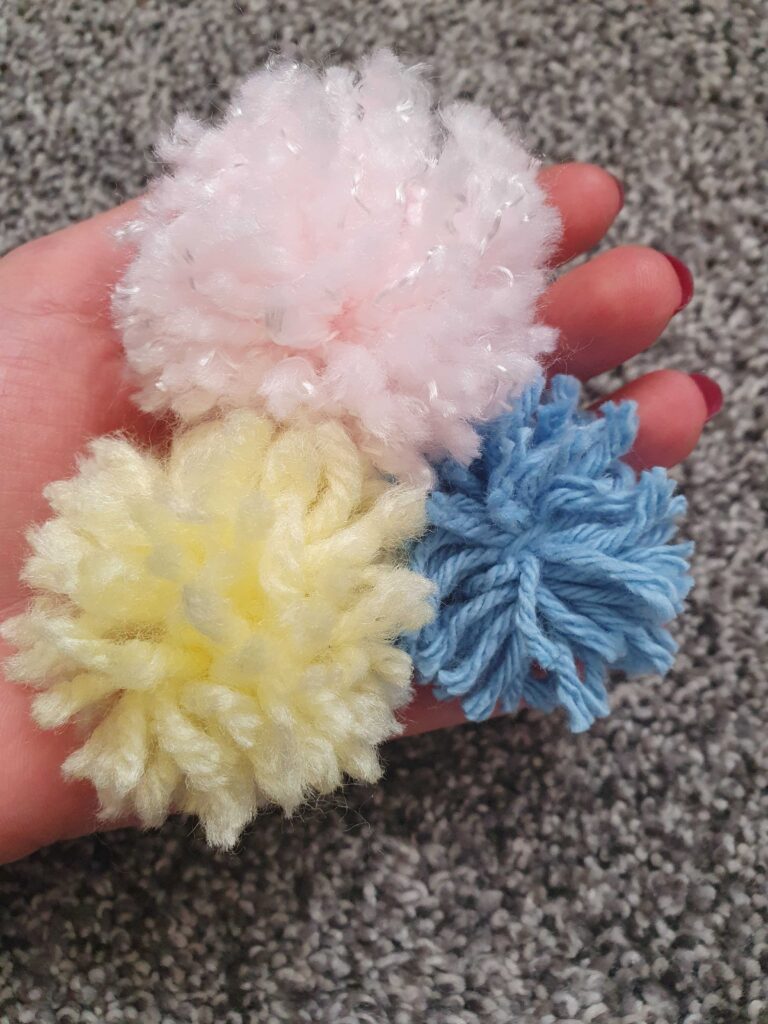
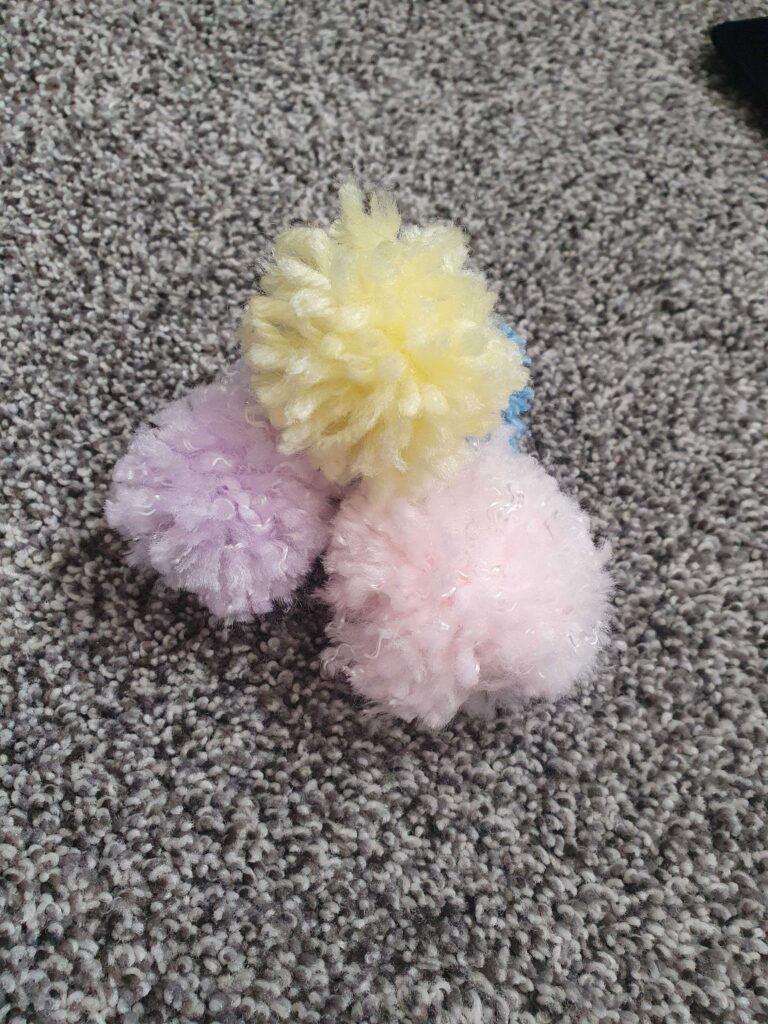
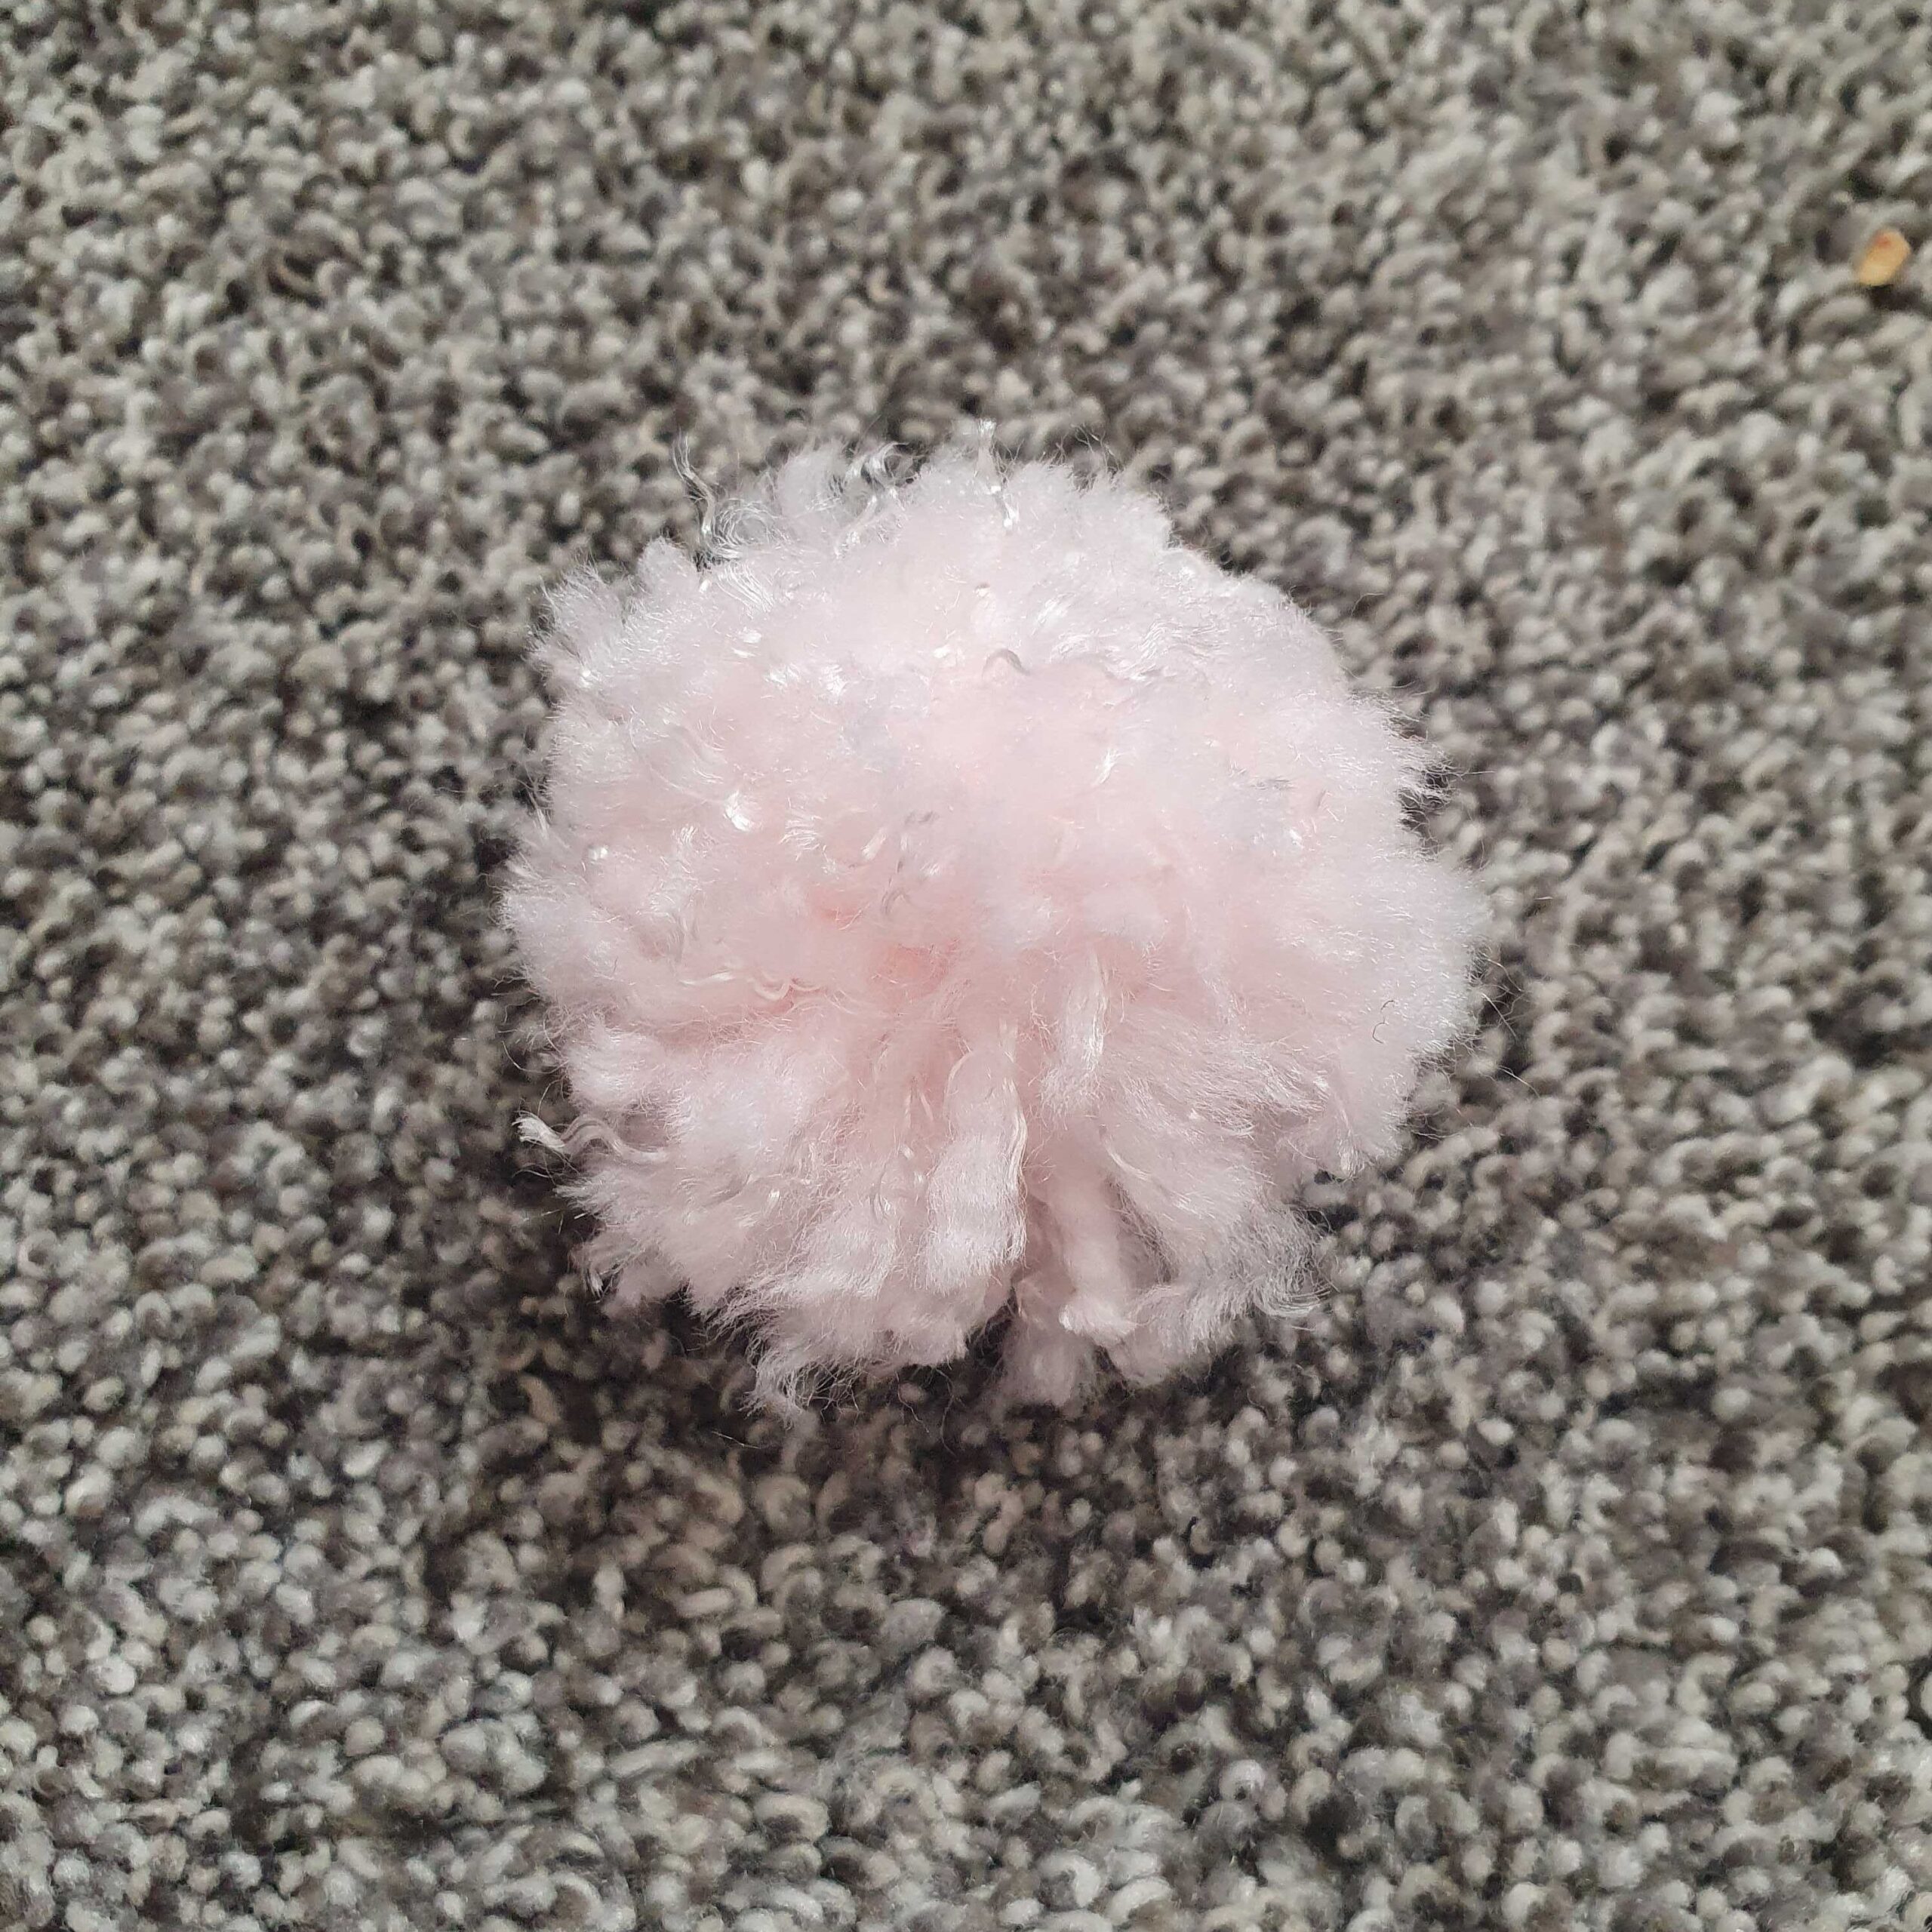
How do you make pom poms? Pom poms are a simple yet delightful craft that can add texture, color, and personality to almost anything. Whether you’re a seasoned crafter or someone just starting out, learning how to make pom poms is a fun and satisfying skill to have in your creative toolkit. In this post, we’ll explore different methods for making pom poms, as well as provide inspiration for ways to use them in your projects.
Materials You’ll Need
Before we dive into the process of making pom poms, let’s gather our materials. Making pom poms requires only a few basic supplies:
- Yarn: Choose any yarn you like! It’s best to use a medium-weight yarn (like worsted weight), but you can experiment with different thicknesses and textures. You can also mix yarn types for a unique effect.
- Scissors: Sharp scissors are essential for trimming your pom pom.
- Pom Pom Maker (optional): While it’s not necessary, a pom pom maker can help you achieve a more even and consistent shape. You can find them at craft stores or online.
- Cardboard or Template (alternative method): If you don’t have a pom pom maker, you can easily make one yourself with cardboard, or you can use your fingers to wrap the yarn.
- Tapestry Needle (optional): This is helpful if you need to weave the yarn ends in later, especially for larger projects.
Once you have your supplies ready, you’re good to go!
Method 1: Making Pom Poms with a Pom Pom Maker
Using a pom pom maker is one of the easiest and most efficient ways to make perfect pom poms every time. Here’s how:

Step-by-Step Instructions:
- Open the Pom Pom Maker: If you’re using a store-bought pom pom maker, it will likely come in two halves that you can open like a clam shell.
- Wrap the Yarn: Start by taking your yarn and wrapping it around one side of the pom pom maker. The more yarn you wrap, the fuller your pom pom will be. Keep wrapping until you cover the side with enough yarn. A good rule of thumb is to wrap 50-75 times for a small pom pom, or more for larger ones.
- Repeat on the Other Side: Once you wrap one side, close the pom pom maker and repeat the process on the other half.
- Cut the Yarn: After you have wrapped both sides, use scissors to cut through the yarn on the outer edge of the pom pom maker. Be sure to cut carefully, so you don’t snip any of the wrapped yarn inside.
- Tie the Pom Pom Together: There’s usually a small gap between the two halves of the pom pom maker. Take a piece of yarn (about 6 inches long), slide it through the gap, and tie it tightly in a knot. This will secure all the yarn strands together.
- Remove the Pom Pom: Gently open the pom pom maker and remove the fluffy ball from the mold.
- Trim and Shape: Once your pom pom is free, you can shape it by trimming any uneven yarn ends. You can make the pom pom as neat or as messy as you like, depending on the desired effect.
Tip: For a super fluffy pom pom, use a variety of yarn textures and colors to add dimension and interest.
Method 2: Making Pom Poms with Cardboard
If you don’t have a pom pom maker, don’t worry! You can easily make pom poms using a simple piece of cardboard. Here’s how:
Step-by-Step Instructions:
- Cut Your Cardboard: Start by cutting a piece of cardboard into a small rectangle. The size of the rectangle will determine the size of your pom pom. For example, a 2-inch by 3-inch rectangle will make a small pom pom, while a 3-inch by 5-inch rectangle will make a larger pom pom.
- Wrap the Yarn Around the Cardboard: Hold the cardboard with one hand and begin wrapping the yarn around it with the other hand. Keep wrapping until you have a thick bundle of yarn on the cardboard. The more wraps you do, the fuller the pom pom will be.
- Cut the Yarn: Once you’ve wrapped enough yarn, carefully cut the yarn at the top edge of the cardboard. This will create a pile of loose yarn strands.
- Tie the Yarn: Cut a separate piece of yarn (about 6 inches long), and tie it tightly around the middle of the yarn bundle. This is the point where all the yarn strands will be gathered.
- Remove the Cardboard: After tying the yarn in the middle, gently slide the yarn bundle off the cardboard.
- Trim the Pom Pom: Using scissors, trim the ends of the yarn to create an even, rounded shape. This is where you can really have fun, as you can make the pom pom as shaggy or as neat as you like.
Tip: If you want a particularly large pom pom, use a larger piece of cardboard or wrap the yarn around a wider section.
Method 3: Making Pom Poms with Your Fingers

No cardboard or pom pom maker? No problem! You can make pom poms using just your fingers, which is a great option if you’re in a pinch.
Step-by-Step Instructions:
- Make Two Loops with Your Fingers: Start by placing your fingers together, side by side. Hold the end of the yarn between your thumb and forefinger, and begin wrapping the yarn around all four fingers (or around two fingers if you want a smaller pom pom).
- Keep Wrapping: Keep wrapping the yarn around your fingers until you have a thick bundle. The more you wrap, the fuller your pom pom will be.
- Tie the Center: After wrapping, carefully remove the yarn bundle from your fingers. Tie a piece of yarn tightly around the middle to secure the strands together.
- Cut the Loops: Now, cut the yarn loops on both ends of the bundle, making sure to trim them evenly.
- Trim and Shape: Shape the pom pom by trimming the loose ends until you get a fluffy, rounded ball.
Tip: Using a bit of fabric glue or starch on your finished pom pom will help it hold its shape longer, especially for larger designs.
Creative Ways to Use Pom Poms
Pom poms aren’t just for making fun crafts—they can be used in a variety of creative ways to enhance your projects. Here are some ideas to inspire you:
- Pom Pom Garlands: String a series of colorful pom poms together to create a festive garland for a party, nursery, or holiday décor. You can also alternate yarn pom poms with beads for added texture.
- DIY Keychains: Attach a pom pom to a keyring or clasp to make a cute and functional accessory. You can mix colors, sizes, and textures to match your personal style.
- Pom Pom Pillows: Sew pom poms around the edges of a pillowcase or create a pom pom-covered pillow. This adds a playful touch to any room.
- Pom Pom Hats: Pom poms are commonly added to knit or crochet hats for extra flair. They can also be sewn onto beanies, scarves, and mittens for a cozy winter look.
- Pom Pom Jewelry: Small, delicate pom poms can be turned into earrings, necklaces, or bracelets for a unique fashion accessory.
- Wall Art: Use pom poms to create fun wall art or a giant pom pom mural. This can be a striking addition to a child’s room, an office, or even an event like a birthday party.
- Pom Pom Flowers: Combine pom poms with fabric or paper to create three-dimensional flowers. These can be used for bridal bouquets, wedding décor, or any event where you want a pop of color.
Conclusion

Making pom poms is an easy, fun, and satisfying craft that anyone can do. Whether you use a pom pom maker, cardboard, or your fingers, you’ll be able to create fluffy little balls of color and texture that can be used in a wide range of projects. The best part? You can customize your pom poms by experimenting with different yarns, sizes, and colors.
So, what are you waiting for? Grab some yarn and start creating your own pom poms today!