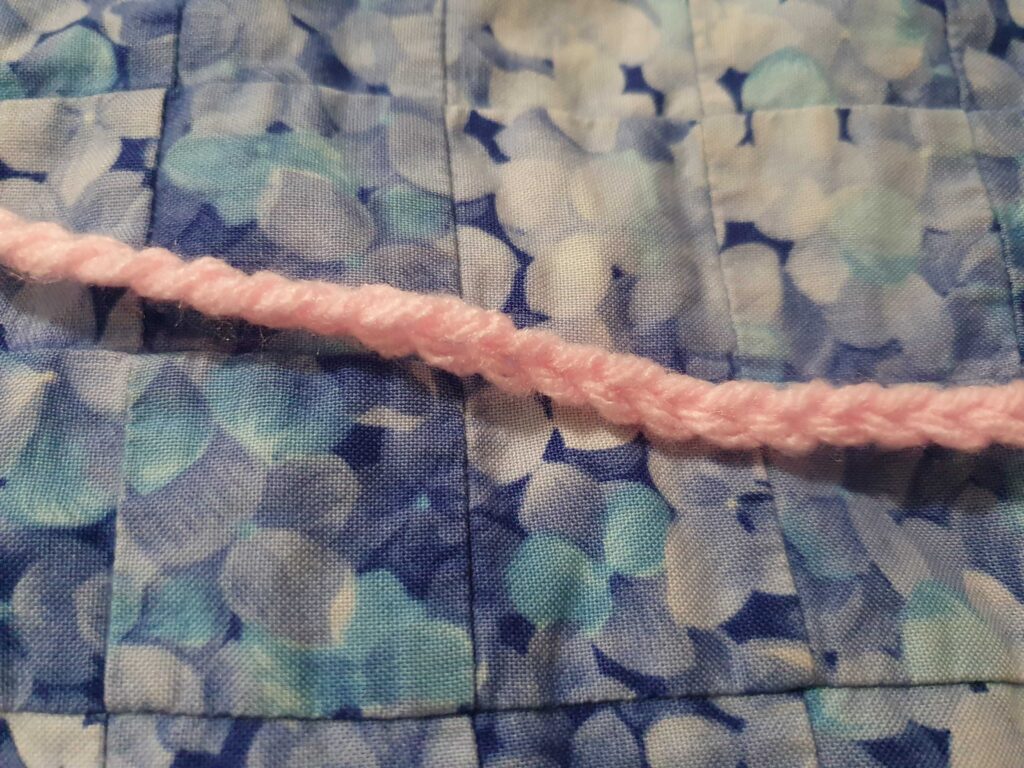
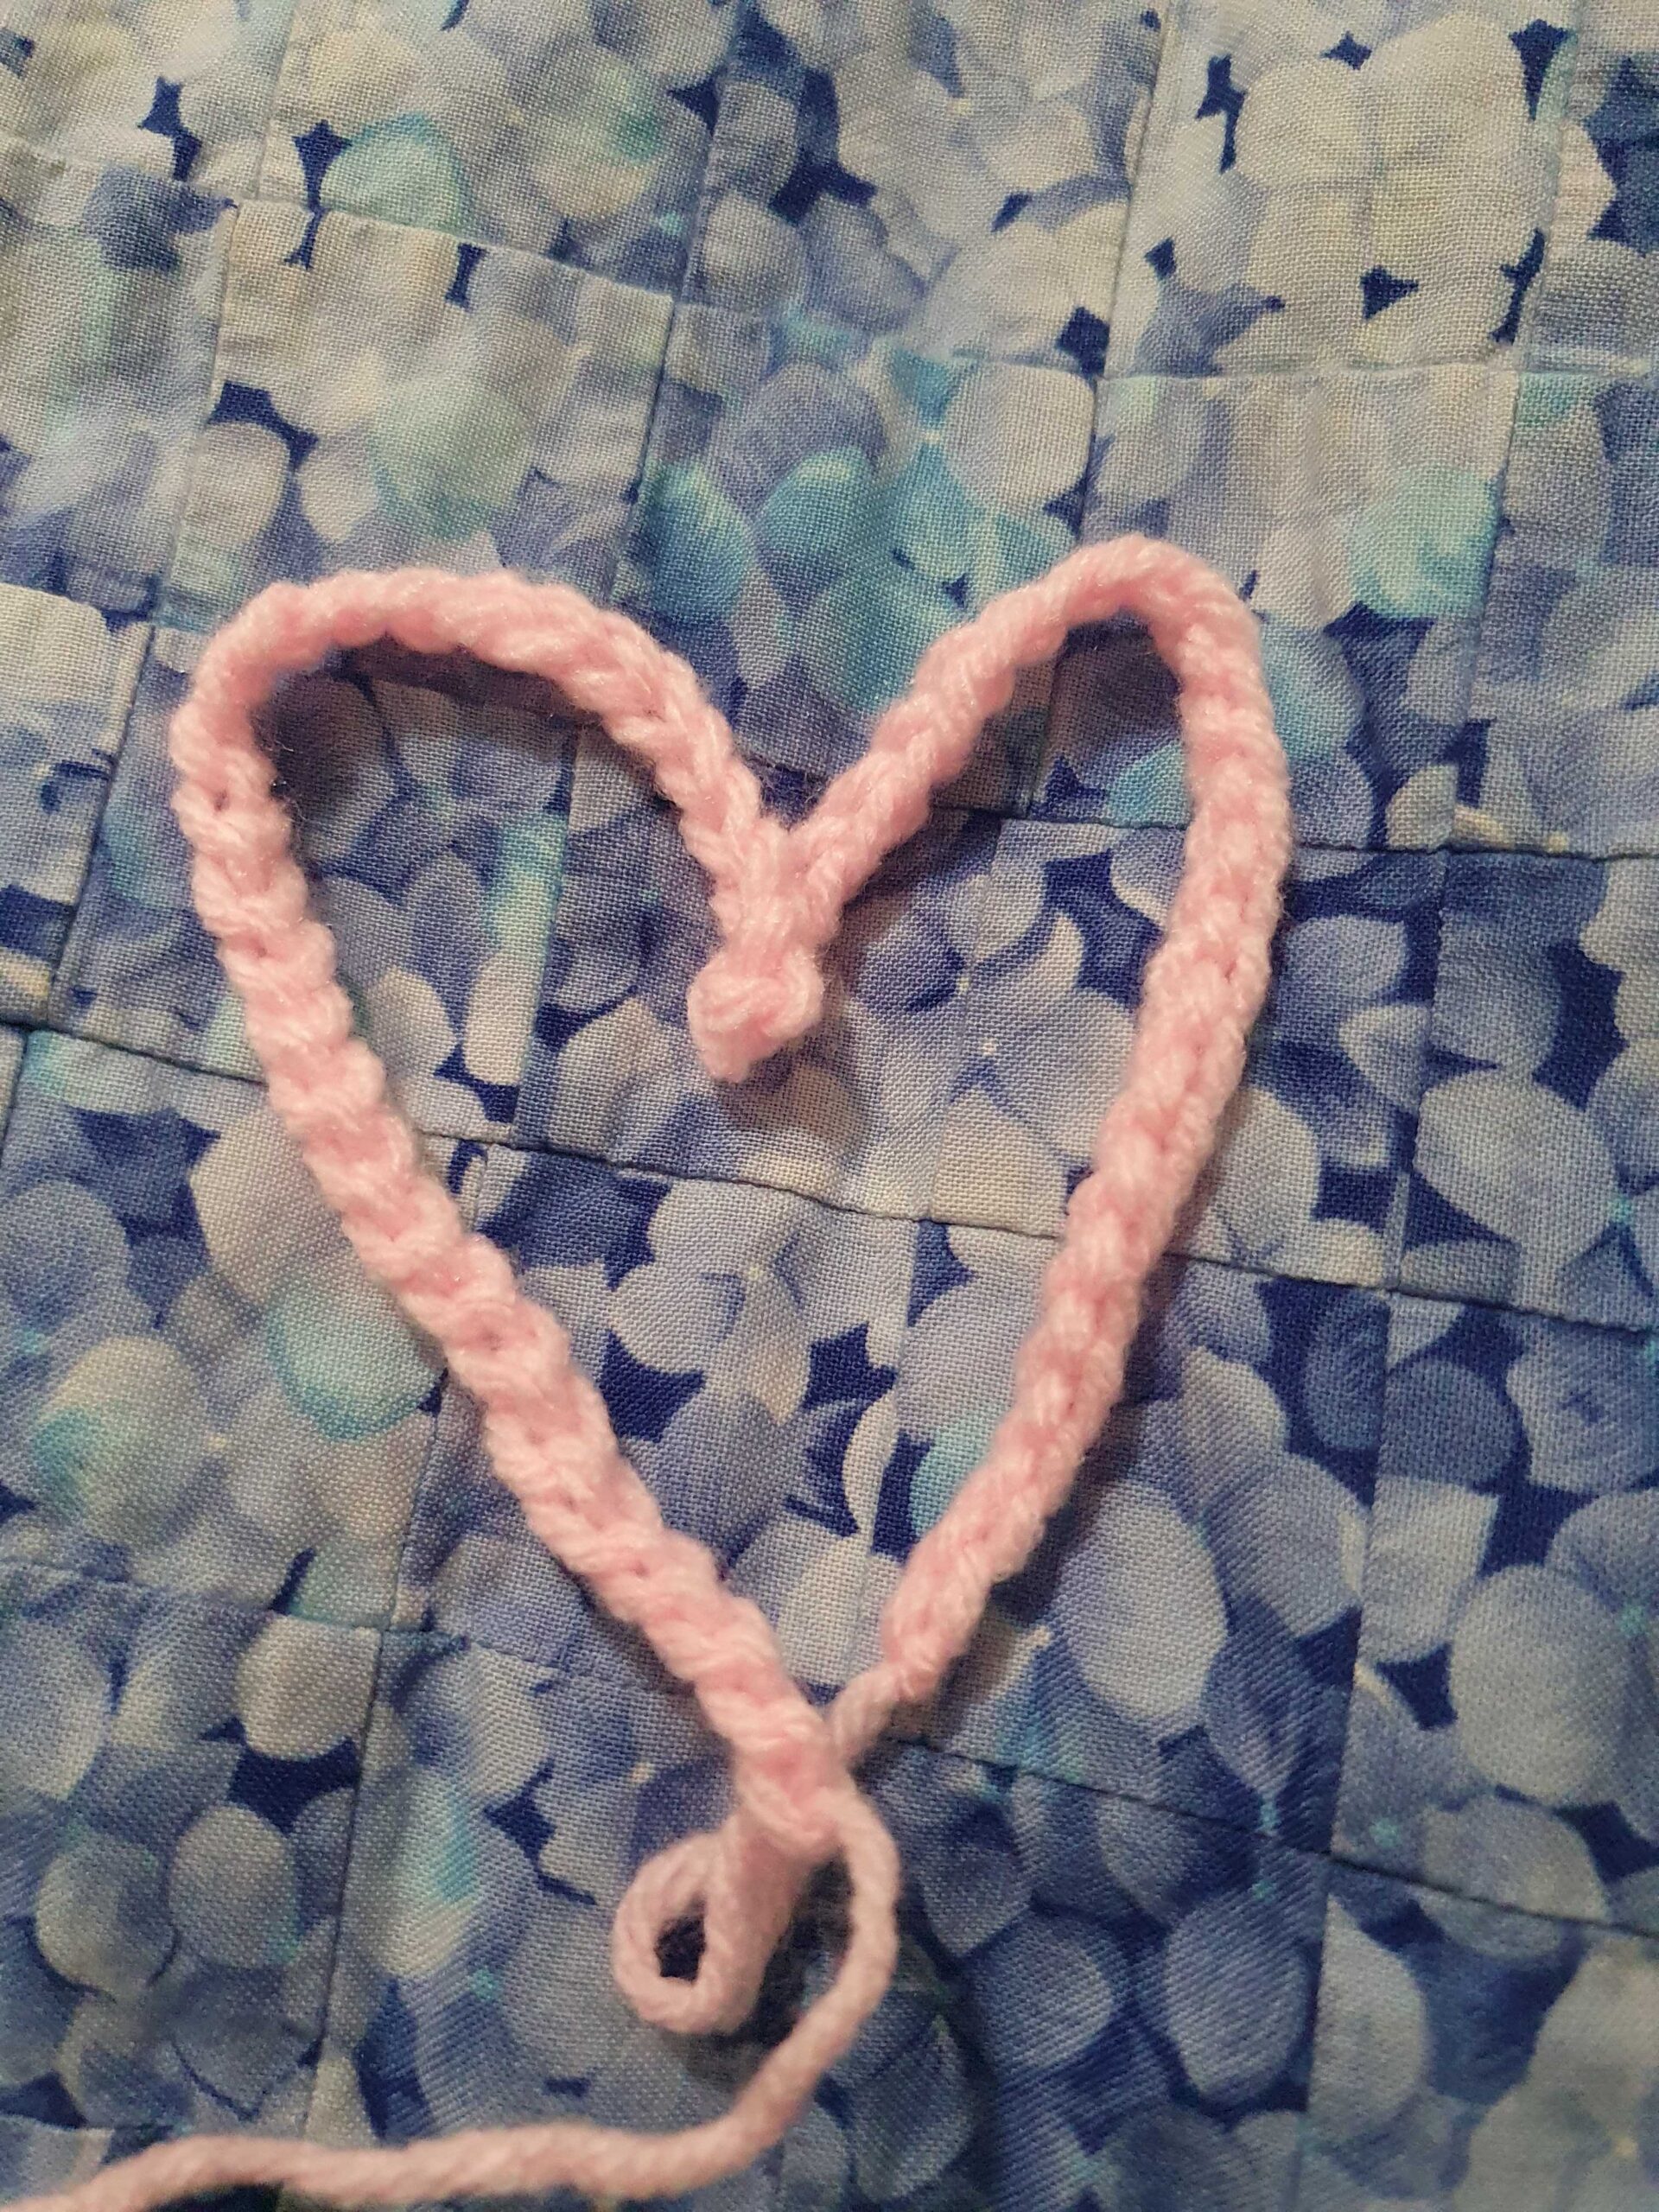
Crochet begins with a simple yet powerful technique—the chain stitch. Whether you’re crafting delicate lace, sturdy blankets, or timeless granny squares, every project starts with this fundamental skill. In this guide, I’ll show you how to chain crochet, where you’ll use it in your projects, and how to connect it to more advanced techniques, like those found in my Granny Square Tutorial.
What Is a Chain Stitch in Crochet?
The chain stitch (abbreviated as “ch” in patterns) is the foundation of most crochet projects. It’s the starting row that other stitches are built upon, creating a base for patterns, textures, and intricate designs.
Chains are made by looping yarn over your hook and pulling it through a previous loop. The process is repetitive and rhythmic, making it one of the easiest crochet stitches to learn.
Why Learn the Chain Stitch?
The chain stitch is essential because:
- It’s the foundation of almost every crochet project.
- It helps create decorative elements, such as lace and edging.
- It’s the backbone of stitches like single crochet, double crochet, and treble crochet.
- It’s incredibly easy to learn—making it great for beginners!
How to Chain Crochet (Step-by-Step Guide)

Before we begin, grab these supplies:
- Yarn: Any type will work, but a medium-weight yarn (worsted) is best for beginners.
- Crochet hook: Choose a size recommended for your yarn (check the label).
- Scissors: To trim your yarn once you’re done.
Step 1: Make a Slip Knot
- Unwind a bit of yarn and make a loop.
- Pull the working yarn (the part attached to the skein) through the loop.
- Slide the loop onto your crochet hook and gently tighten it.
This slip knot serves as the starting point for your chain stitches.
Step 2: Hold the Yarn and Hook
To crochet smoothly, you’ll need to hold your yarn and hook properly:
- Grip the hook in your dominant hand like a pencil or knife.
- Hold the yarn in your non-dominant hand, wrapping it around your fingers to create slight tension.
Find a grip that feels comfortable and allows you to control the yarn easily.
Step 3: Yarn Over (YO)
- Wrap the yarn over your hook from back to front.
- Keep a slight tension on the yarn for control.
Step 4: Pull Through
- Use the hook to pull the yarn through the loop on your hook.
- You’ve now made one chain stitch!
Step 5: Repeat to Continue Your Chain
- Repeat steps 3 and 4 until you have the desired number of chains.
- Try making 20-30 chain stitches for practice.
If your chain feels too tight or loose, adjust your tension. Practice makes perfect!
Where to Use Chain Stitches in Crochet

Once you’ve mastered chaining, the possibilities are endless. Here are some of the most common uses for chain stitches:
1. Foundation Chains for Crochet Projects
Many patterns begin with a foundation chain—a row of chain stitches that serves as a base for the next row of stitches.
For example, if you’re making a scarf, you might start with a chain of 40-50 stitches, then build rows of single or double crochet on top.
2. Granny Squares
Chain stitches are essential in granny squares, forming the spaces between clusters of stitches.
If you’re excited to start your first granny square, check out my Granny Square Tutorial for a detailed guide!
3. Lace and Mesh Patterns
Chains help create lacy, open designs in crochet. Many doilies, shawls, and netted bags use chains as a structural element.
For example:
- A chain-5 loop can create a delicate lace pattern.
- A chain-1 space can make mesh-style fabric.
4. Crochet Edging and Borders
Chain stitches add beautiful decorative edges to blankets, shawls, and clothing. A simple chain-3 picot stitch creates an elegant, scalloped effect.
5. Creating Straps, Ties, and Loops
Chains can serve as functional elements:
- Straps for bags or tops
- Drawstring ties for hoodies and pouches
- Button loops for cardigans and wraps
6. Making Chain-Only Projects
Some crochet designs use chains as the main structure. Examples include:
- Crochet necklaces with beads woven in
- Bookmarks made from decorative chains
- Festival tops with chain-stitched netting
Troubleshooting Common Chain Stitch Mistakes
Even though chaining is simple, beginners often run into a few hiccups. Here’s how to fix them:
Problem 1: Uneven Chains
- Keep a consistent tension on your yarn.
- Practice slowing down to make each stitch the same size.
Problem 2: Twisted Chains
- Make sure your chain stitches face the same direction as you work.
- Lay your chain flat to check for twists before continuing.
Problem 3: Chains Are Too Tight or Loose
- If too tight: Use a larger crochet hook.
- If too loose: Use a smaller hook or tighten your grip slightly.
Problem 4: Losing Count of Chains
- Every chain stitch has a V-shape—count these carefully.
- Mark every 10th chain with a stitch marker to keep track.
Tips for Perfecting Your Chain Stitch
- Practice with different yarns. Try smooth, medium-weight yarn before moving to thinner or thicker yarns.
- Use a comfortable grip. Find a hand position that lets you control tension without straining.
- Count as you go. It’s easier than counting afterward!
- Relax your hands. Tension should be firm but not too tight.
- Experiment with chain variations. Some patterns use foundation single crochet (FSC) instead of traditional chains for a stretchier base.
Next Steps: Build on Your Chains!
Now that you’ve learned how to chain crochet, you’re ready to move on to exciting new projects. Why not take the next step and try your first granny square?
👉 Check out my Granny Square Tutorial to start crocheting a classic design today!