Have you ever wondered, “How do you make crochet doll hair?”, then you’re in the right place! If you’re searching for a way to make realistic-looking hair for your dolls, you’ve come to the right place! In 3 easy steps, I can teach you how to make wefts of hair using only yarn and a metal bristle brush. Let’s go!
Materials
You only really NEED three things, but a fourth is optional.
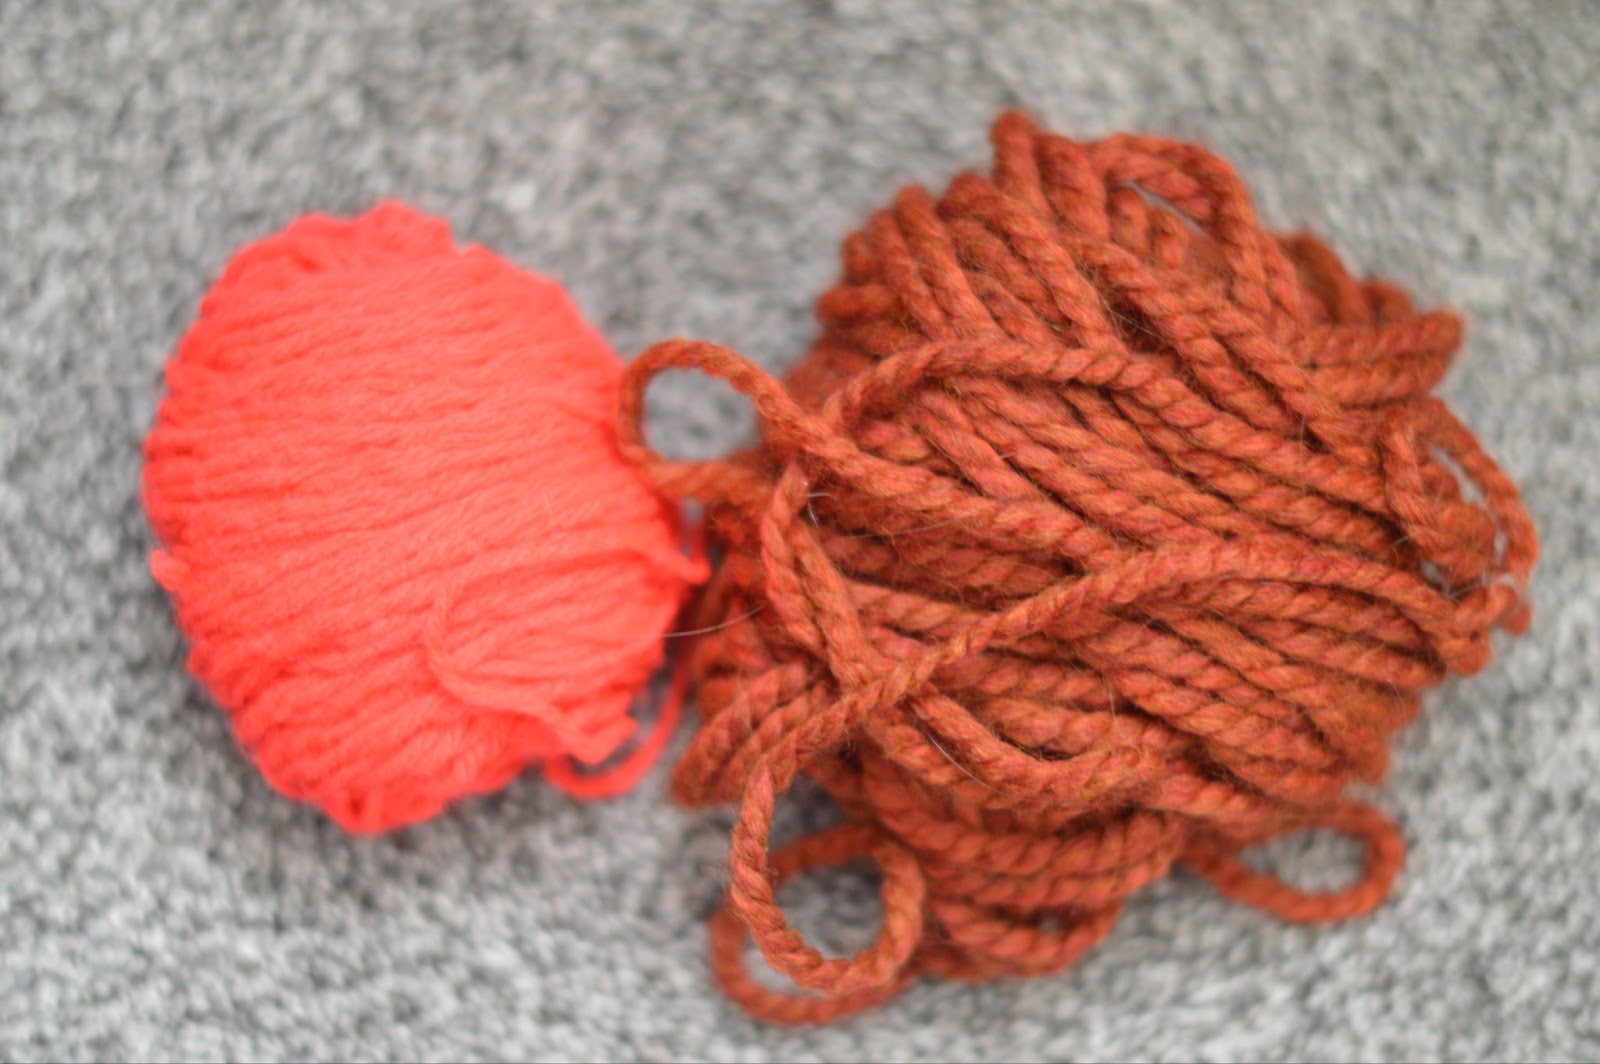
- Yarn – obviously. Just remember that it HAS to be polyester, or it won’t brush out right. And NO chenille yarn. I have a chunkier one and a thinner one to be examples.
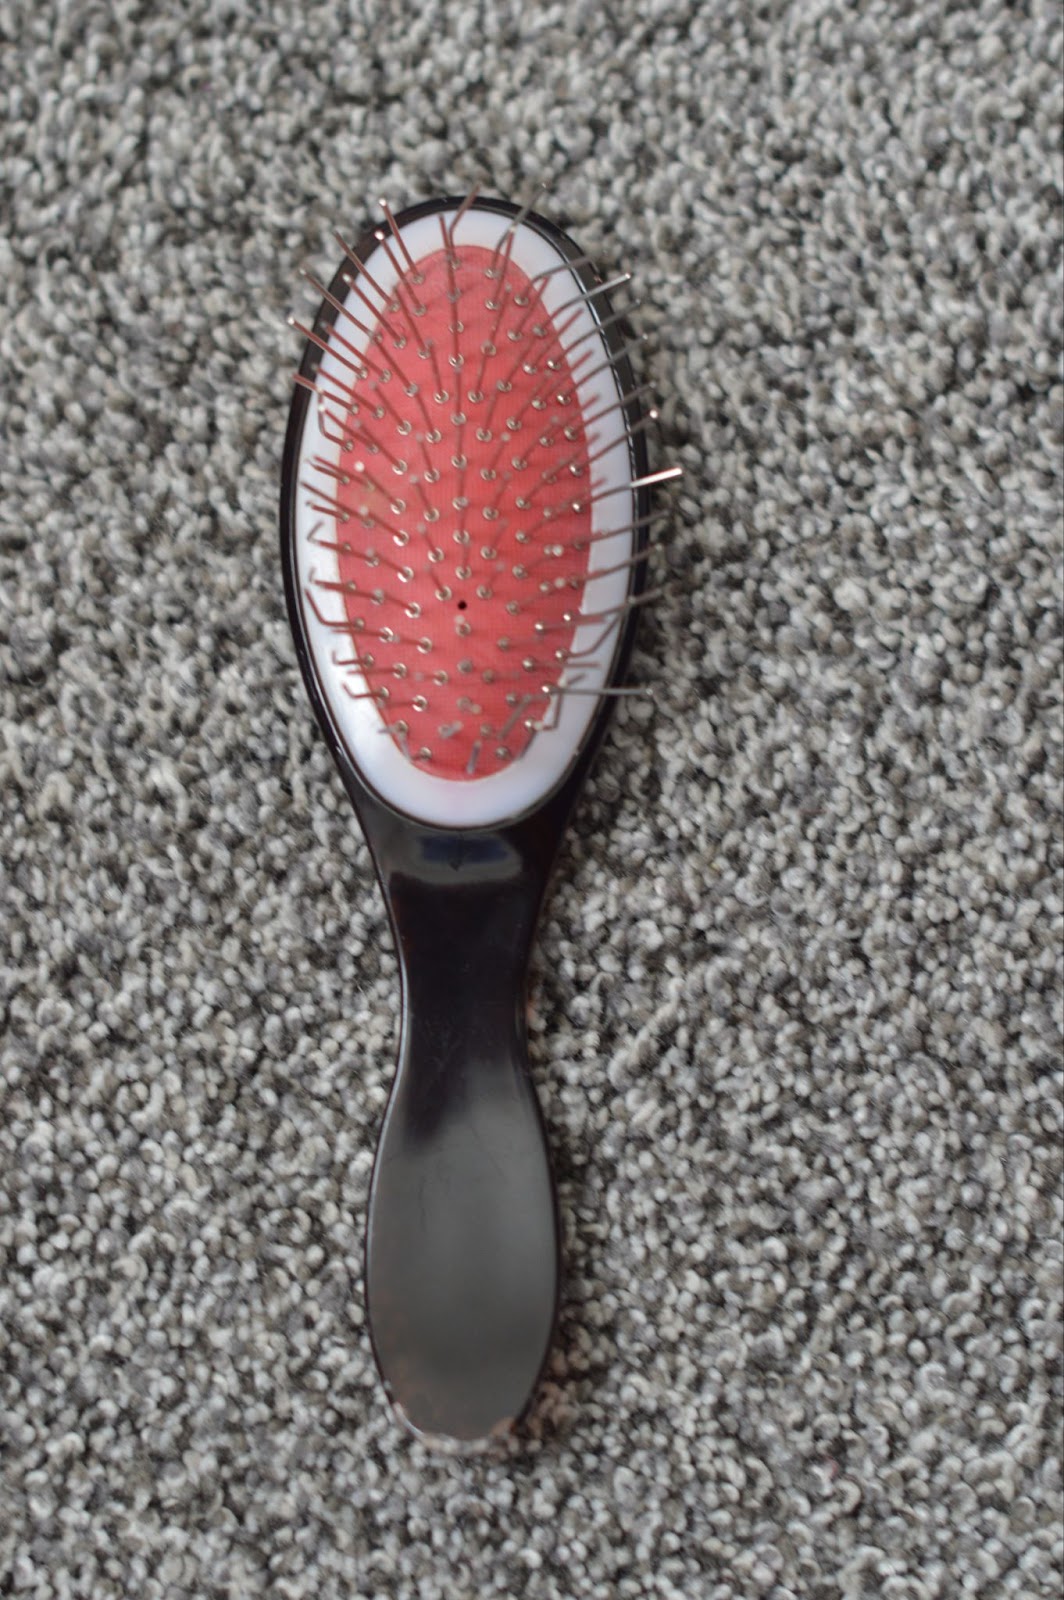
- A metal-bristle dog brush like this one here. (If you don’t have this, you can technically use a comb, it just kinda sucks).
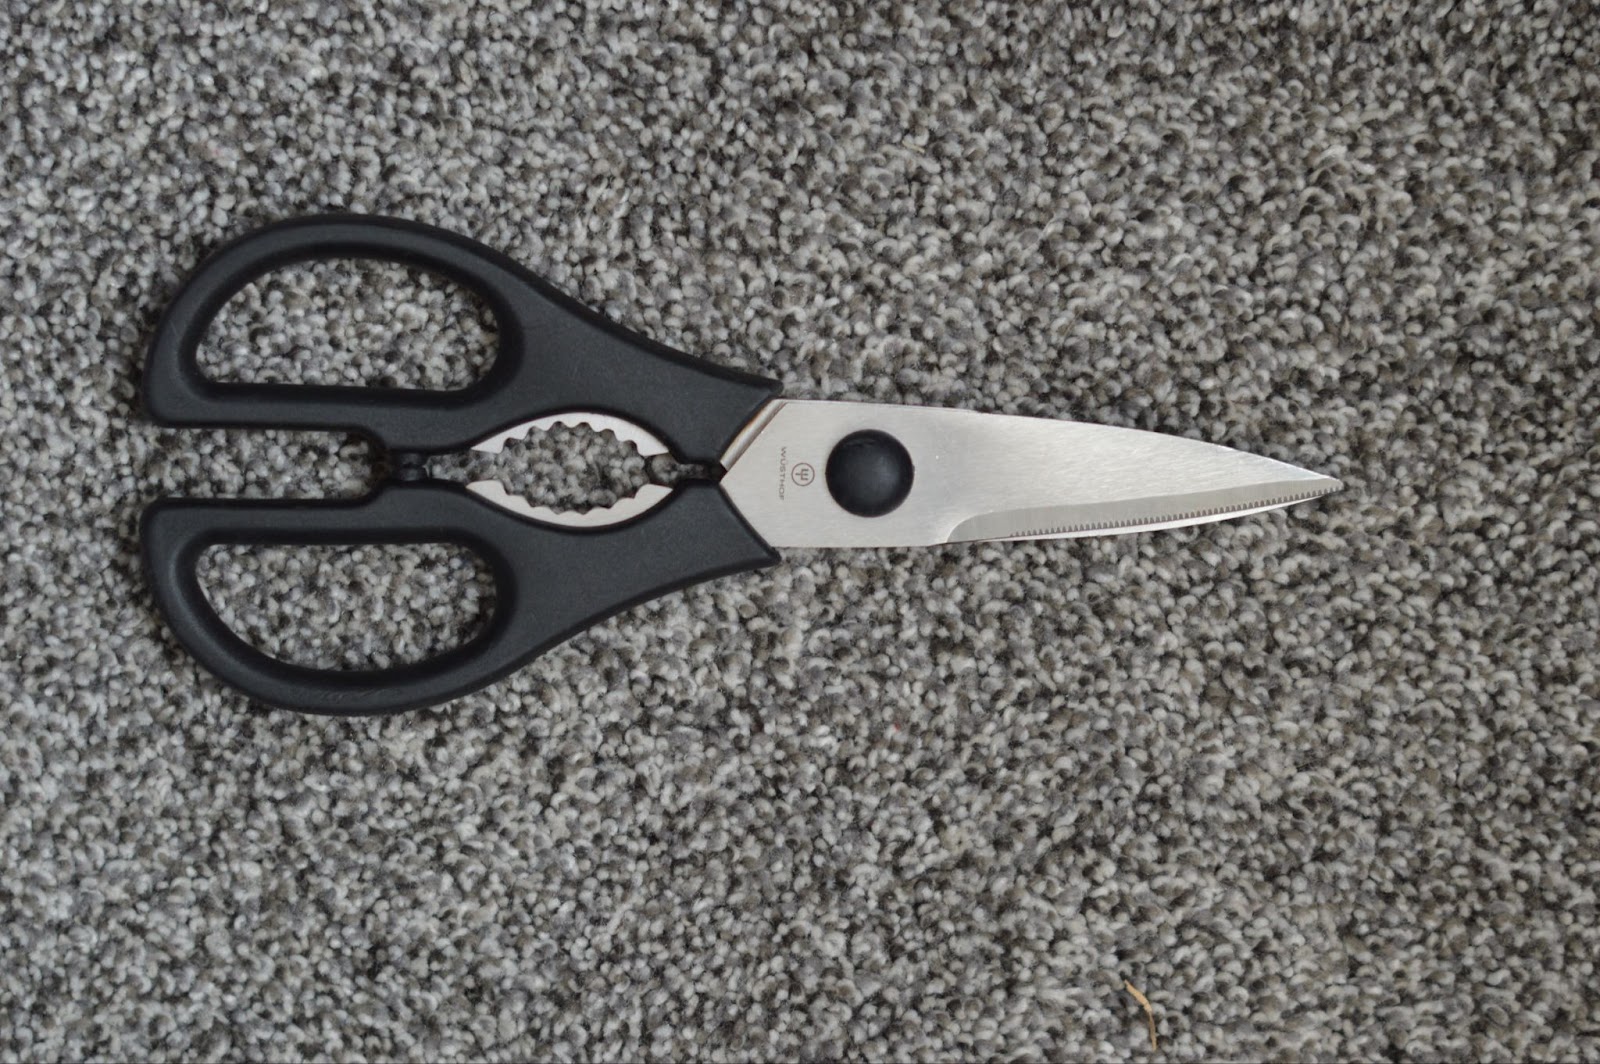
- Scissors
- A piece of cardboard the desired length of yarn (which should be about 8-10 inches) – Optional
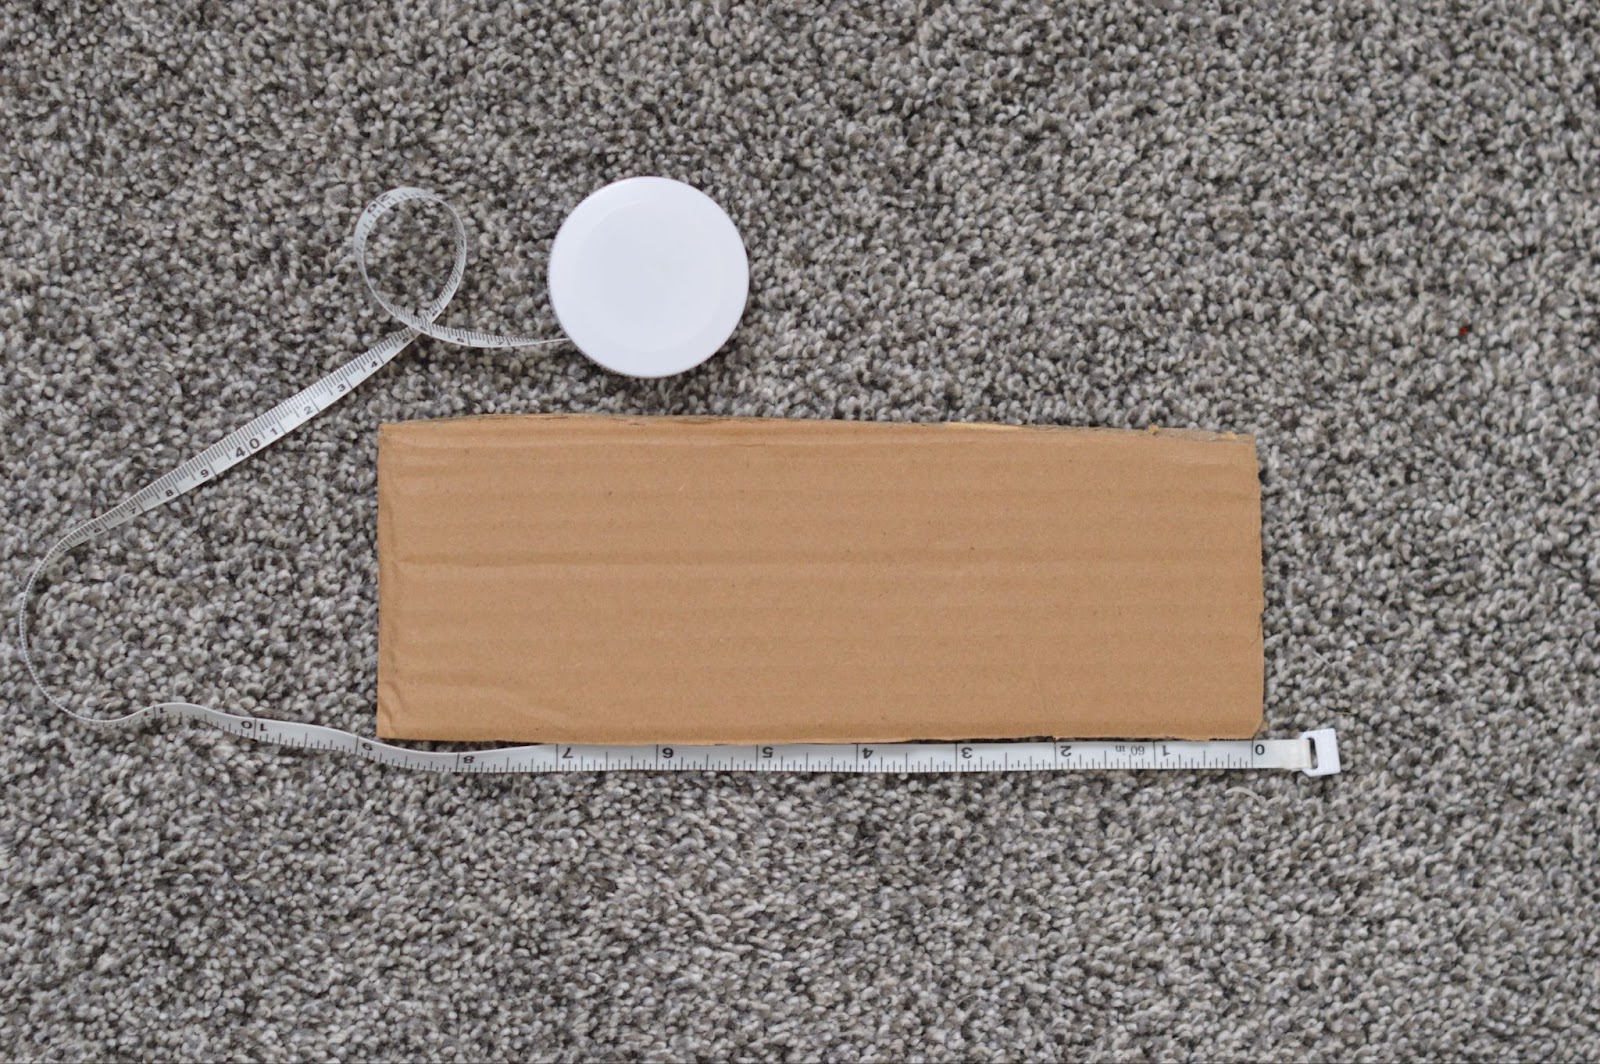
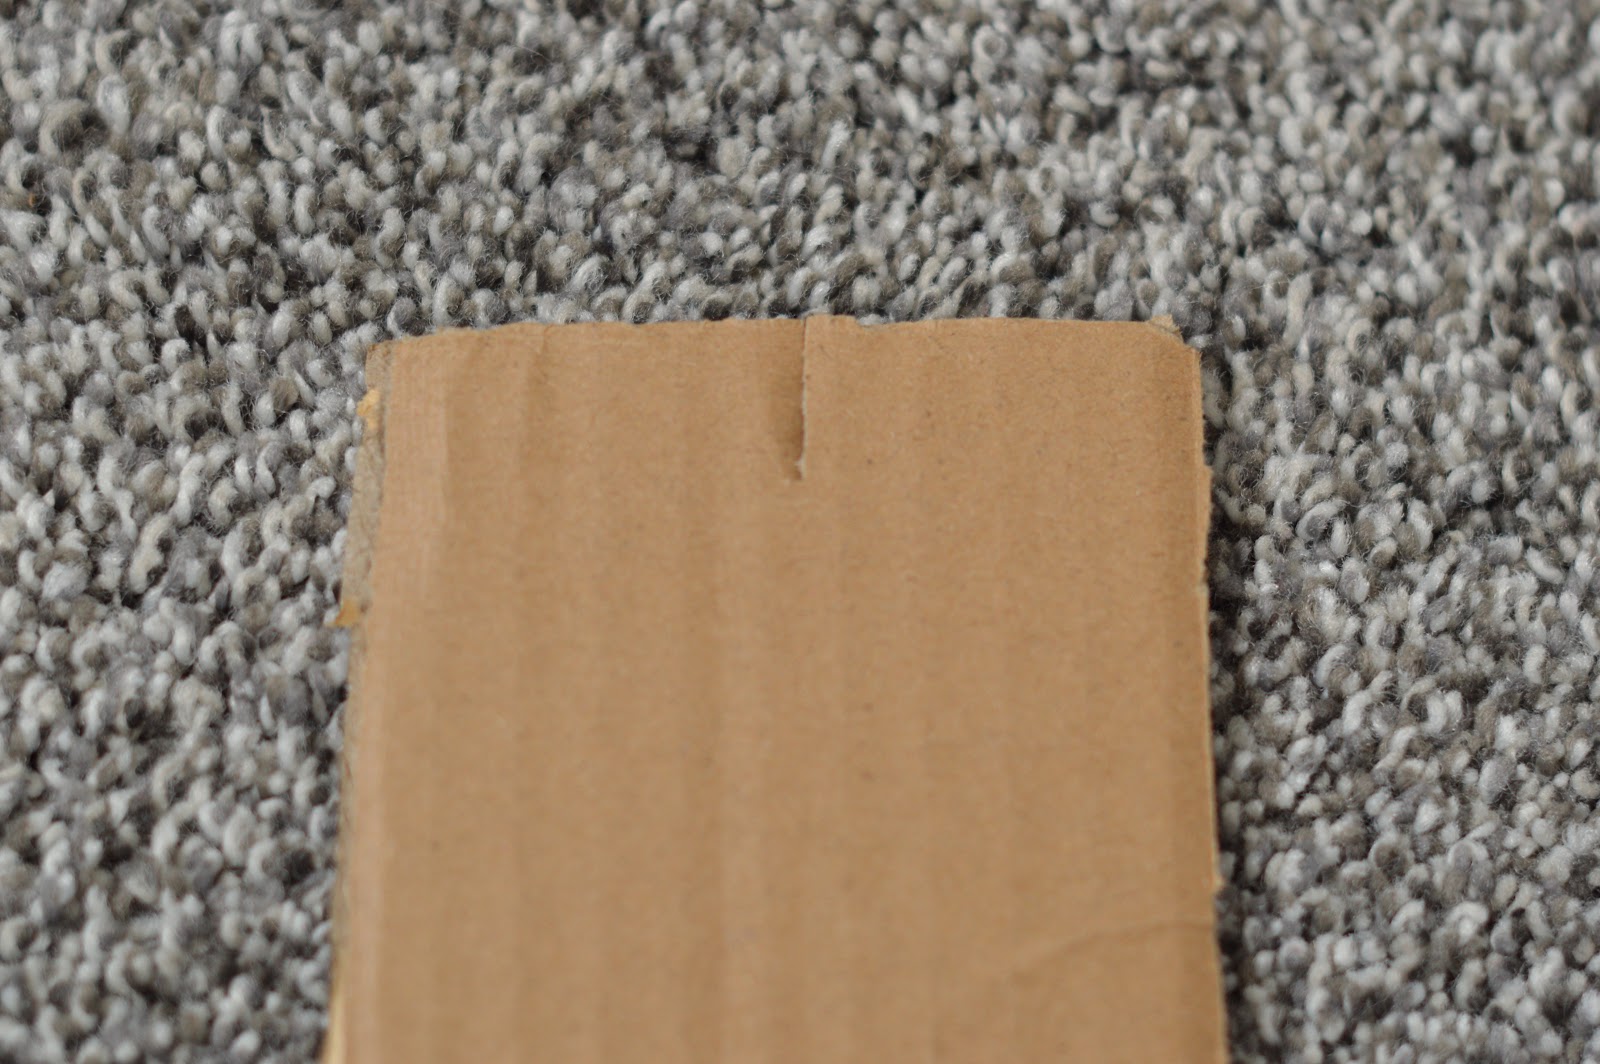
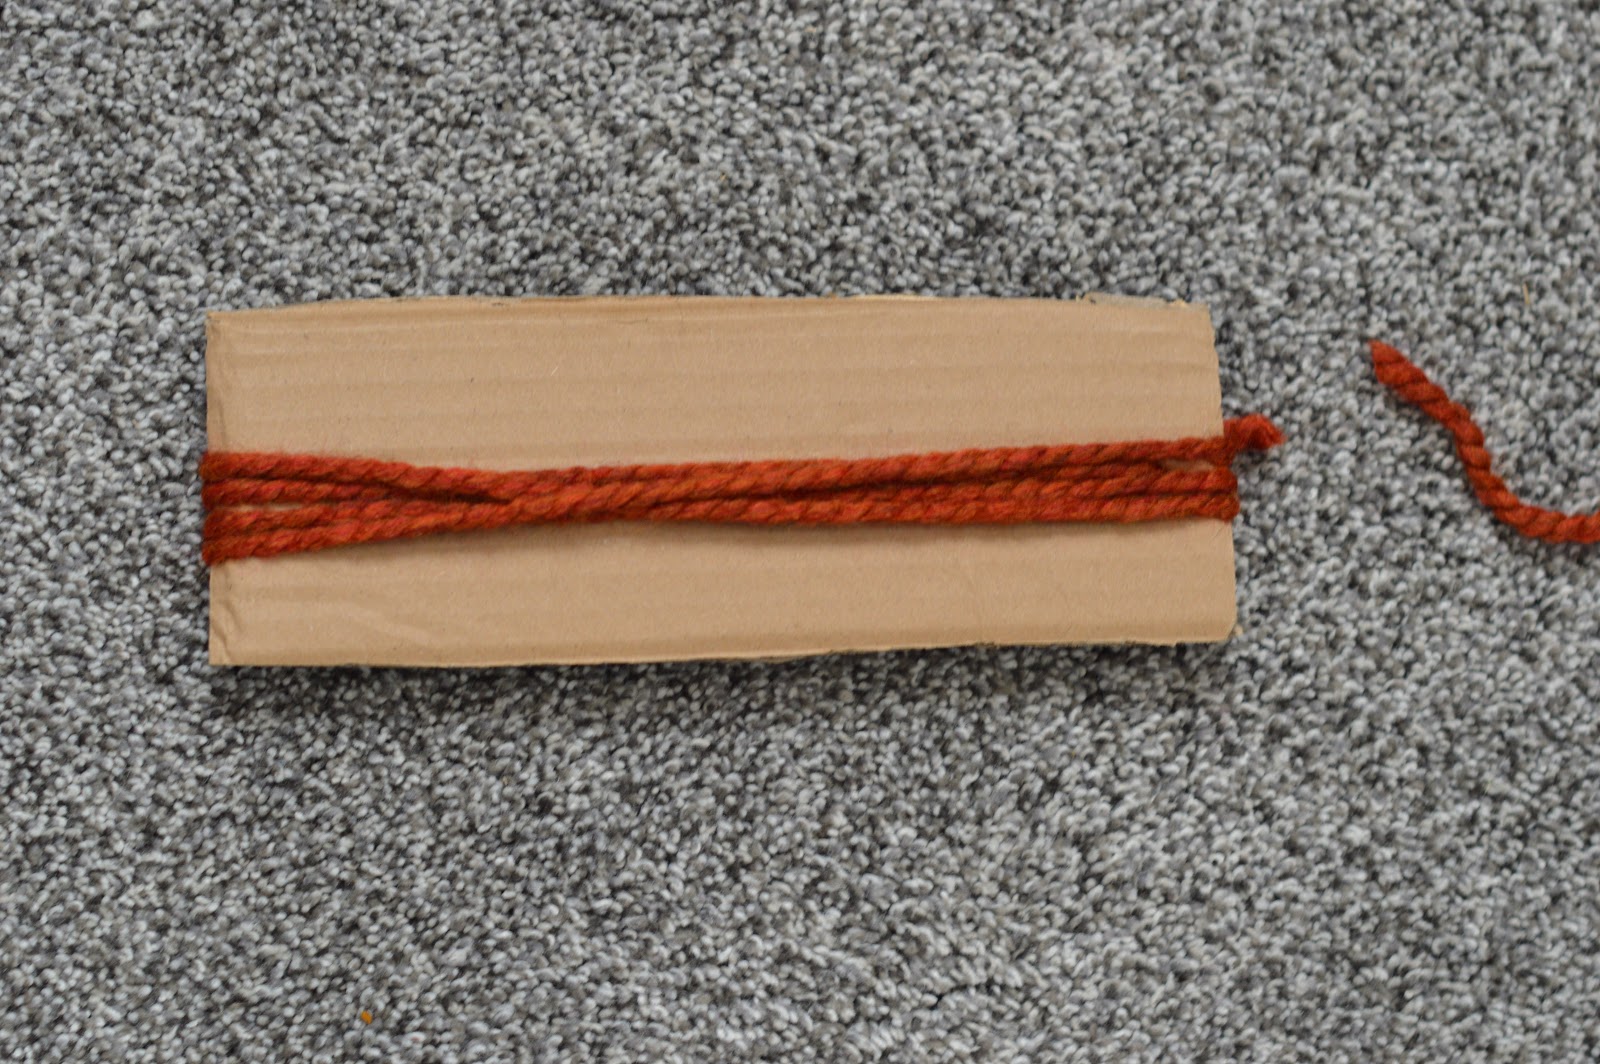
To set up the piece of cardboard, you need to measure out 8-10 inches and cut a wide piece of cardboard – it doesn’t matter how wide really – to make your “stencil”. You can also cut a small slit on the edge of the board to wedge the yarn in when you’re wrapping it around like this.
How Do You Make Crocheted Doll Hair?
Cutting the Yarn
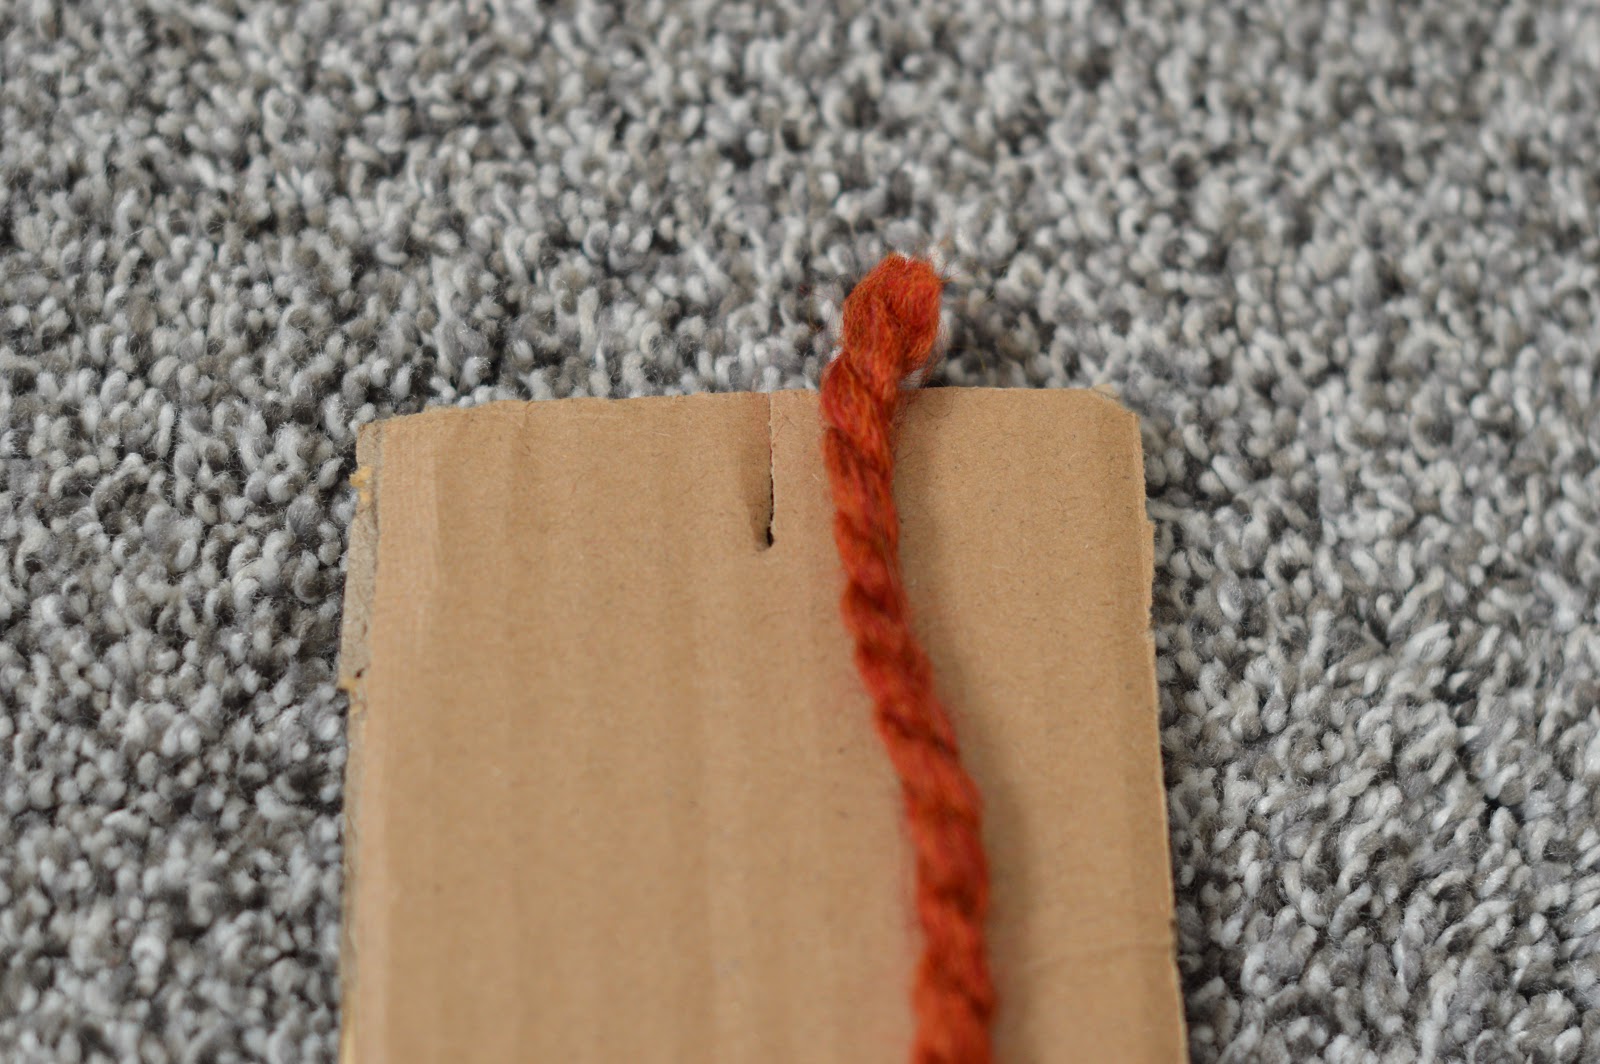
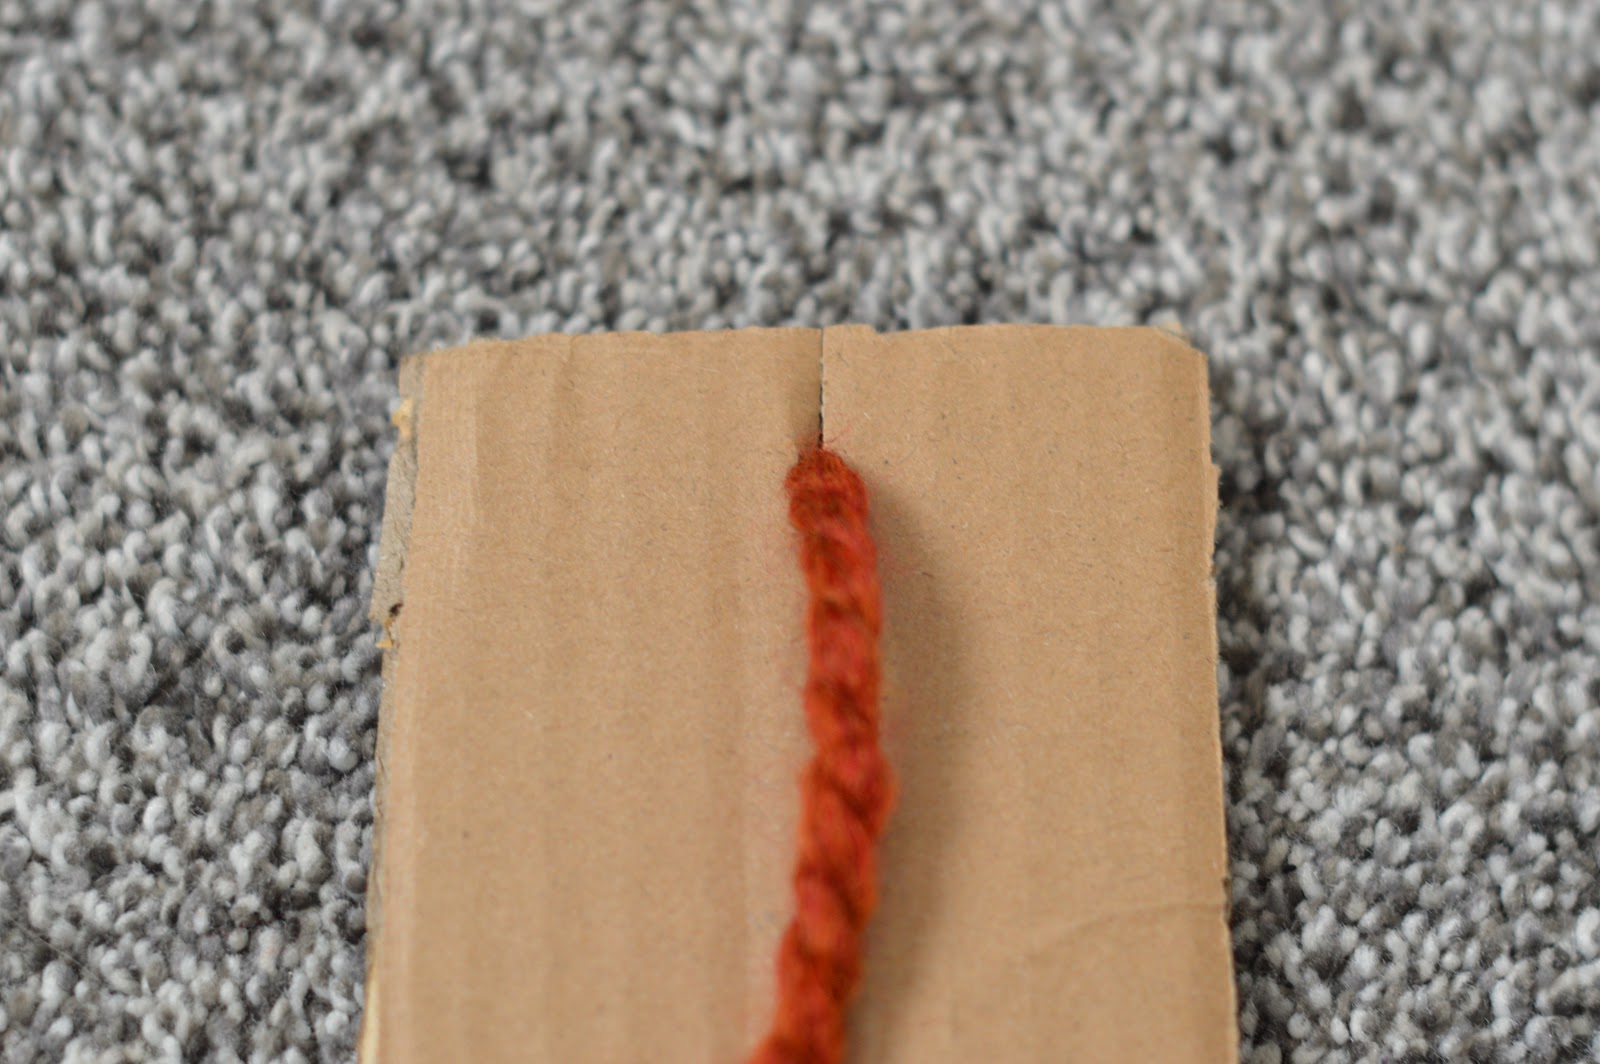
1 – Take your piece of cardboard and your polyester yarn and wedge the end of your ball of yarn in the slit in the cardboard.
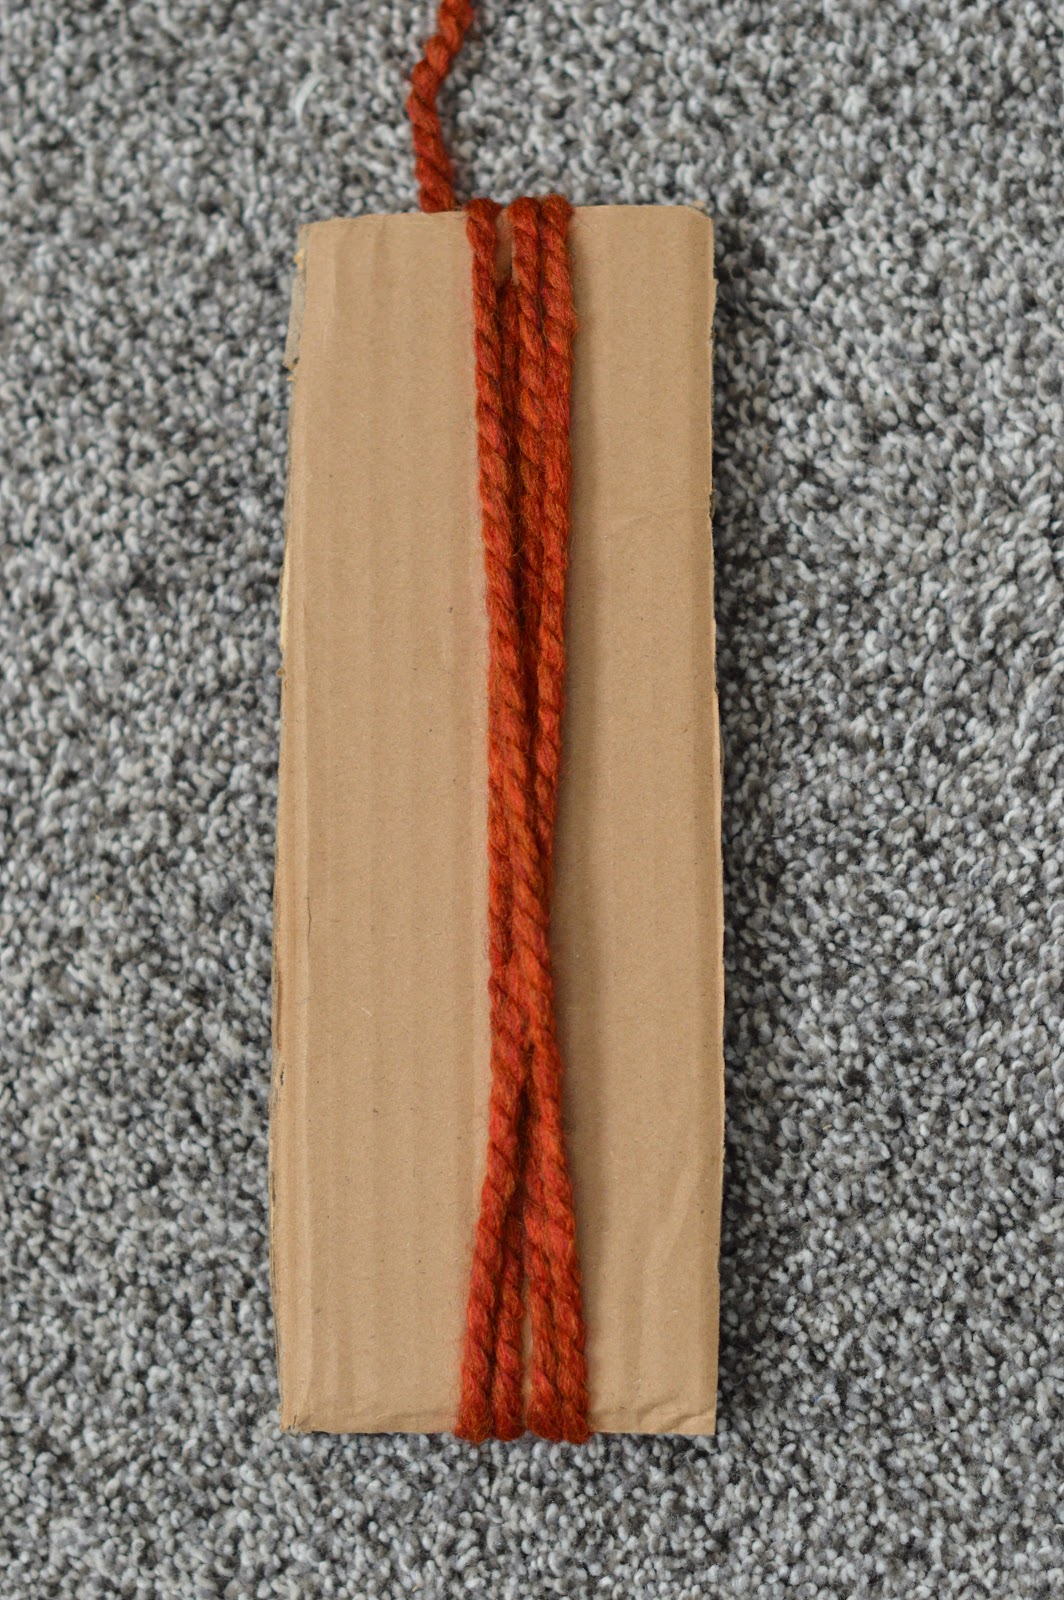
2 – Start wrapping the yarn around the piece of cardboard until you feel like you have enough.
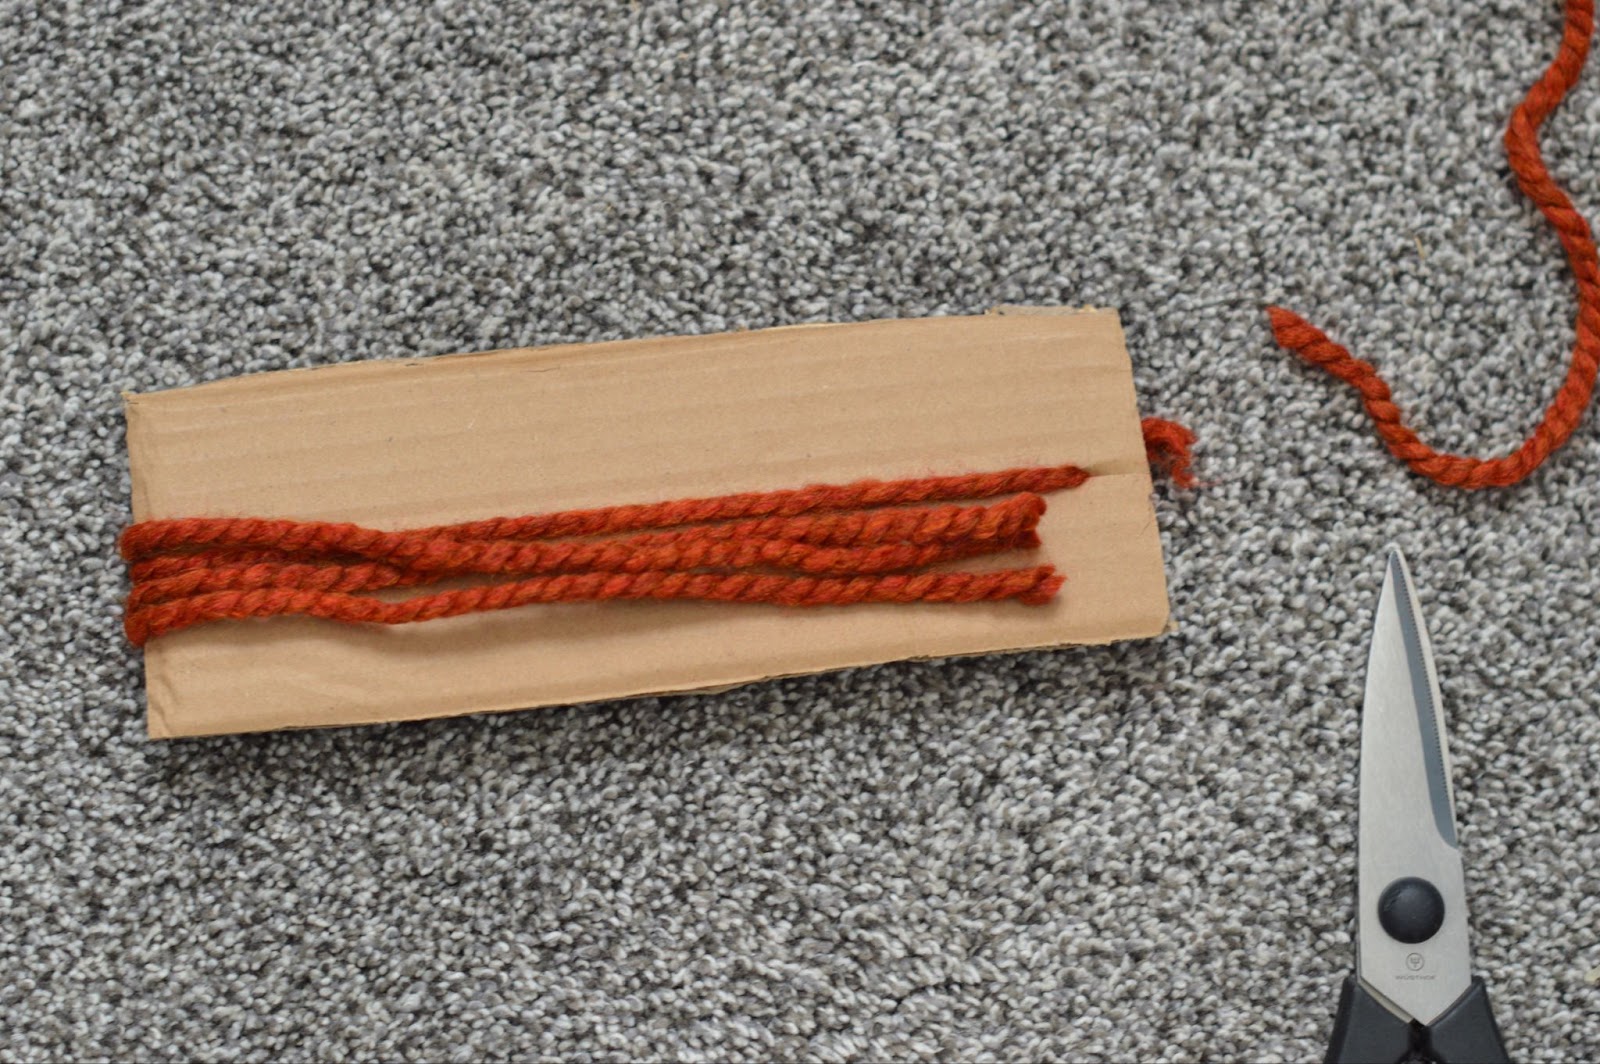
3 – Cut off the strand of yarn connected to the skein of yarn you’re using.
4 – Along the edge of the piece of cardboard, take your scissors and cut all of the strands of yarn.
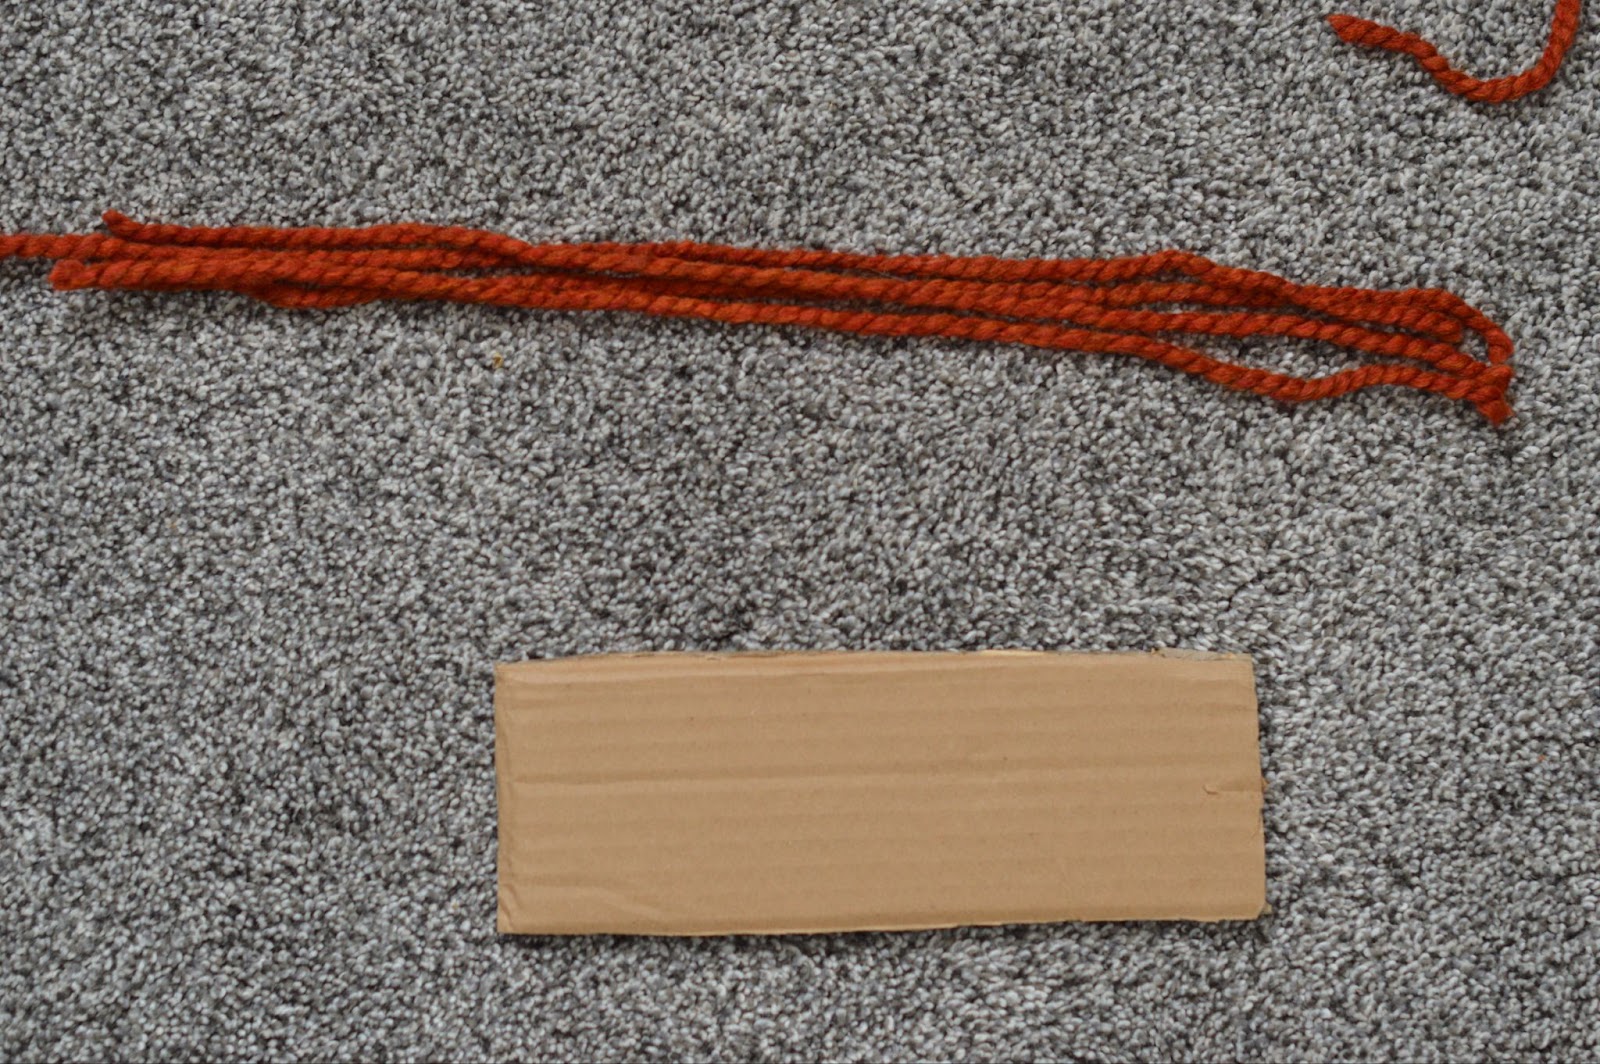
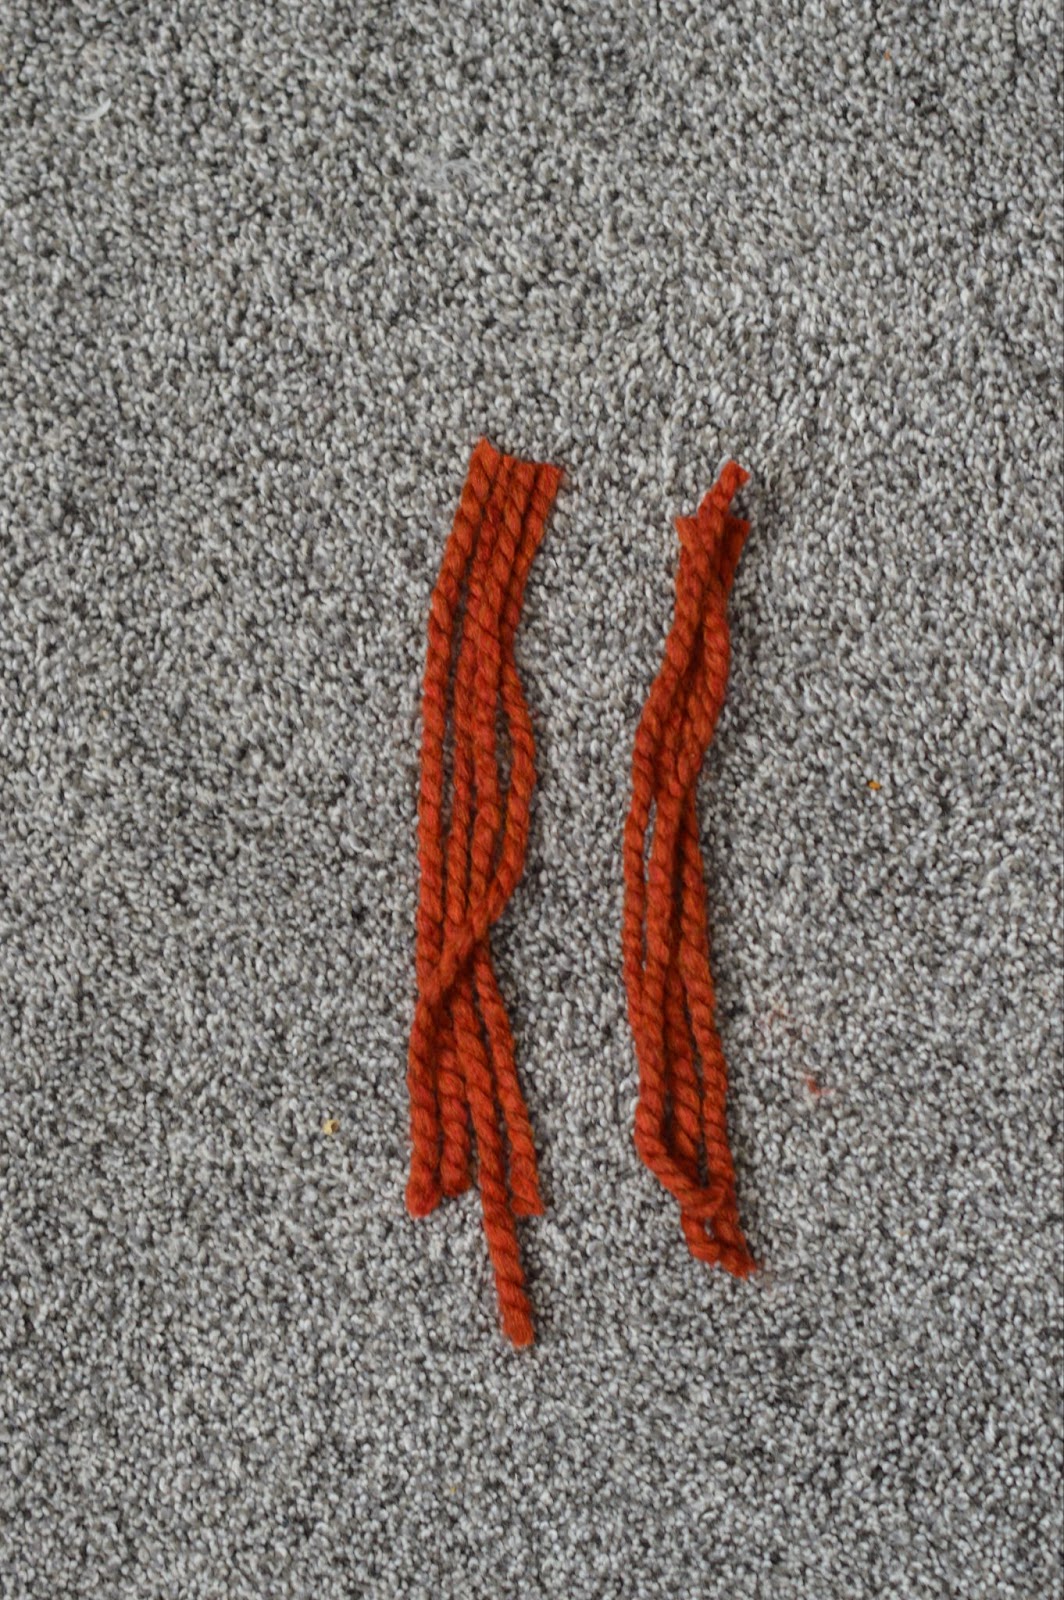
5 – Find the half-way point of all of the strands of yarn and cut it so you have two equal-length piles of yarn strands.
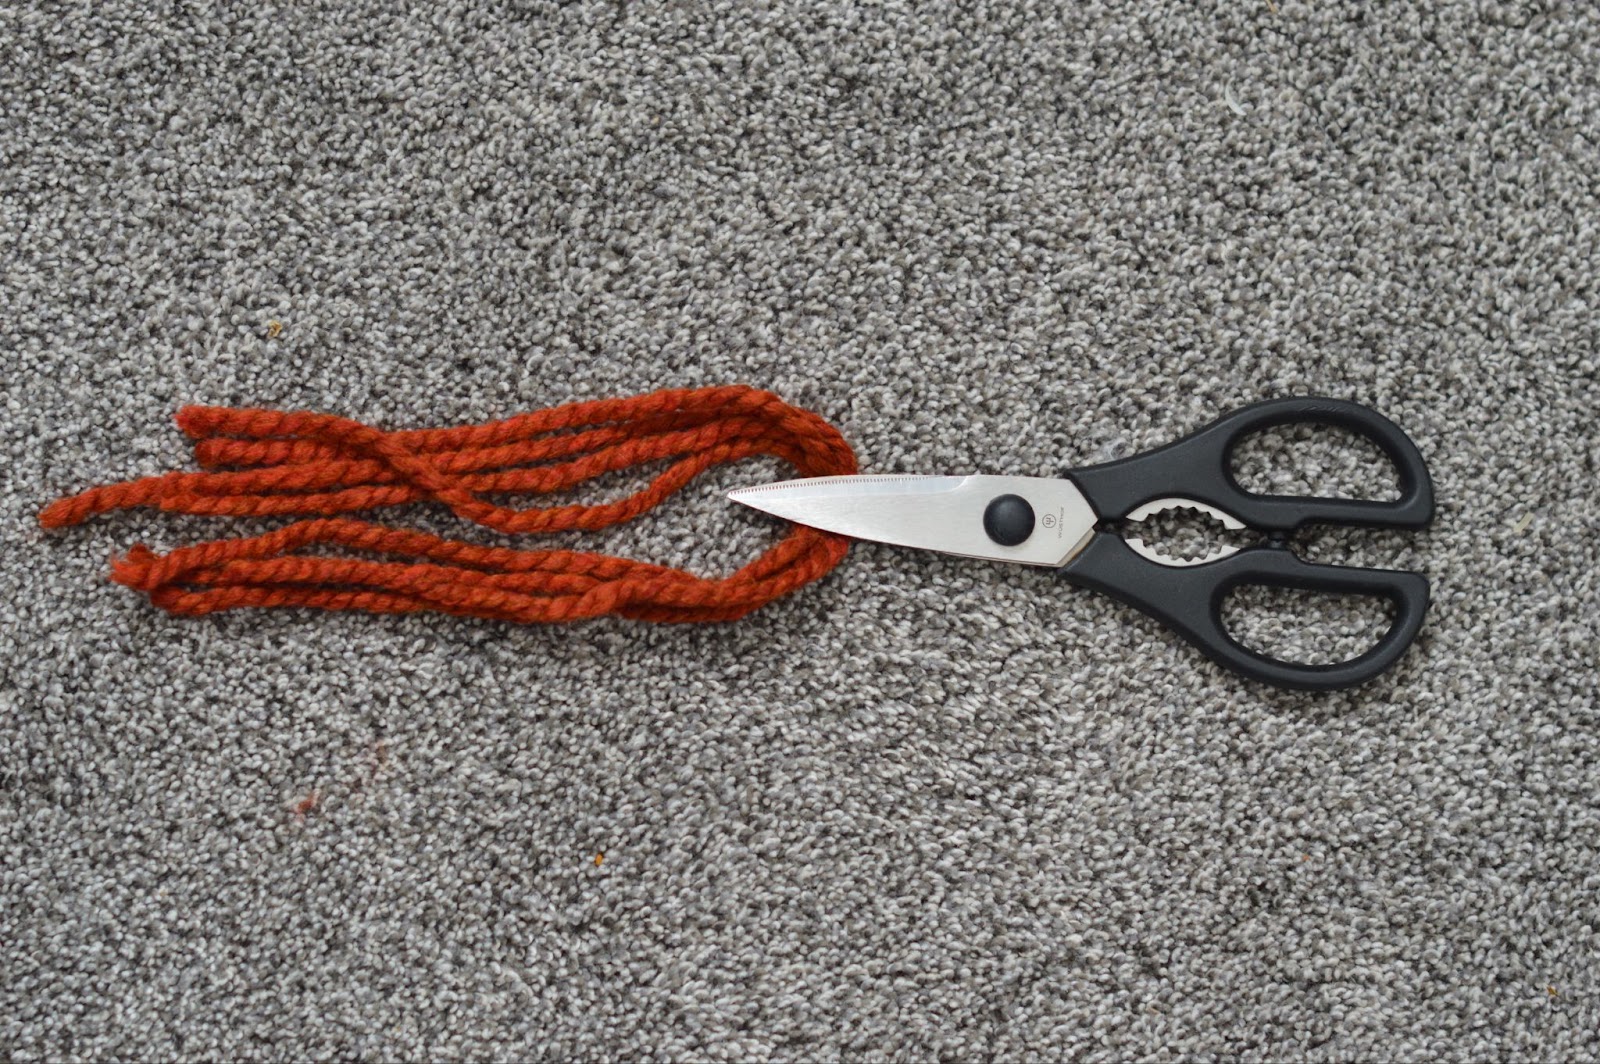
6 – You’re done!
Brushing the Yarn
1 – Line up the yarn strands (4-8 strands depending on the chunkiness of the yarn) so they line up on the ends.
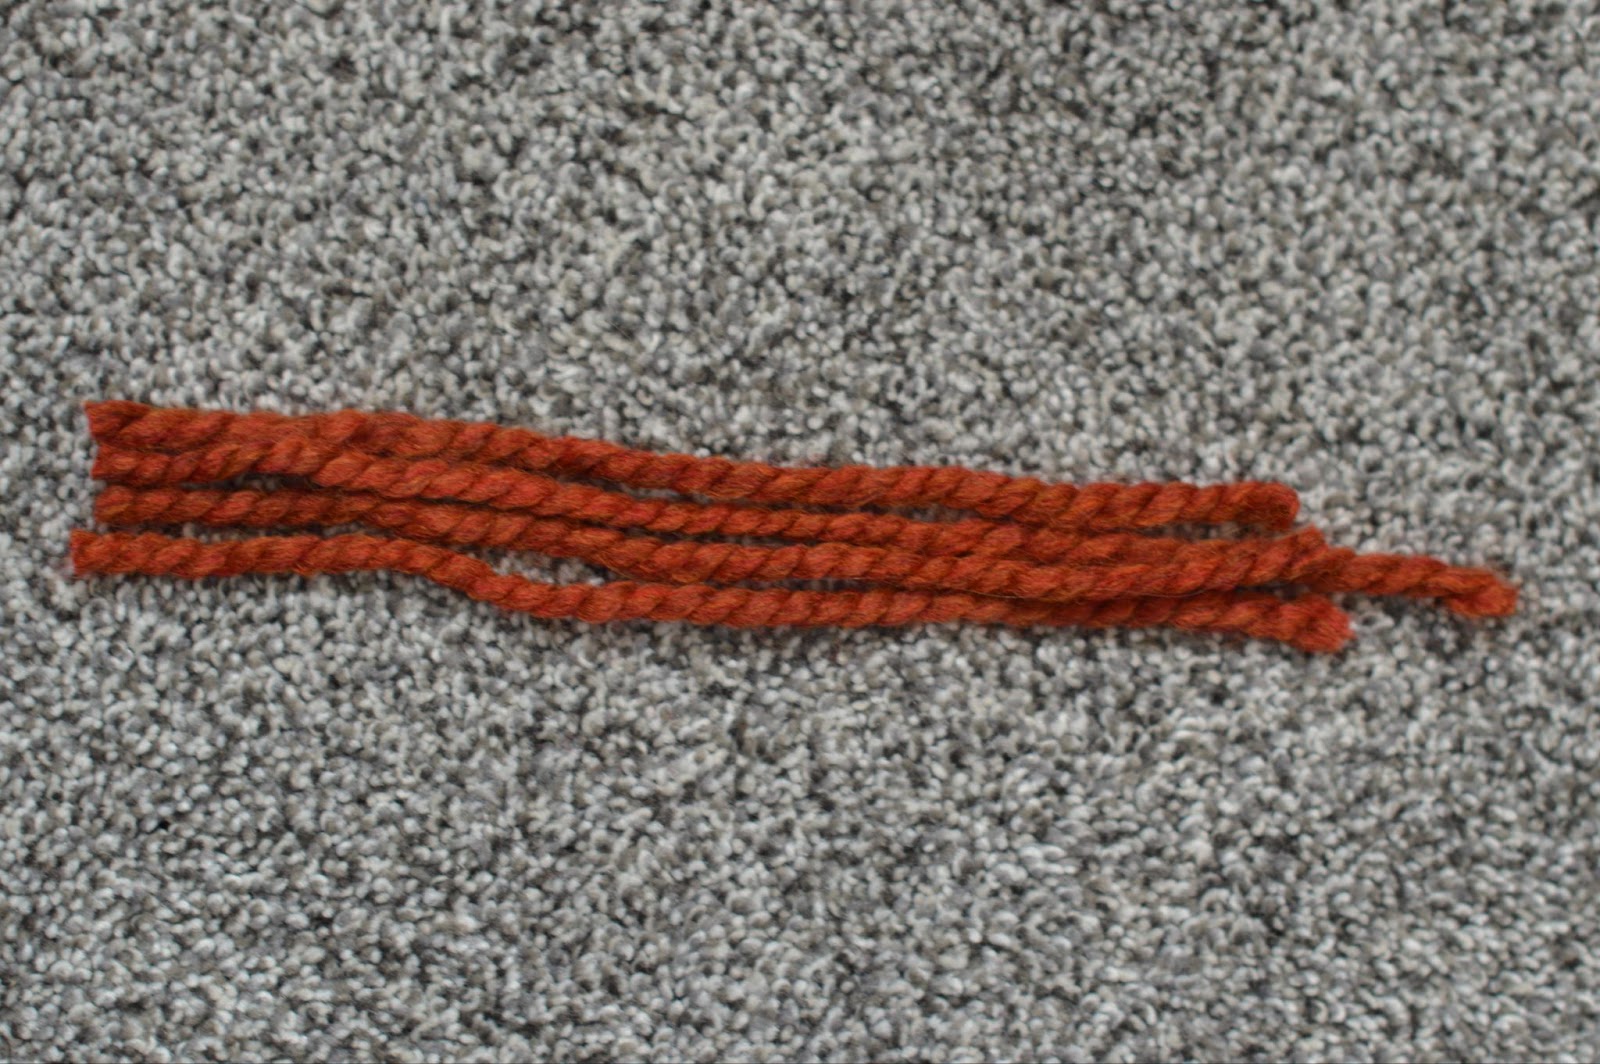
For this chunkier yarn, I used four but for this thinner one below, I used six.

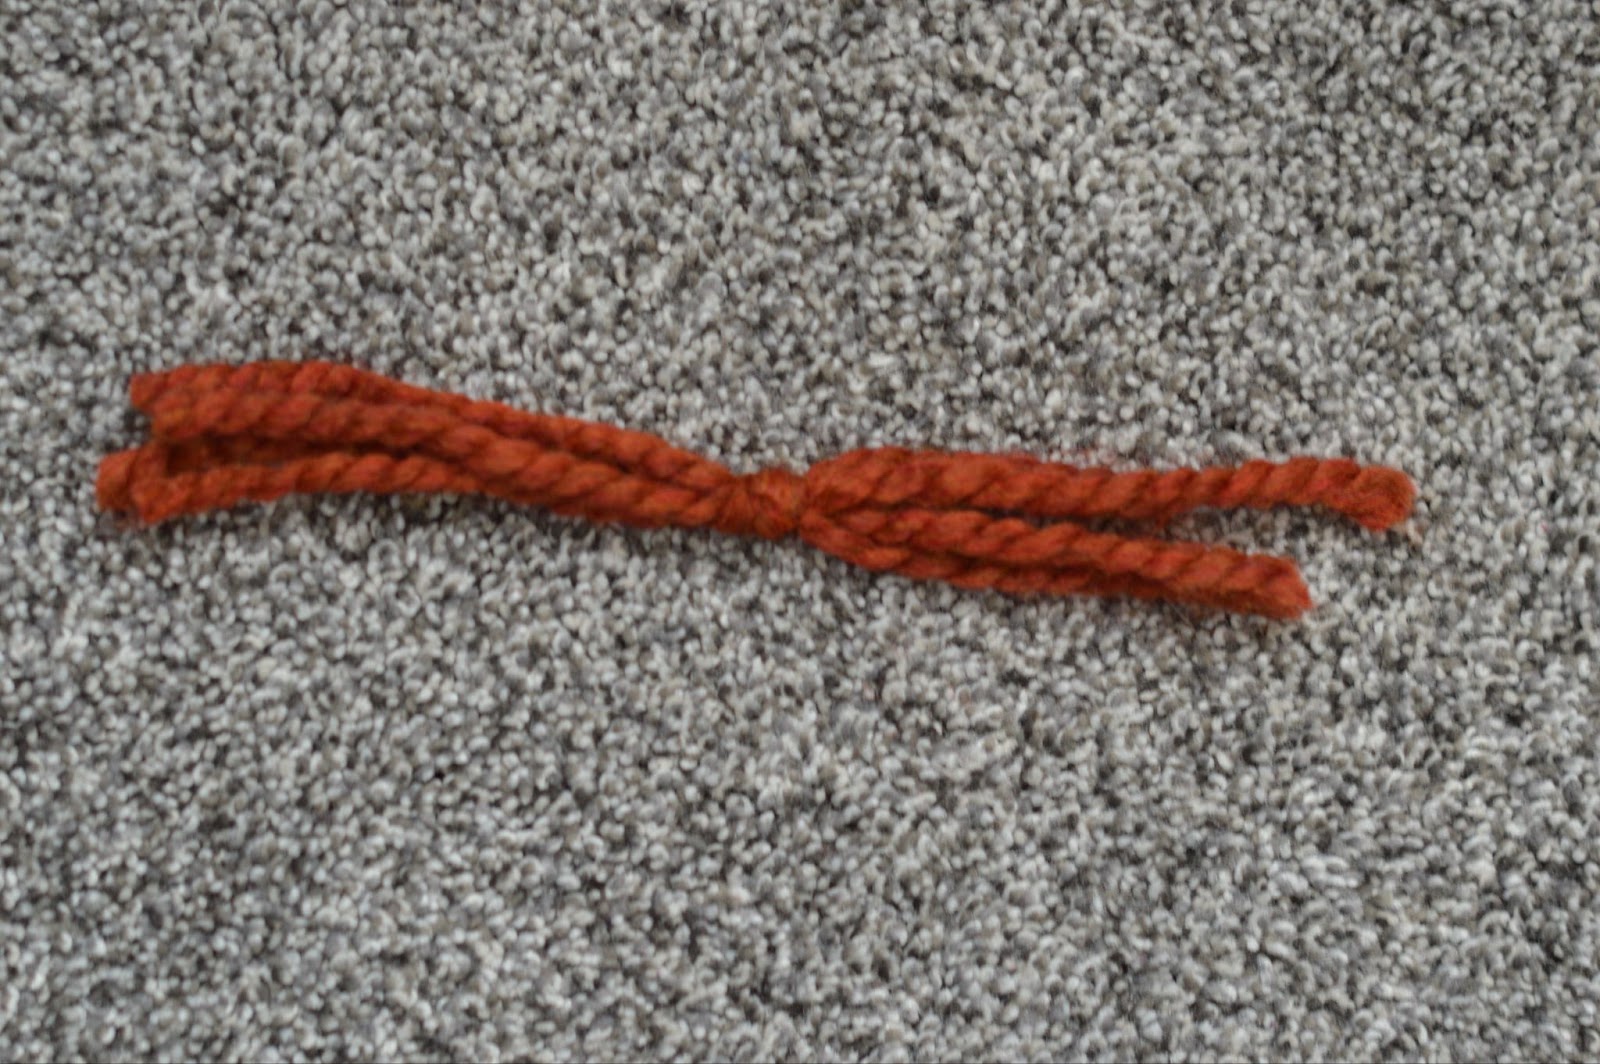
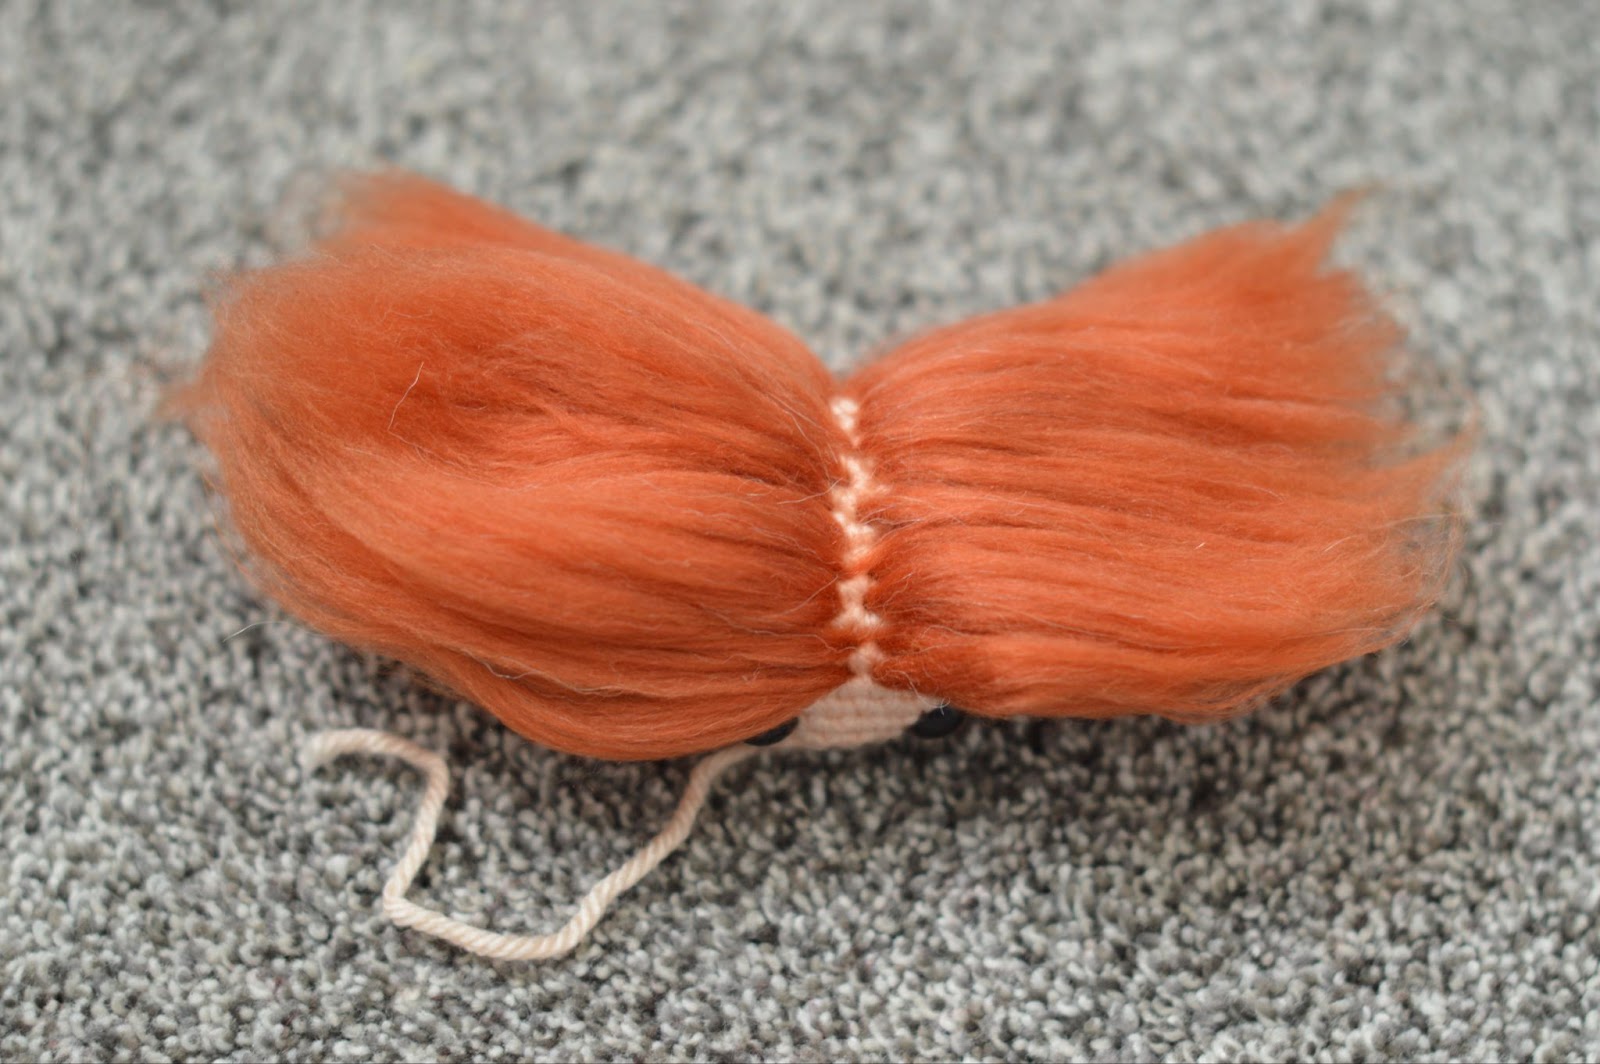
2 – Tie a knot directly in the middle of the strands, tying them all together.
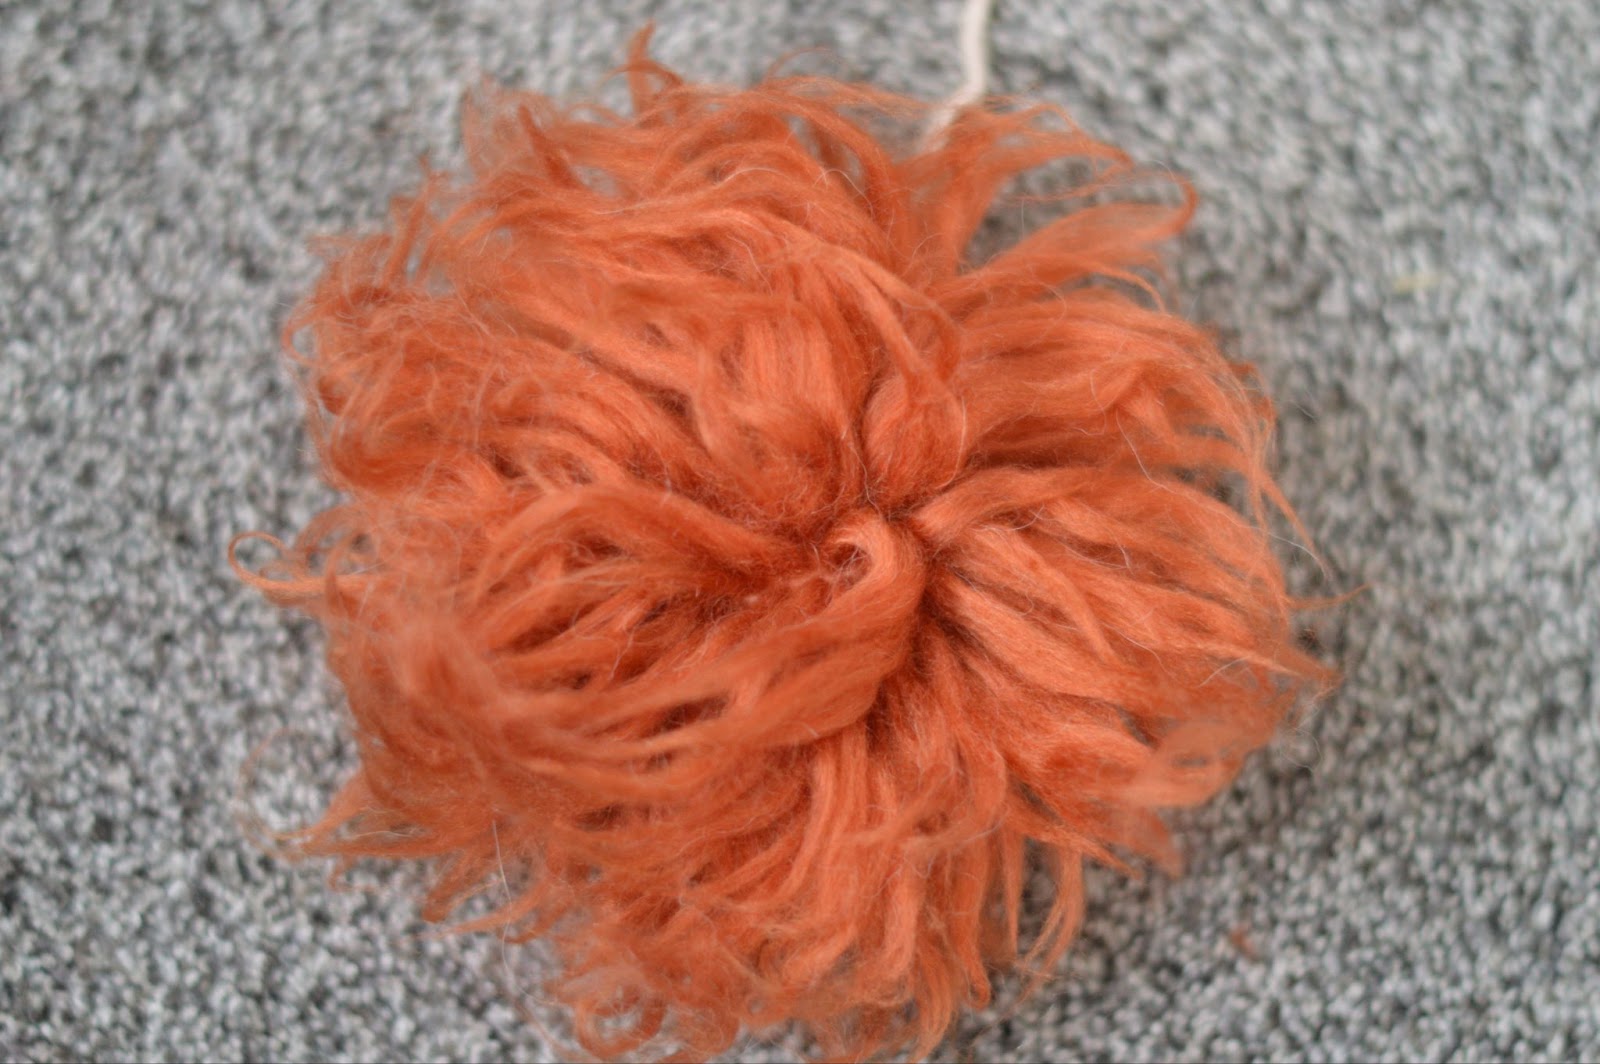
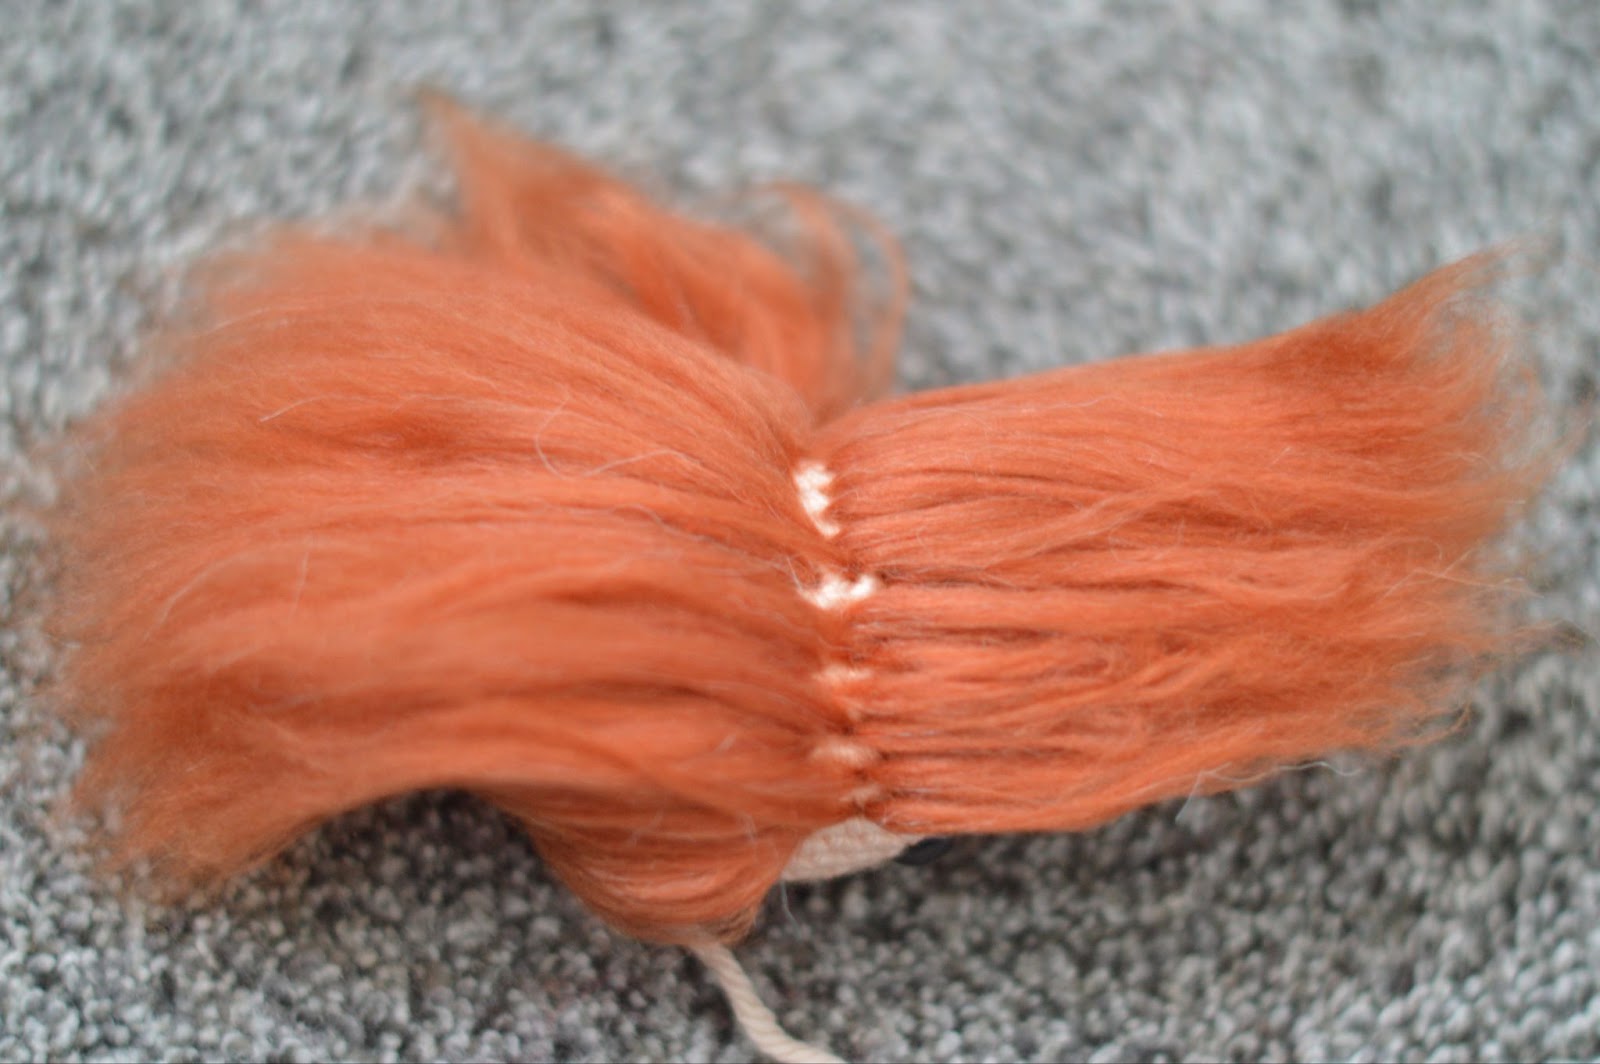
3 – Take your metal dog brush and brush all of the strands on one side of the knot you just tied until they look like wispy troll hair. Start at the tips and make your way down to the root like this.
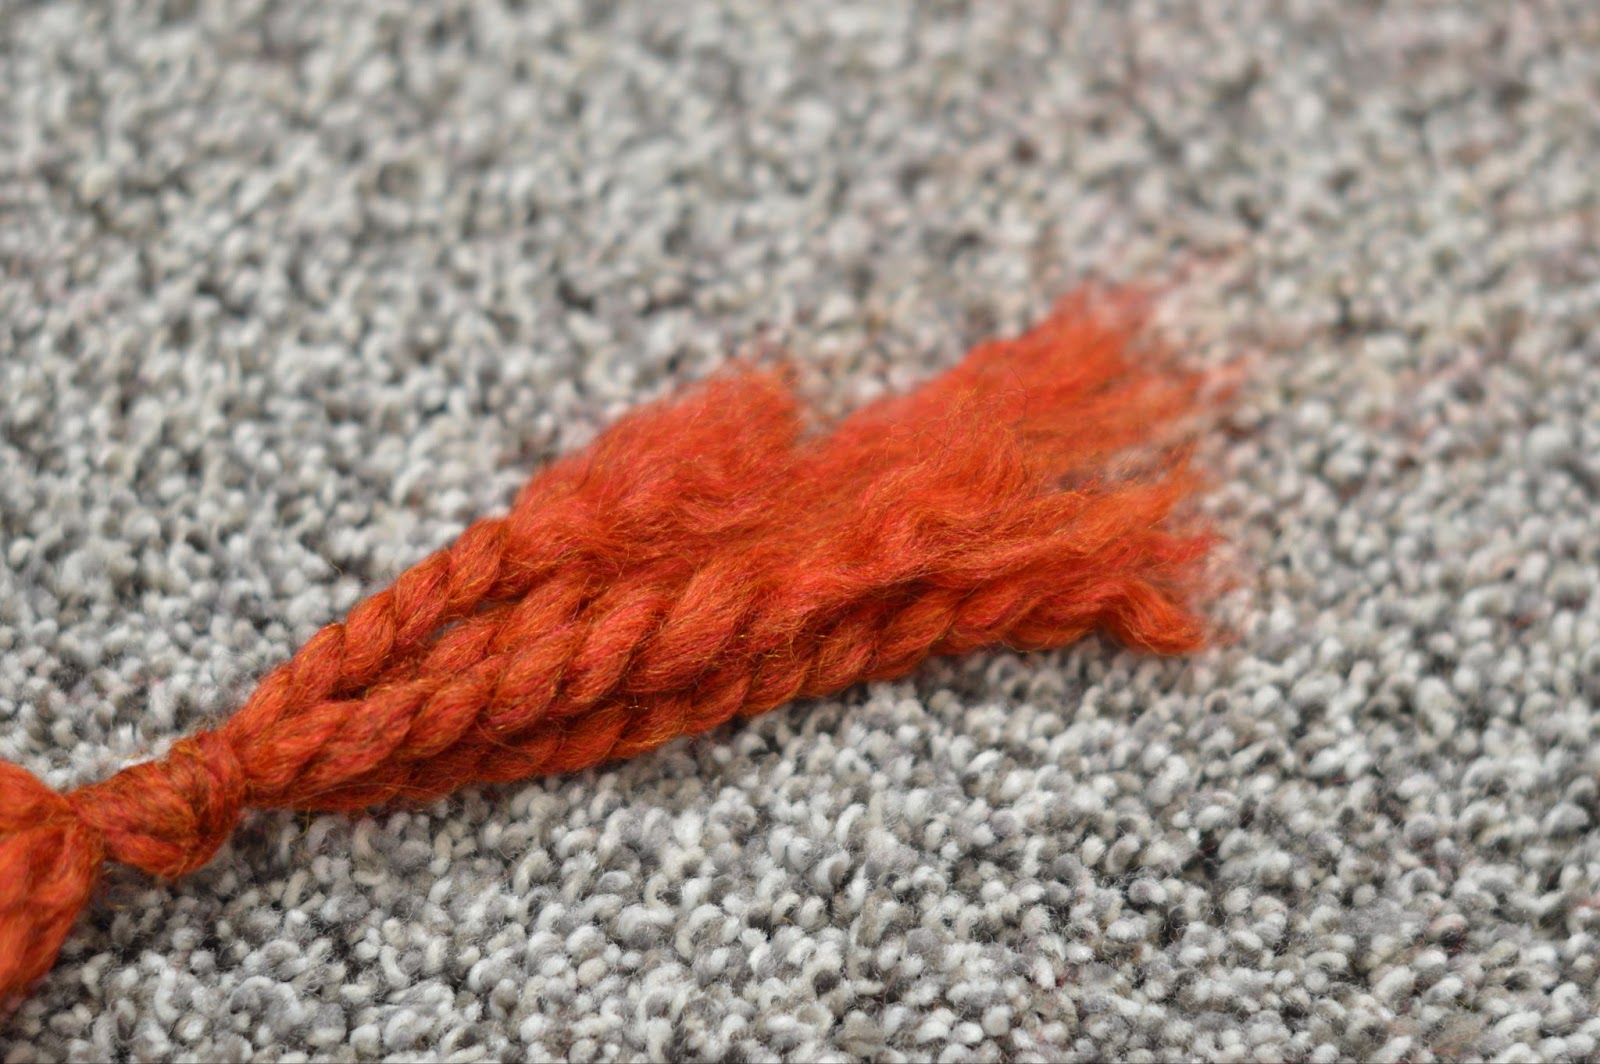
And to the roots.
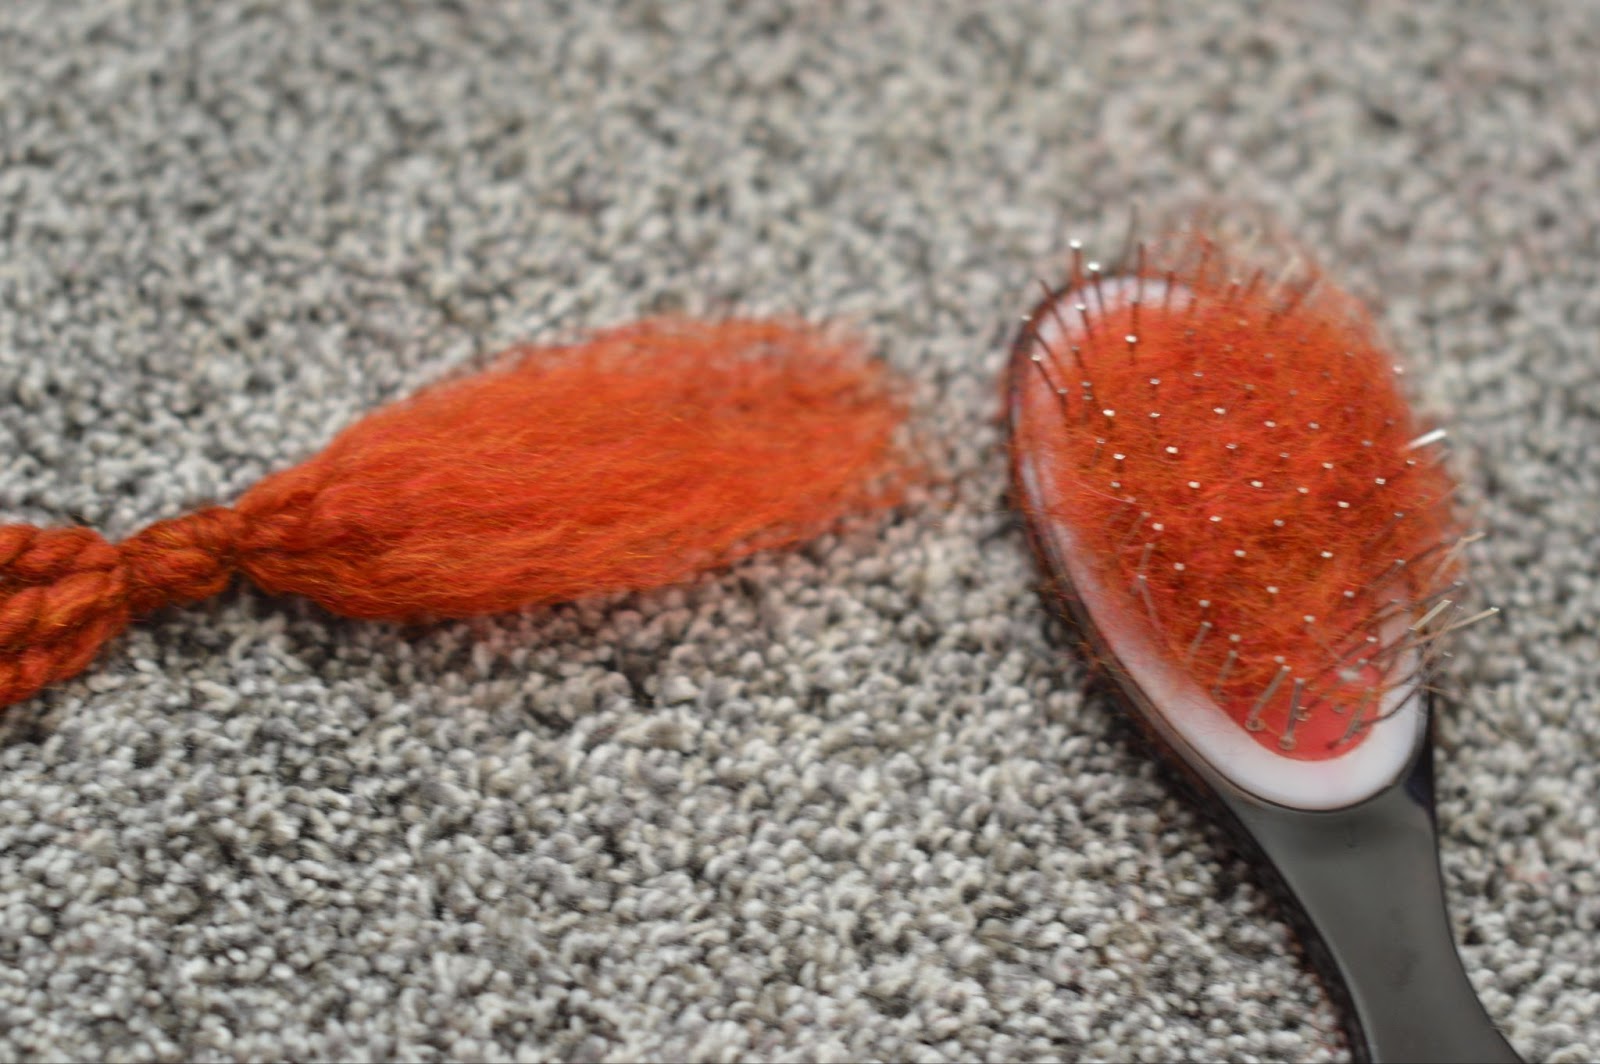
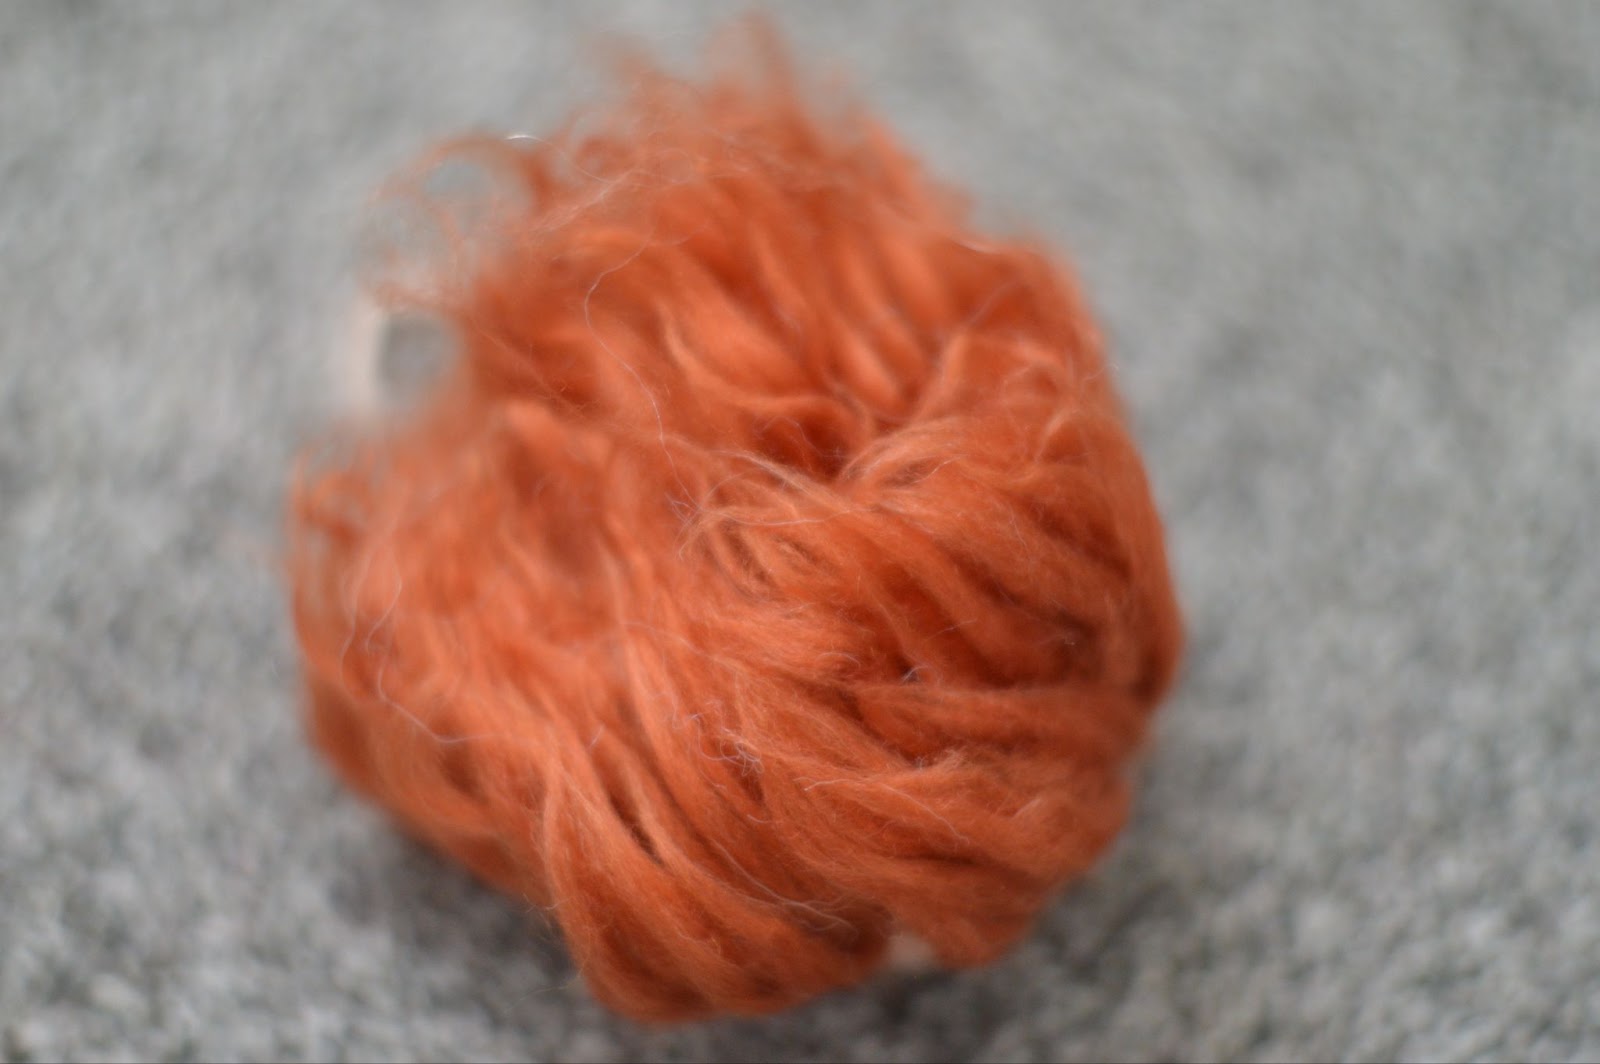
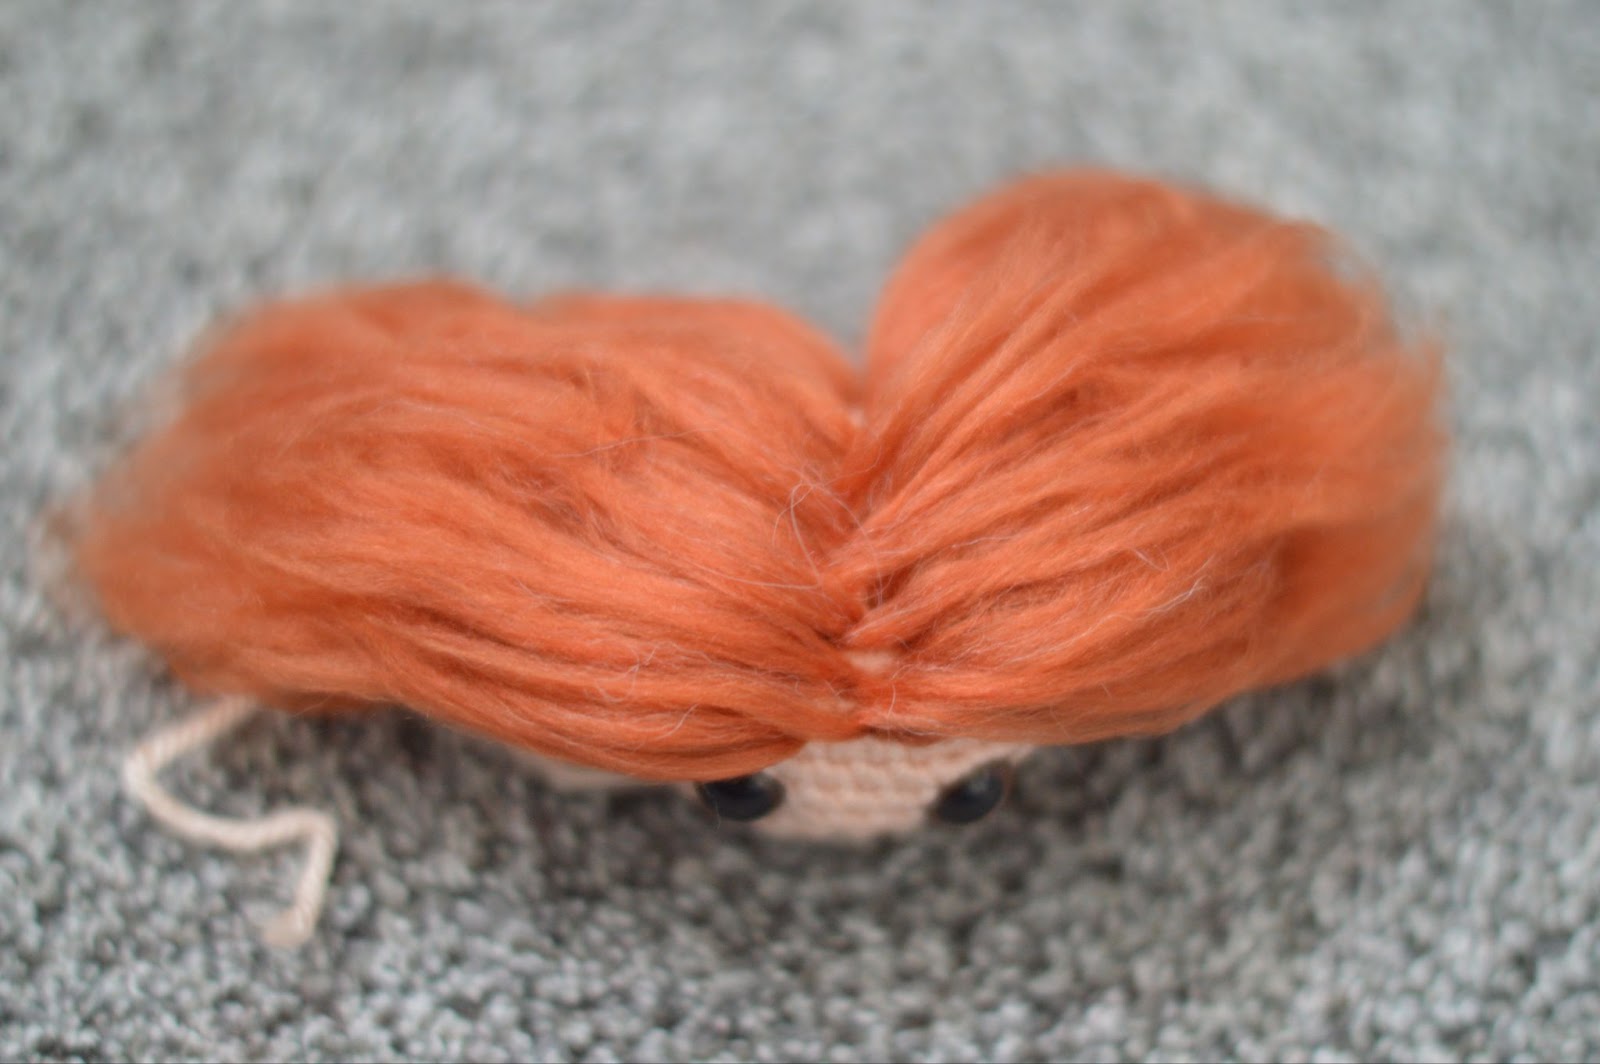
Keep in mind that different types and thicknesses of yarn brush out differently. For example, the one above is a lot bushier and frizzy than the pink/orange one below.
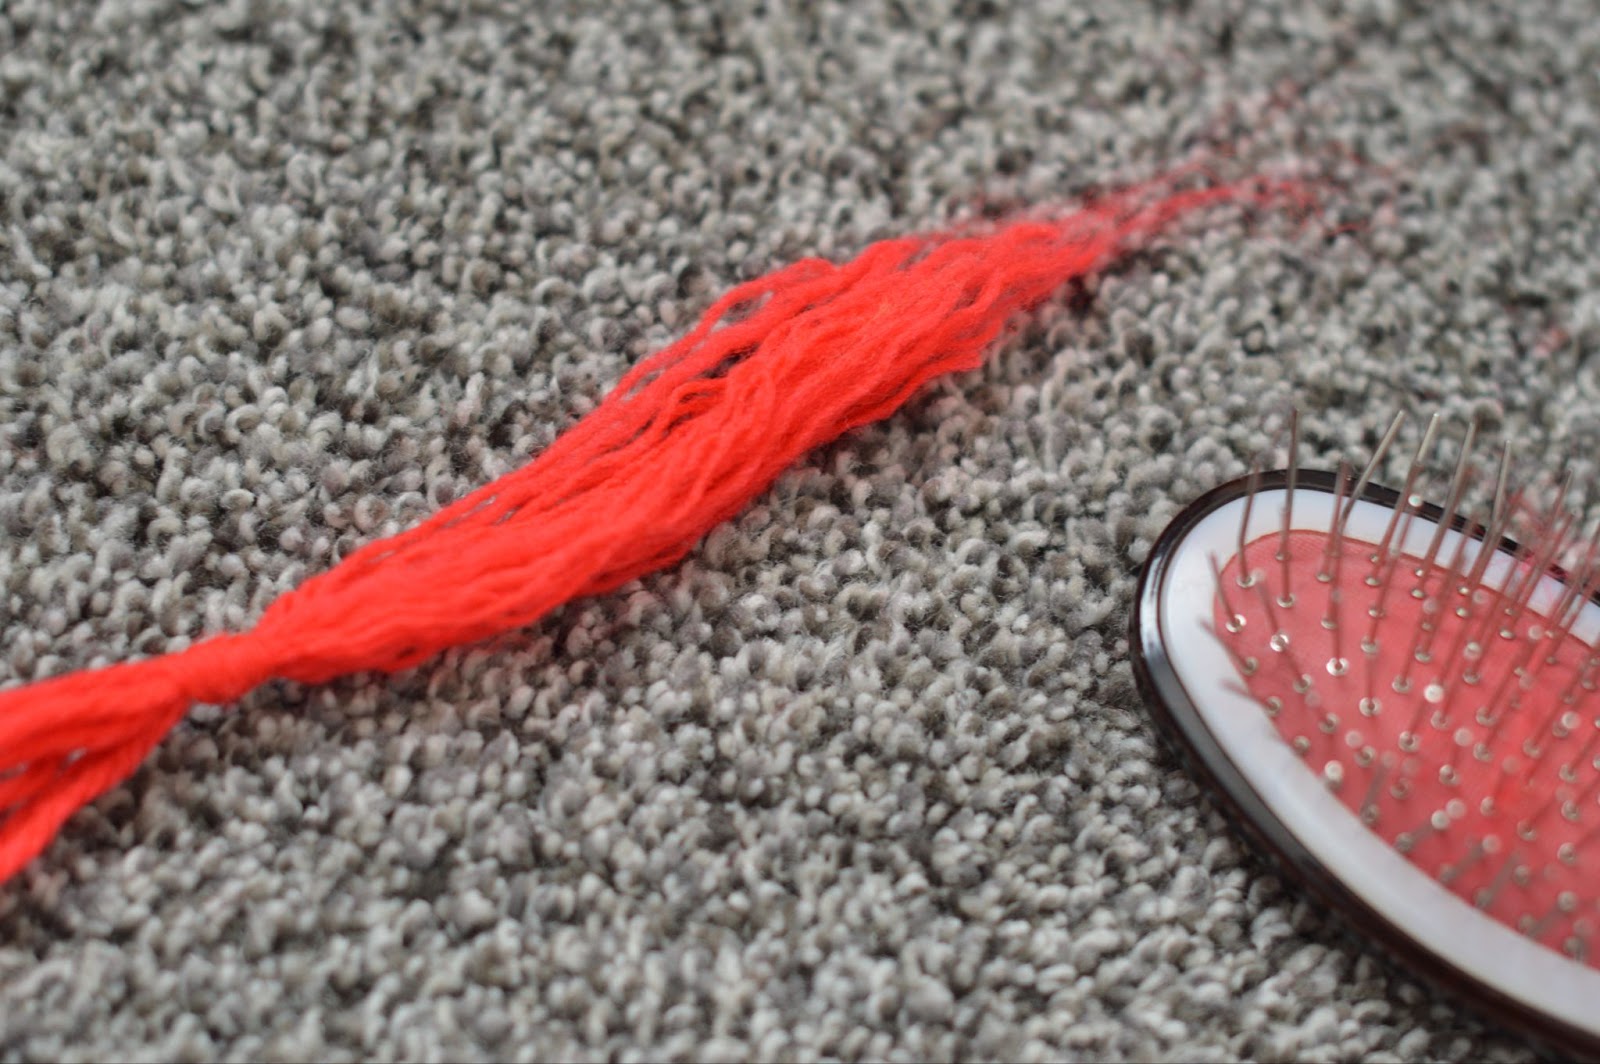
(And this one looks like a bunch of strings when it’s at its half-way point)
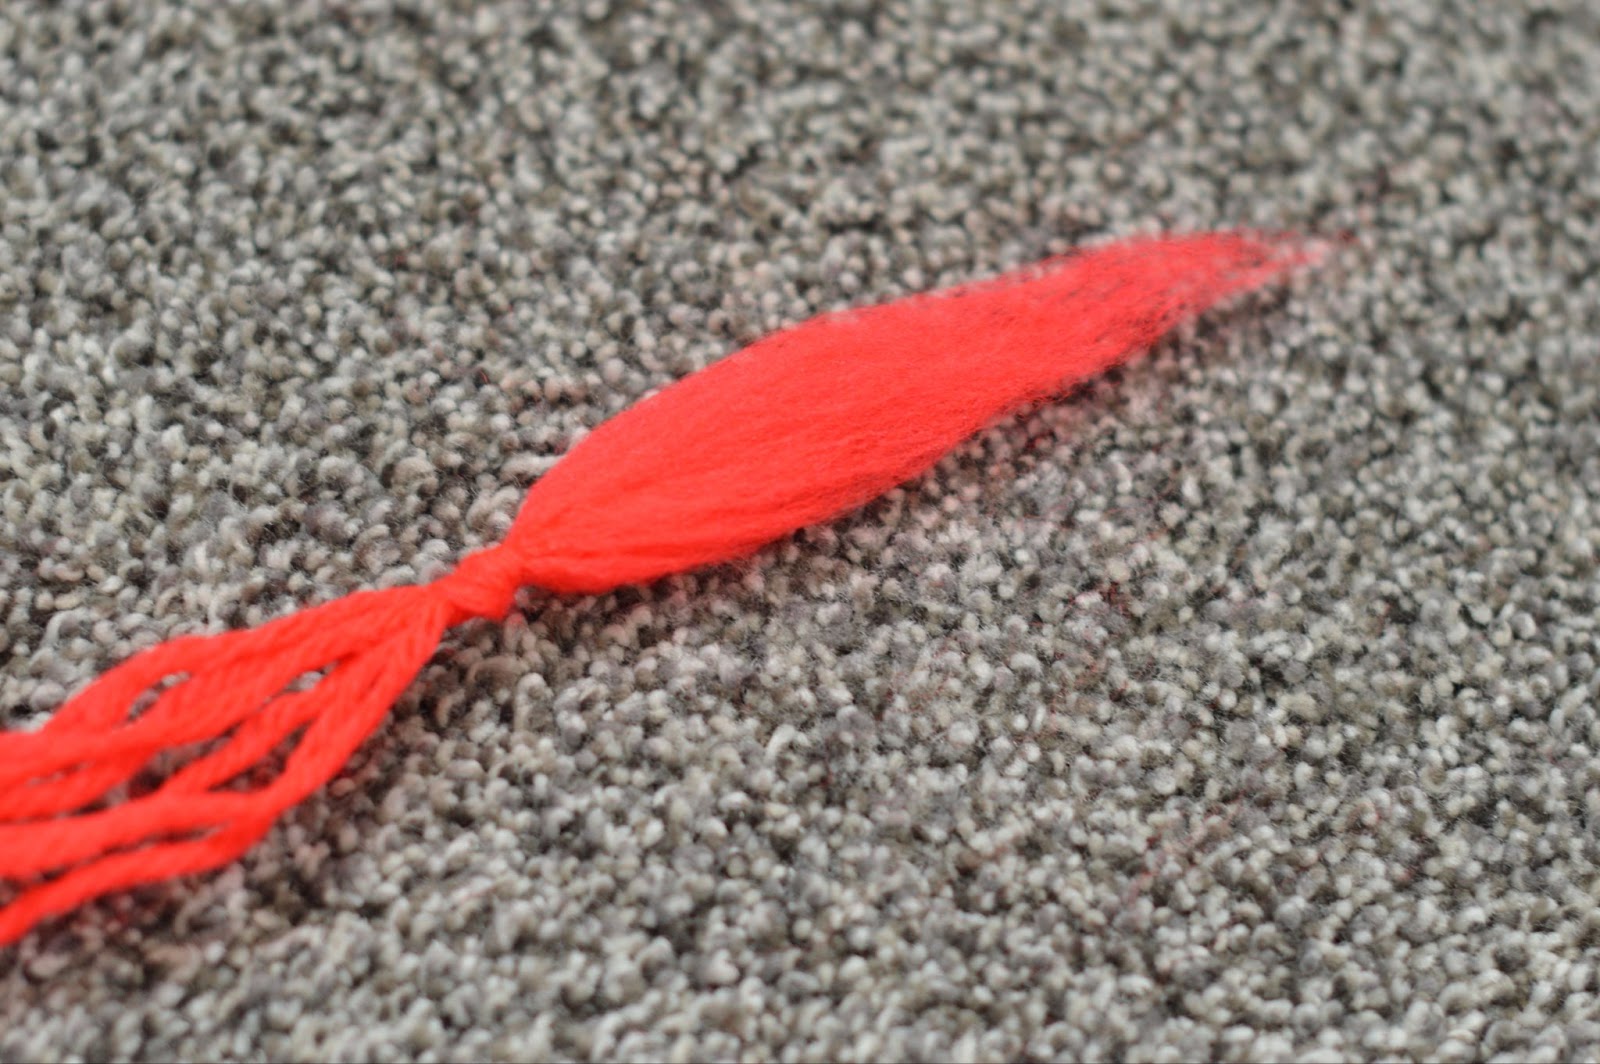
See how smooth it is? Both are good, it just makes for a different overall hair texture, so just be mindful of that.
4 – Repeat on the other side and you’re done!
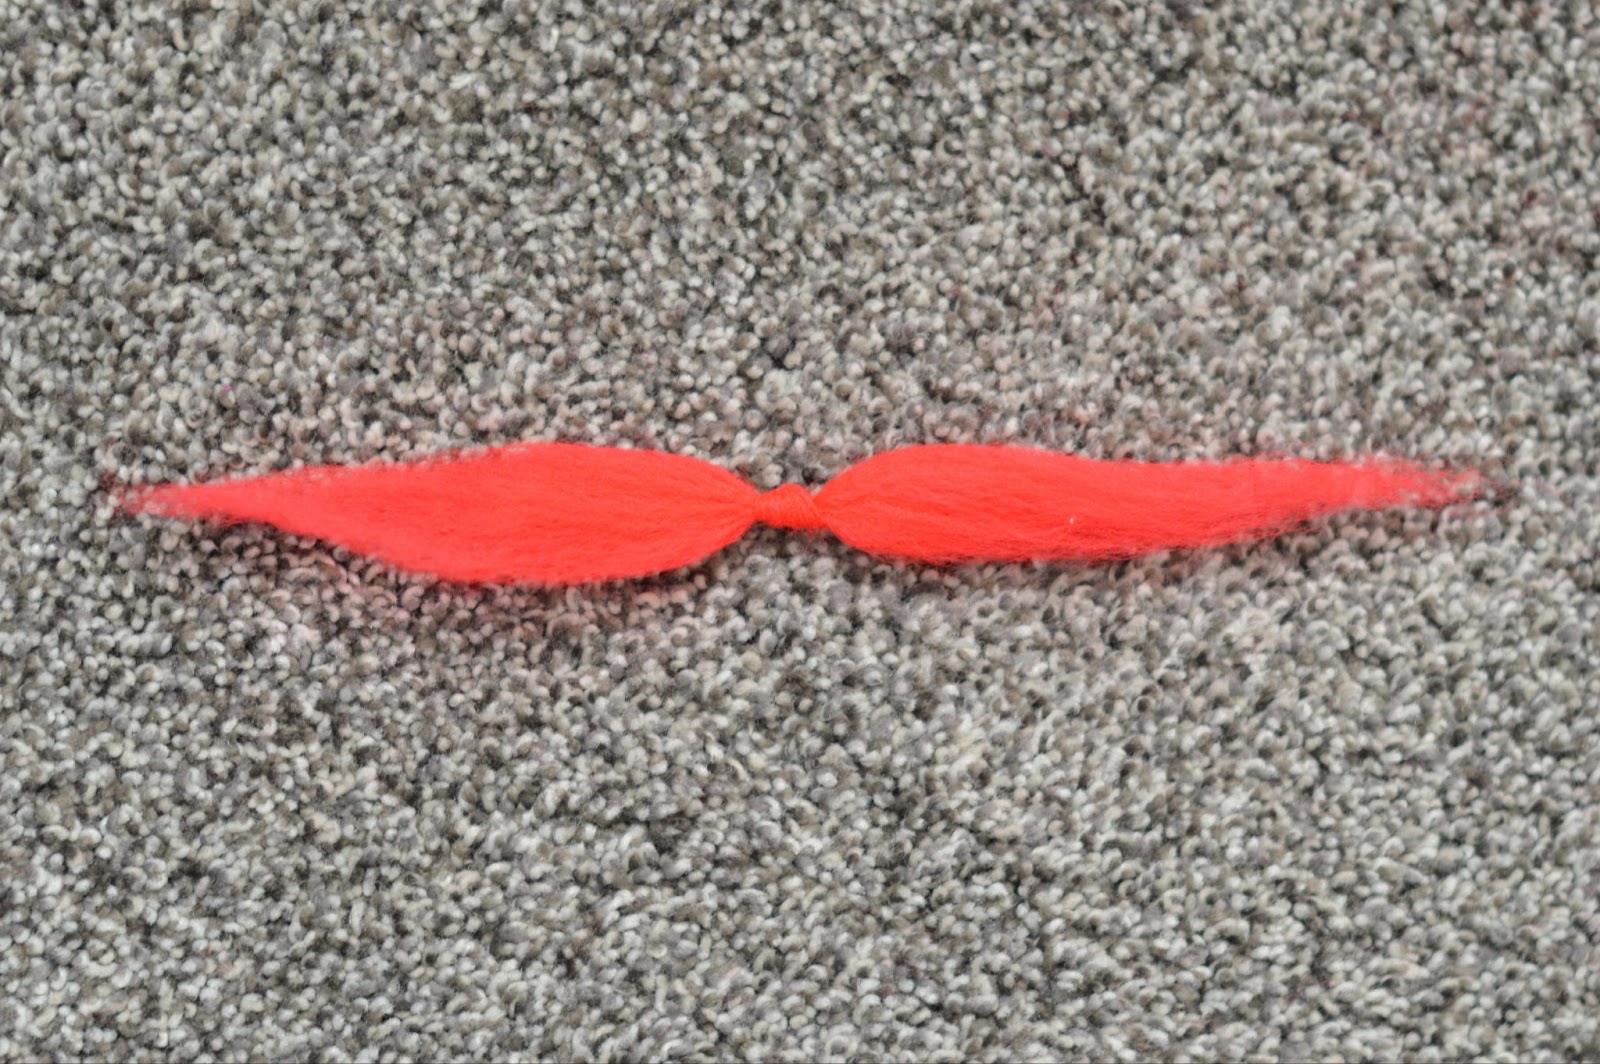
(It looks a little like a mustache)
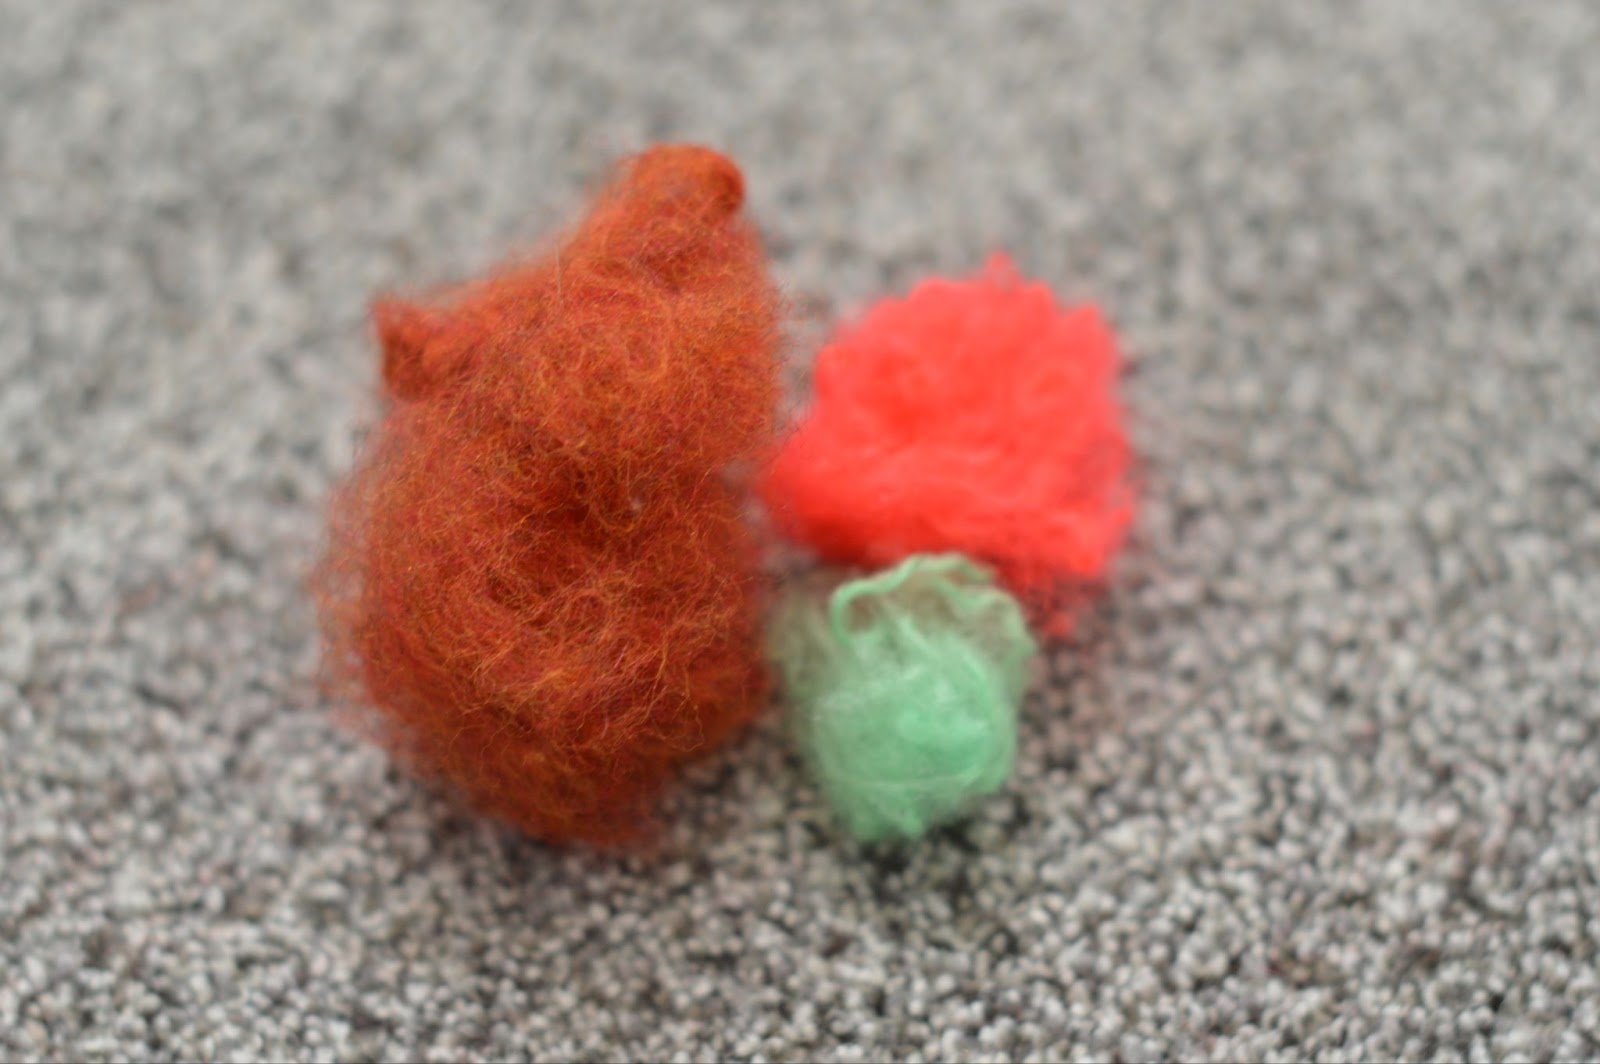
Little side note: you’ll have a lot of little balls of fluff that you can use for felting if you’re into felting.
Rooting the Hair in a Head
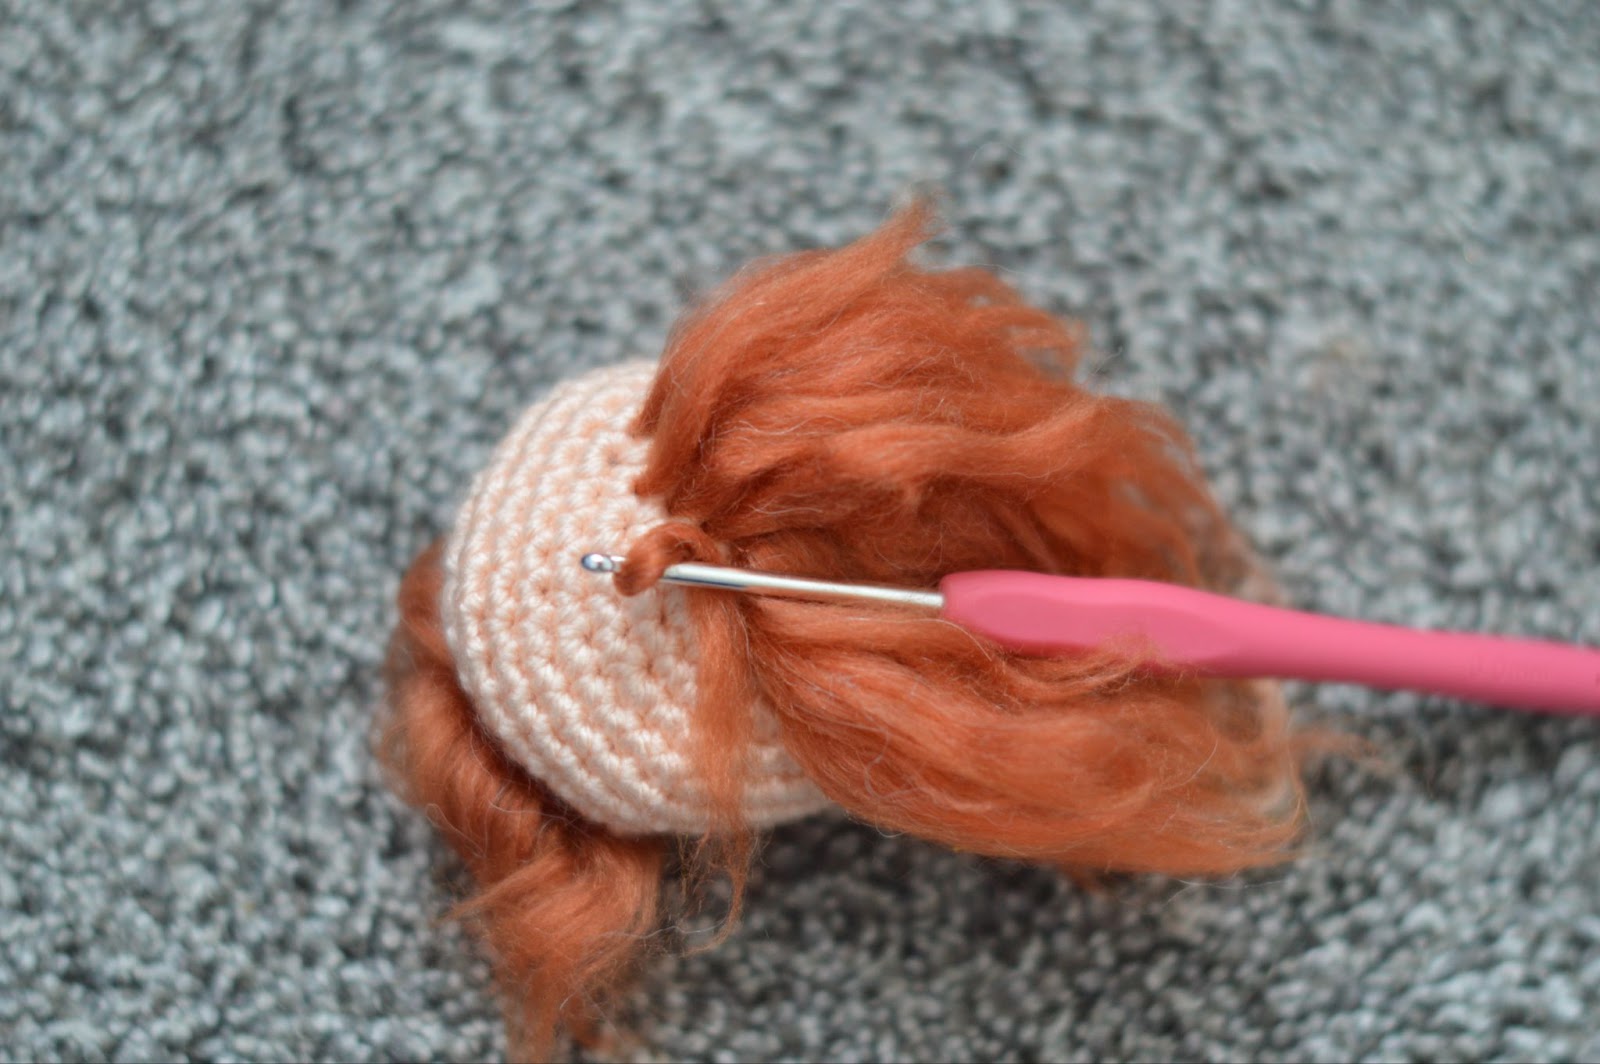
1 – Make sure the head has a hole at the bottom big enough to fit a hook and the wisp of hair’s knot size – Which is the thickest part of the wisp. I’m using a half-finished head and very smooth hair. (The free pattern for the head is in one of my other blog posts)
2 – Insert the hook into the middle stitch at the center of the head.
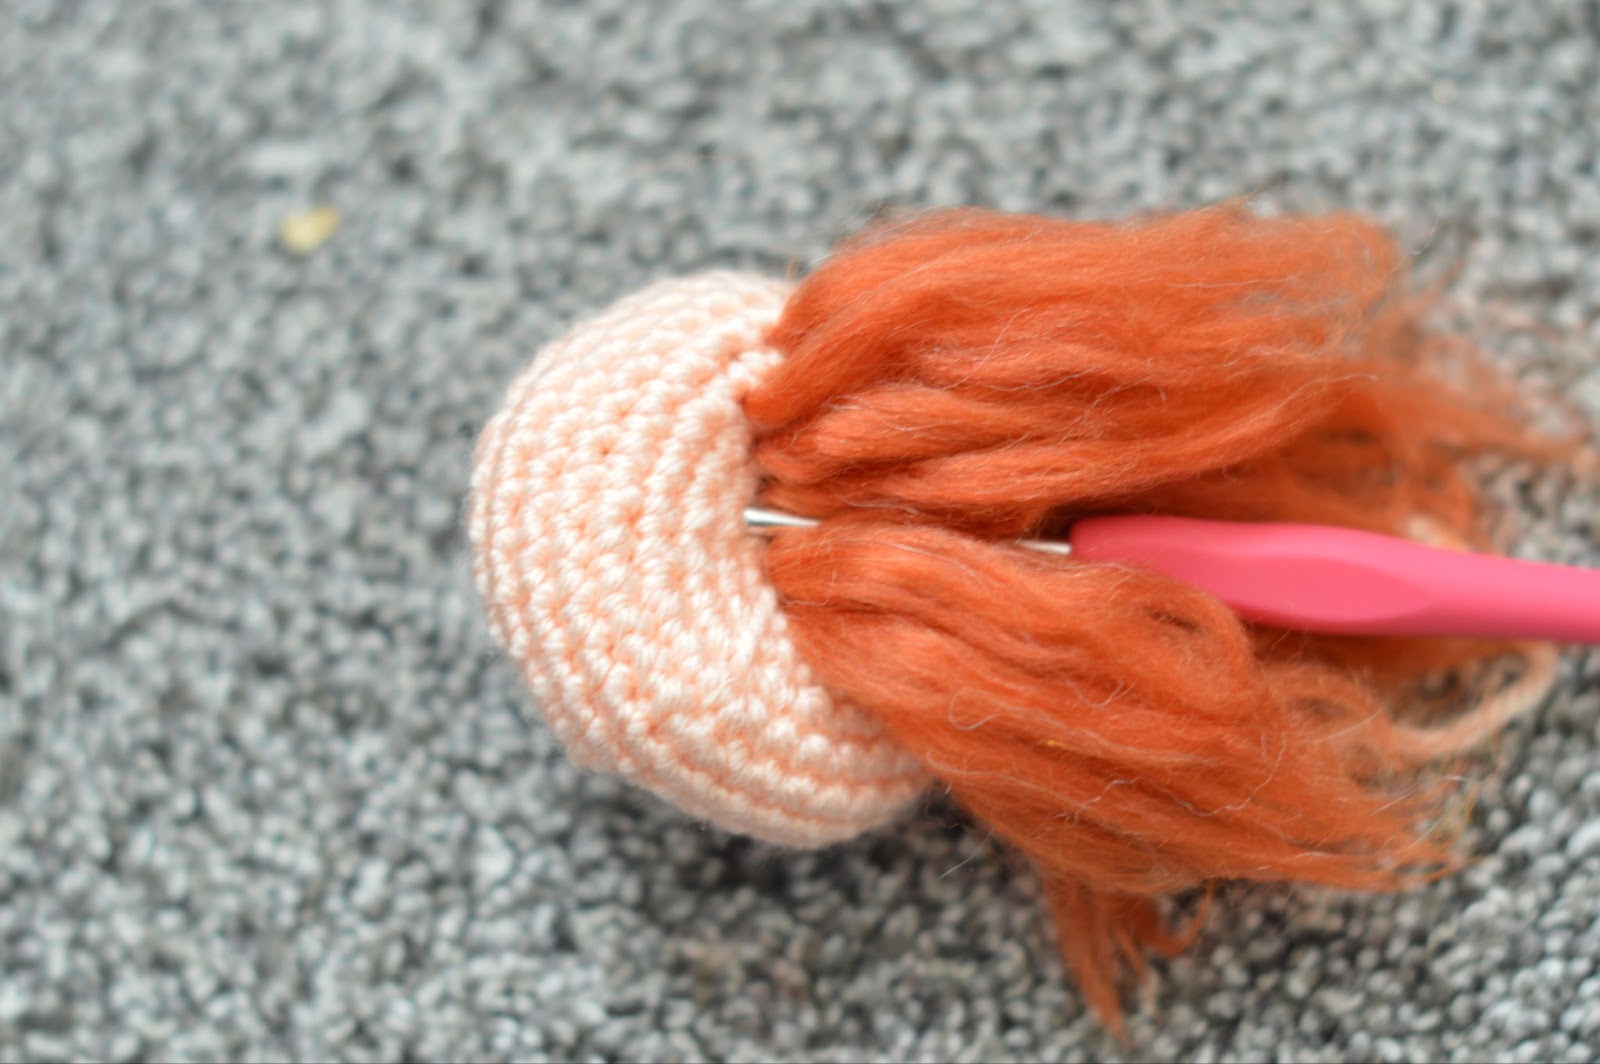
3 – Take a section of the wisp and wrap it around the hook.
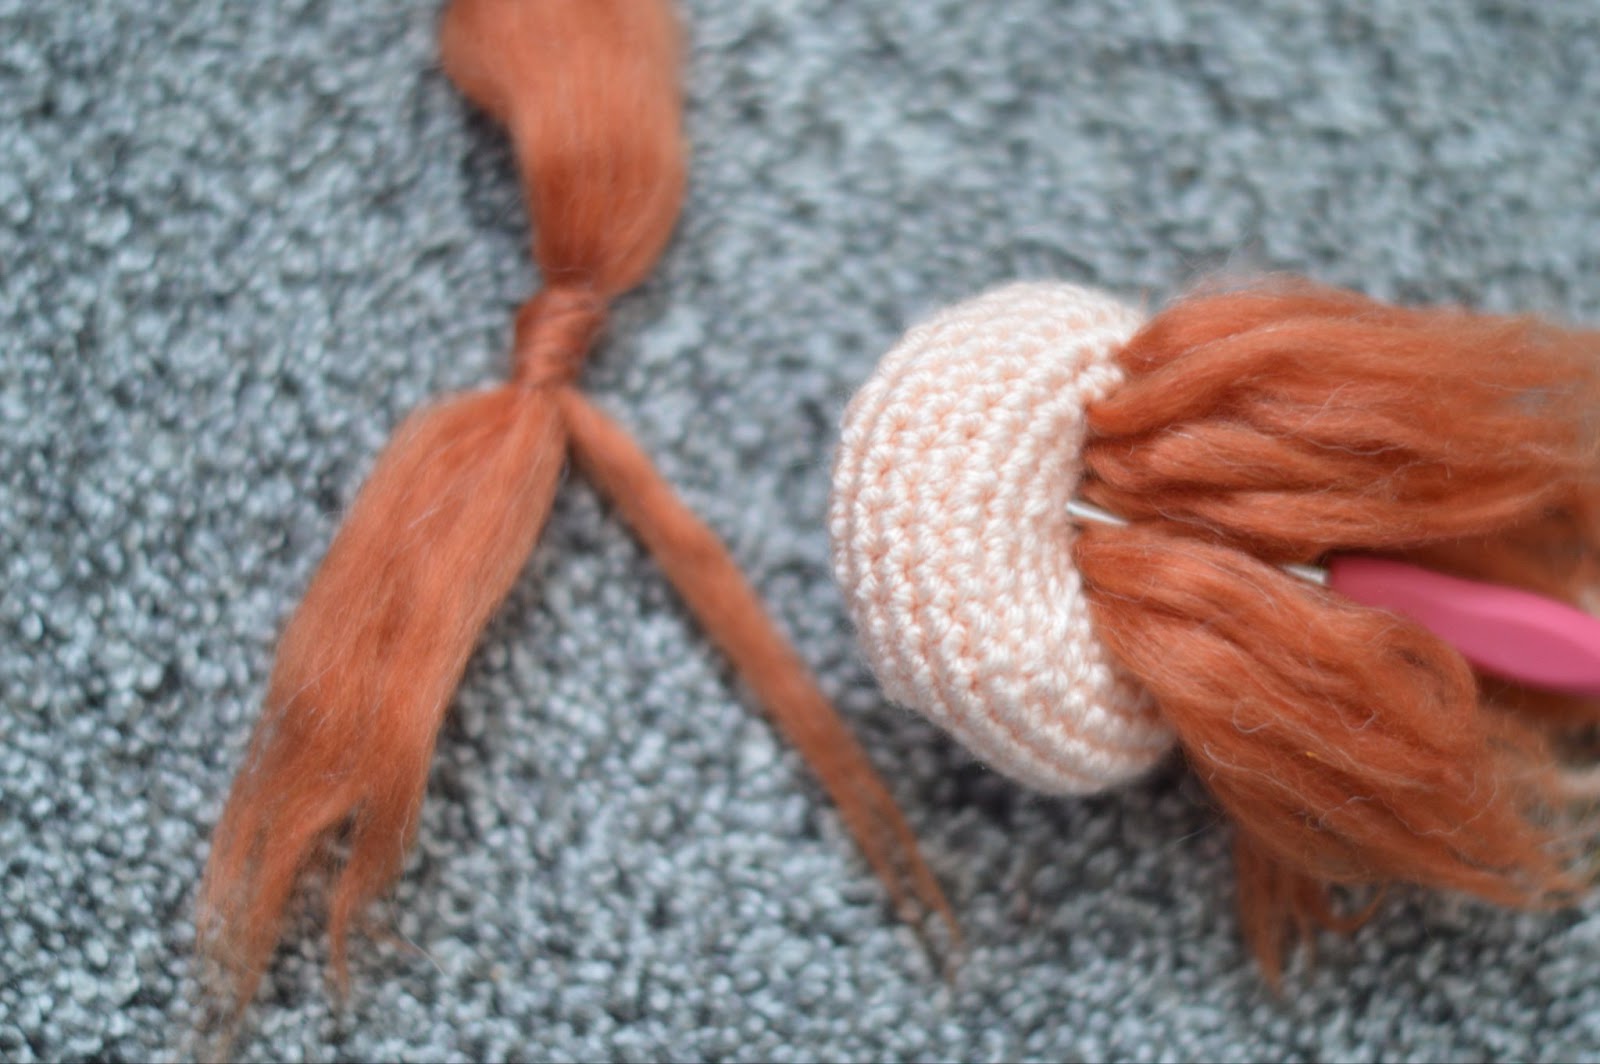
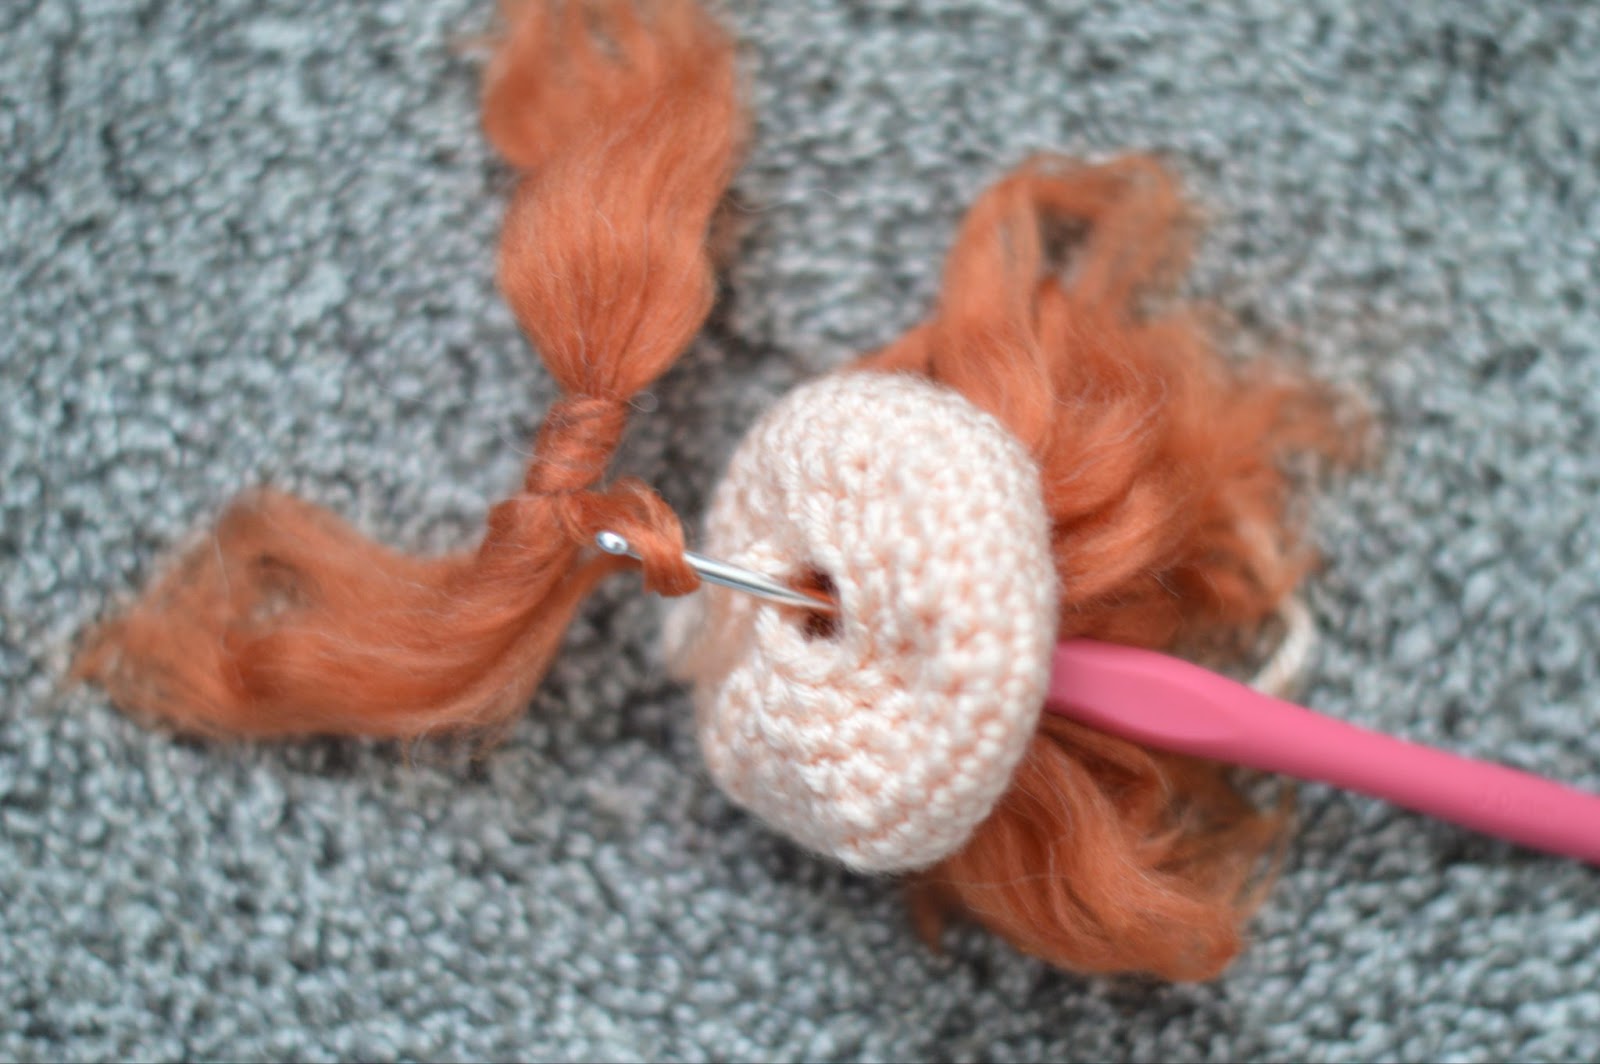
4 – Pull the hook with the hair wisp section through the stitch your hook was inserted into. Depending on the desired thickness of the yarn hair, you’ll increase or decrease the size of the section that you pull through each stitch. I used pretty small sections for this example. You never want to do bigger than half of a wisp (one side of a wisp).
5 – Repeat around the entirety of the top of the head until you feel satisfied with the look and thickness. It will take a LOT of adding hair to make a full head of hair (as long as you don’t want your doll to have a bald spot)
6 – You’re done!
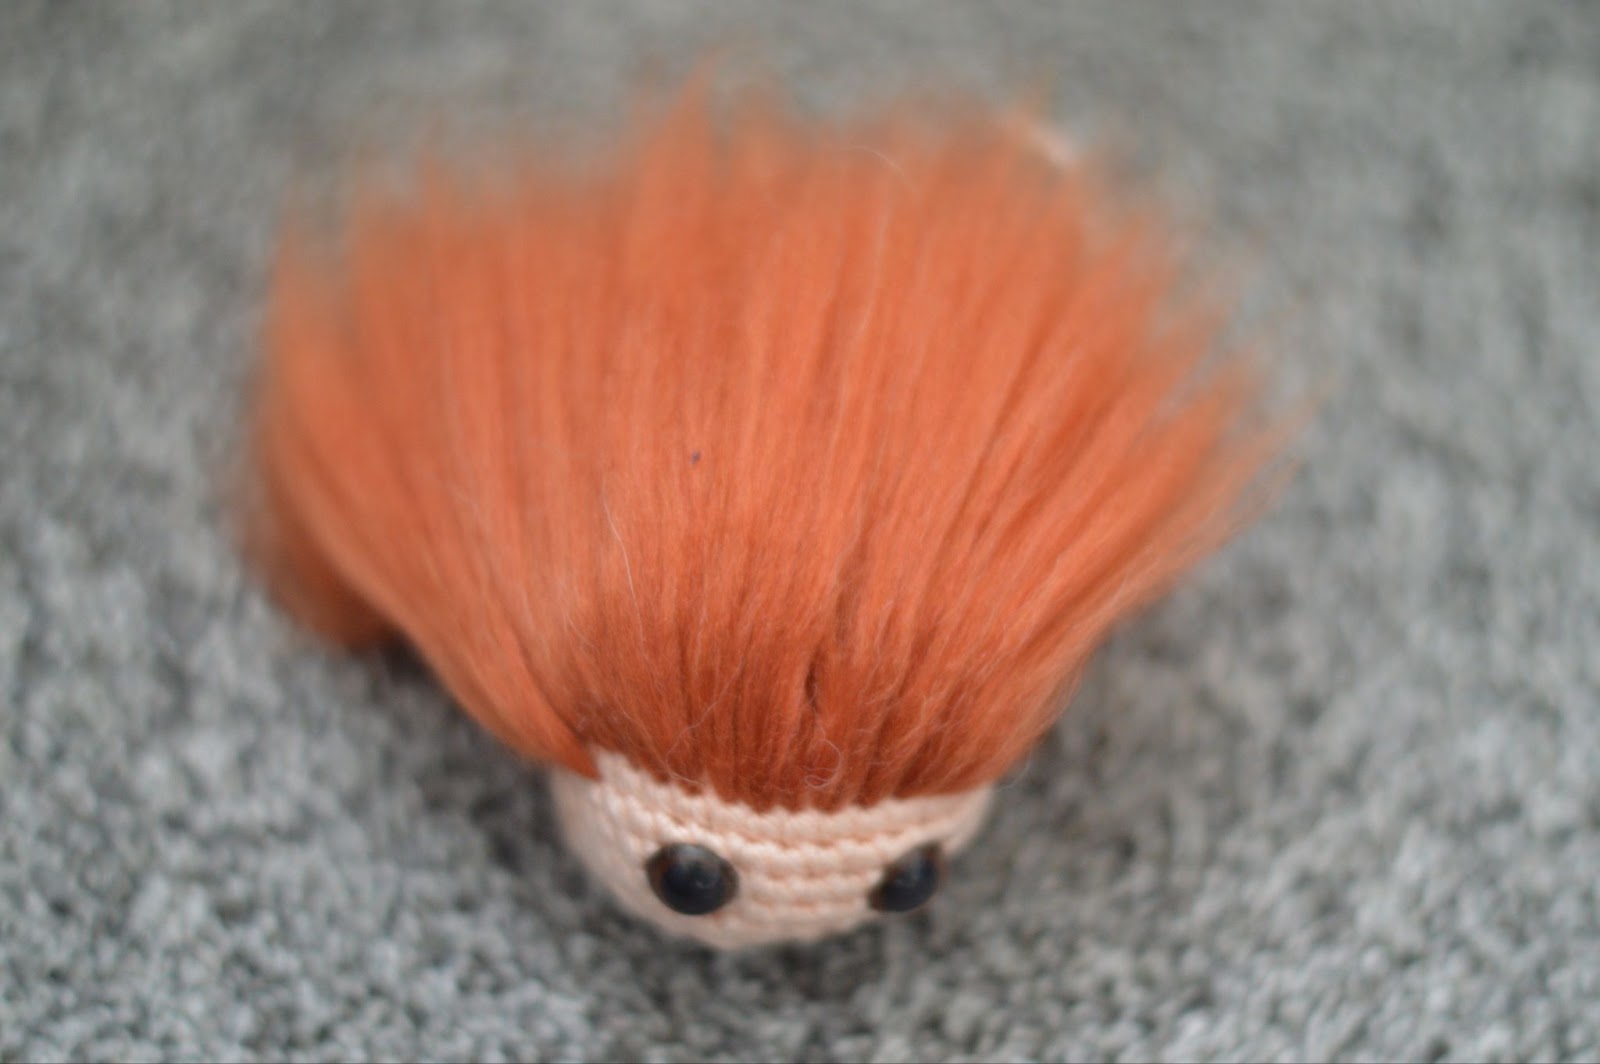
After you put eyes on it and stuff the head, the head is ready to be put on a body. I suggest waiting to style it until after the body is complete and attached.
Styling!
How do you style your doll’s hair after it’s done? Or how do you cut it? Since this kind of hair is a little different from normal hair, it can be a little odd to cut and style but, trust me, it’s WAY easier than real hair.
Cutting
When cutting hair, it can feel like a lot of pressure. You just want to make it look good! Though I’m no cosmetologist or hair stylist, I have the basic idea of how to cut doll hair.
The hardest part is going to be if you’re cutting it short and you gave the doll very thin hair. It will take lots of shaping to remedy that haha.
Some tips for cutting doll hair in this style and format is to do it very generally. It’s kind of like a mix between clay and normal hair, since it’s difficult to cut individual “strands”, since it’s just a little wisp of fluff. It’s hard to explain it accurately enough since there’s so many styles and cuts you can do with a full head of hair, but the gist of it is: use the heck out of your brush. It can almost erase bad cuts, as long as you brush the spot of a mess like you’re having a seizure.
Styling the Hair…
When I start styling a doll’s hair, I begin with brushing the strands of hair, because it looks like a lot of individual locks right after you finish rooting all of the hair, which gives them a very Draco Malfoy look.
When giving them a part, I split the hair where the desired part area is (which is in the middle for this example)(and I know it looks bad right now but trust me).
Then, to clean it up a bit, I take parts from both sides of the part and split them like this:
And then you kinda have to harness your inner hair stylist and see what looks good with your desired style.
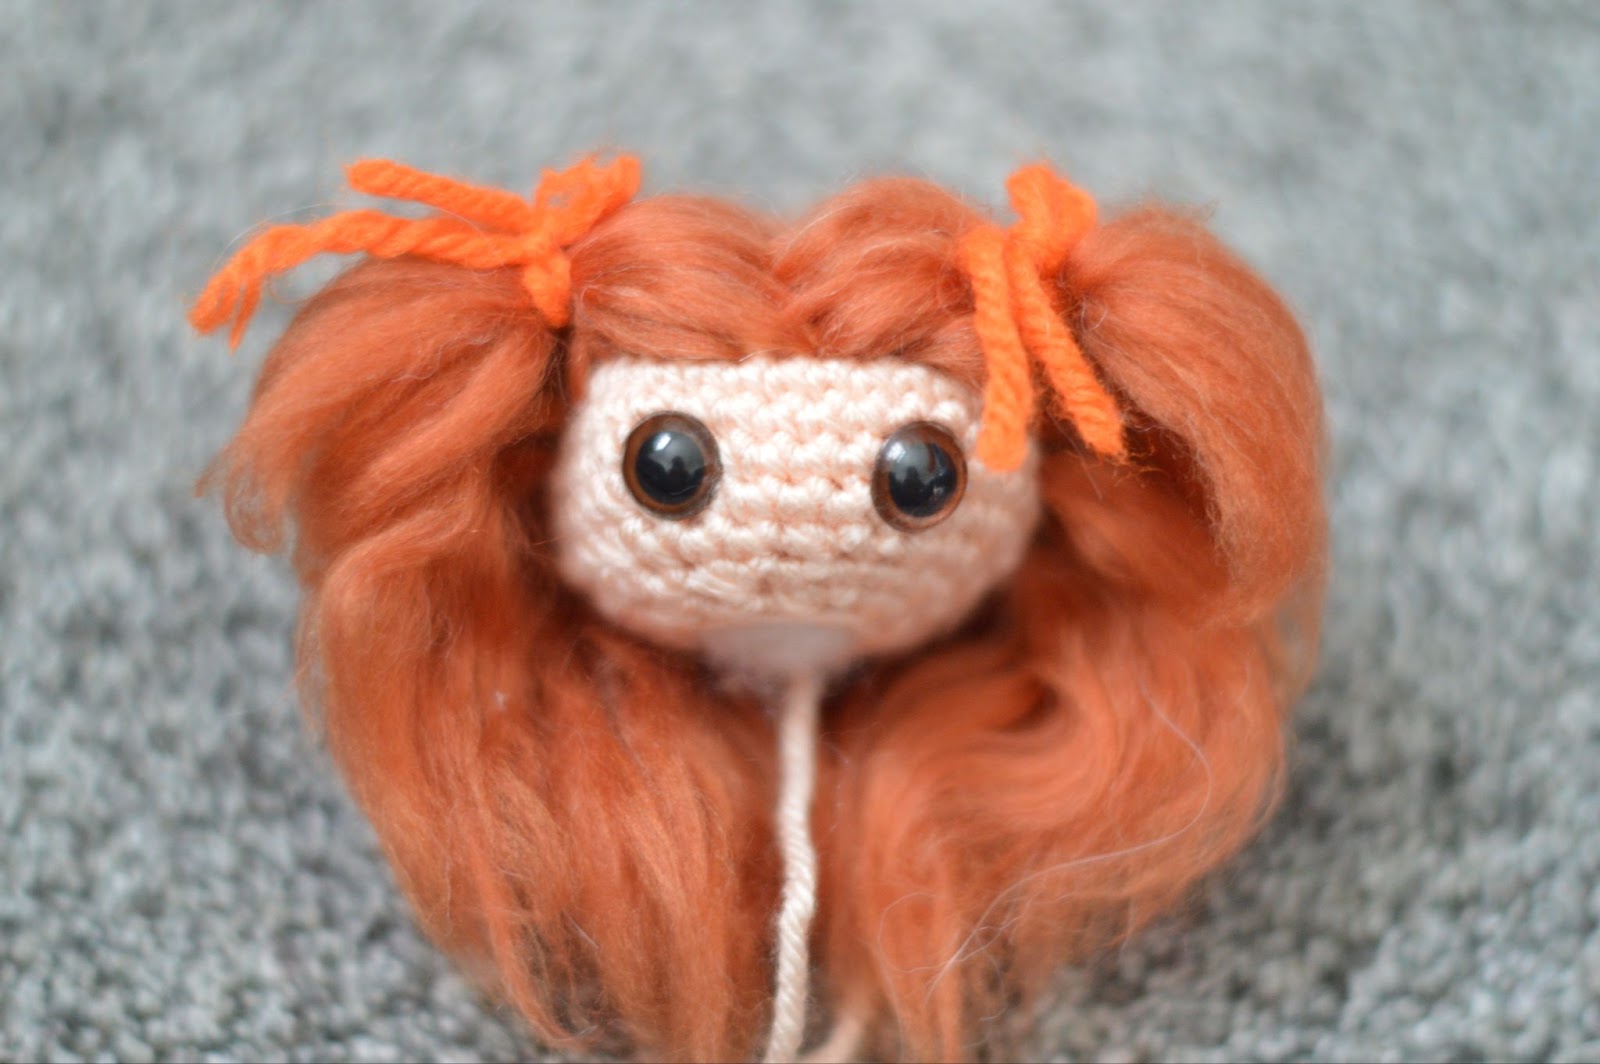
And you’re done! (Isn’t she cute?)
Follow me!
You have now made crochet doll hair. If you liked what you saw/read, then come find me on Instagram and (other socials) for more!
Hope to see you there!