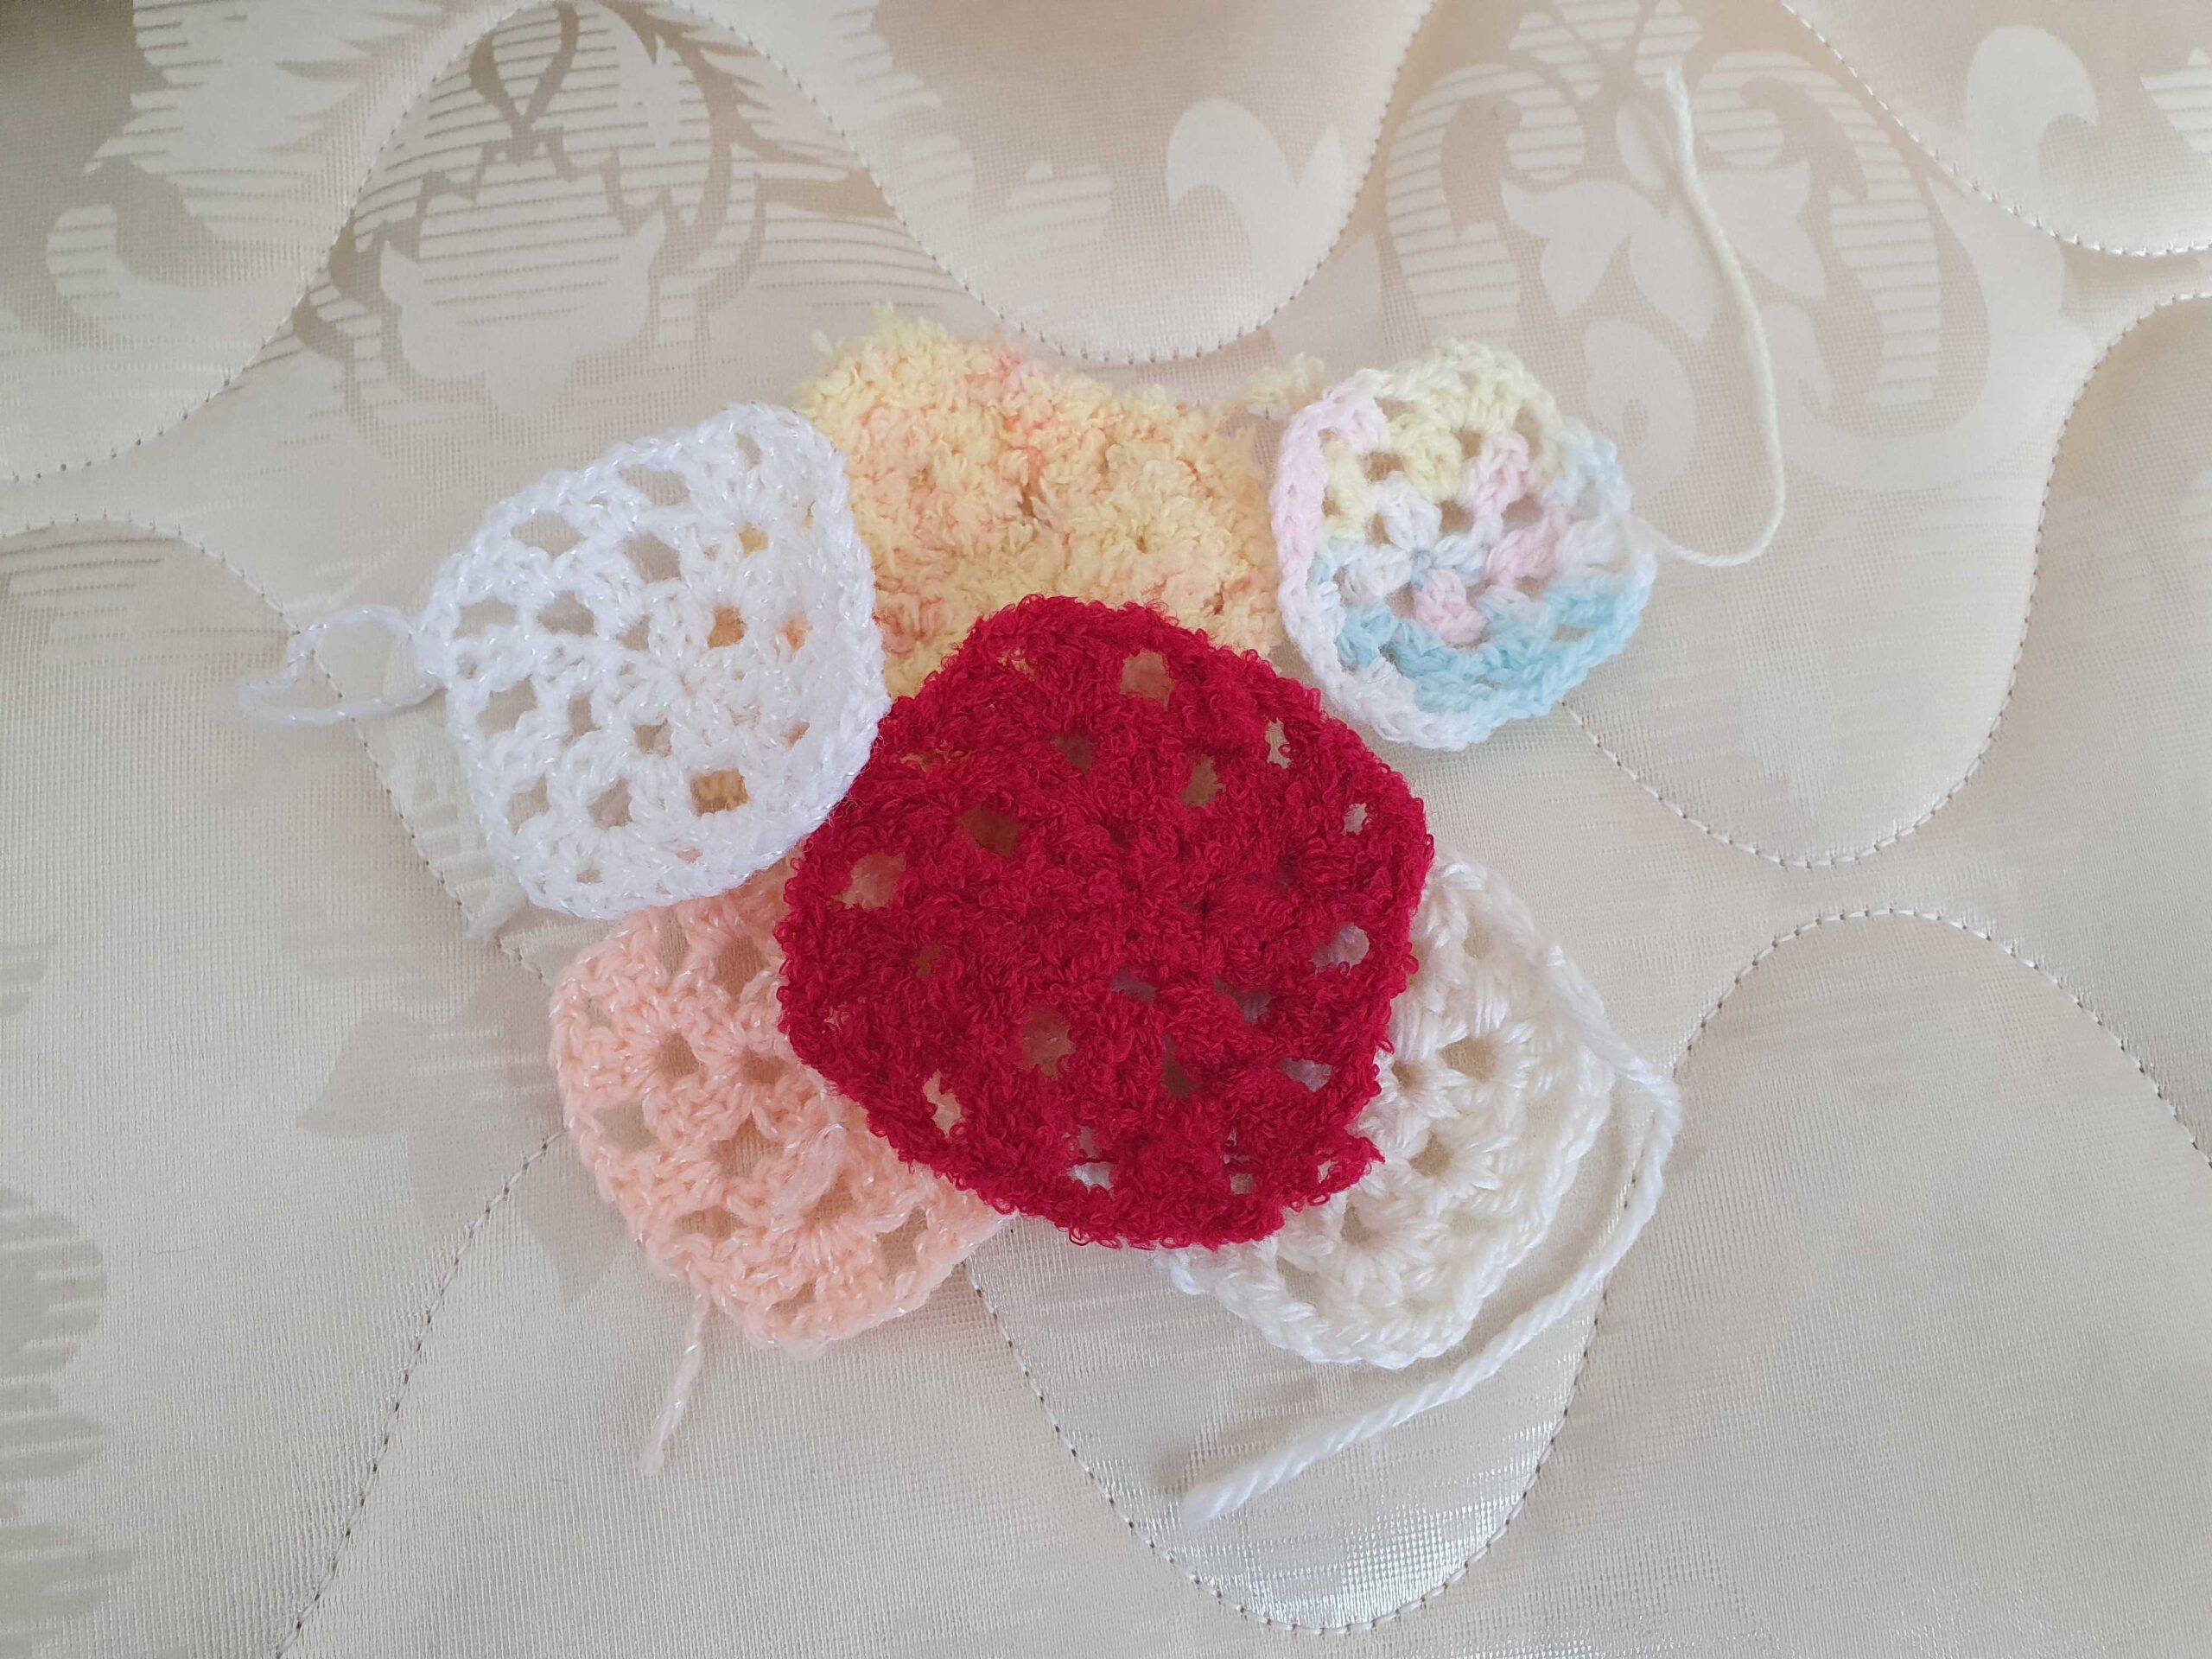
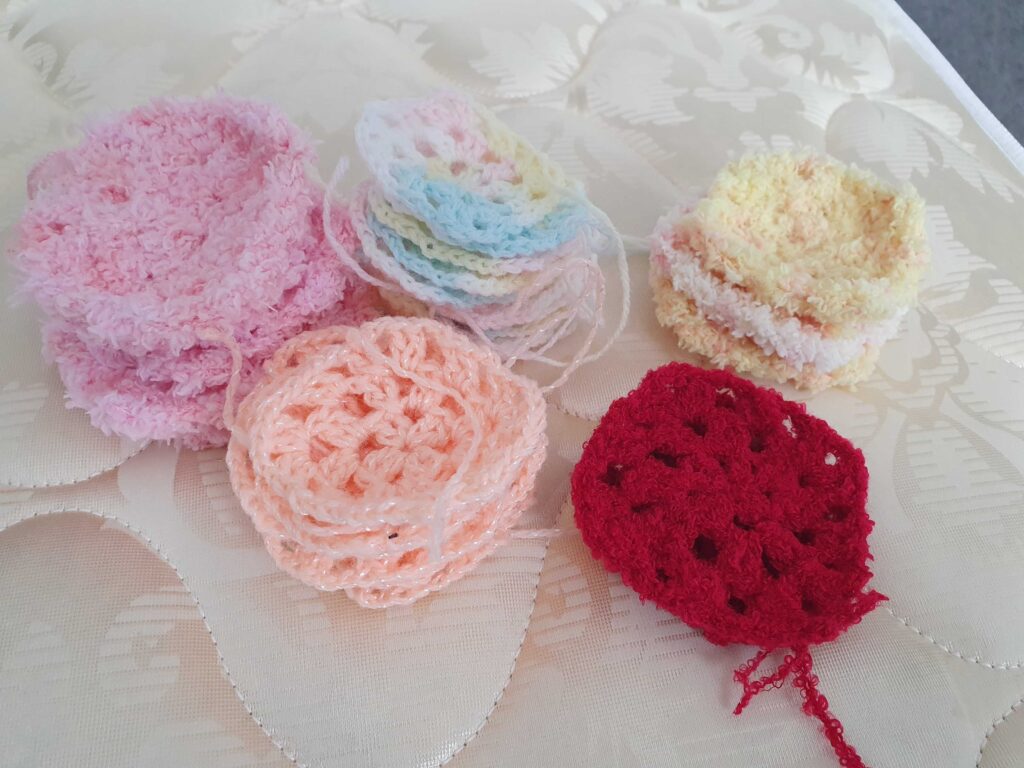
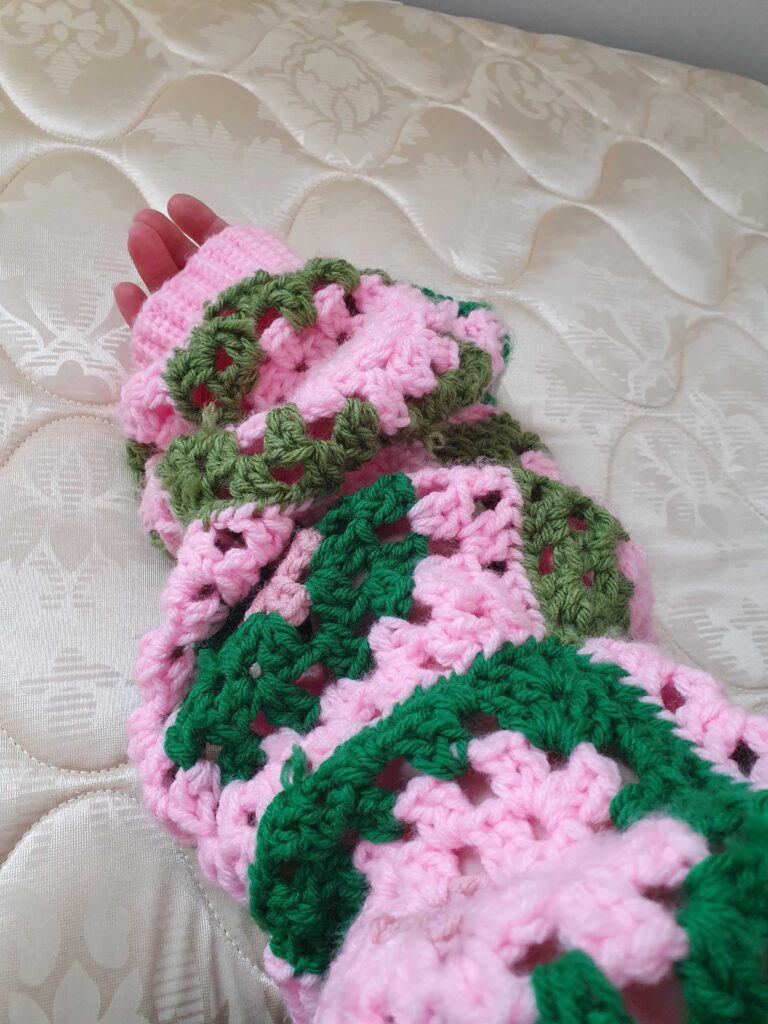
Granny squares are a fun and easy crochet project that can be used to make blankets, clothes, and even bags! If you’re new to crochet or looking to improve your skills, this guide will help you learn how to make a granny square step by step. A quick granny square tutorial, if you will. We’ll also talk about the history of granny squares and different ways to connect them for bigger projects.
Table of contents:
How to Make a Granny Square: Step-by-Step Guide
The History of Granny Squares
Granny squares have been around for a long time. People started making them in the 1800s to use up leftover yarn and create warm blankets. Instead of throwing away small bits of yarn, they would crochet squares and stitch them together. This was a smart way to save money and stay warm!
Granny squares became really popular in the 1970s. People loved using bright colors and fun patterns to make unique clothes and home decorations. Today, granny squares are still popular because they are easy to make and look great in so many different projects.
How to Make a Granny Square: Step-by-Step Guide

Before you start, make sure you know the basics. If you need help, check out our How to Chain Crochet and Double Crochet Tutorial guides!
What You’ll Need:
- Yarn (worsted weight is a good choice for beginners)
- A crochet hook (5mm is a good size for most projects)
- Scissors
- A yarn needle (for weaving in ends)
Choosing the Right Hook and Yarn
The size of your granny square depends on the yarn and hook you use. Here’s a simple guide:
- Small squares (2-4 inches): Use thin yarn and a small hook (2mm-3.5mm).
- Medium squares (4-8 inches): Use medium-weight yarn and a 4mm-5.5mm hook.
- Large squares (8+ inches): Use thick yarn and a bigger hook (6mm-10mm).
The more rounds you add, the bigger your square will be!
1: Make the Center Circle
- Make a slip knot and put it on your hook.
- Chain 4 stitches.
- Insert your hook into the first chain and slip stitch to form a circle.
2: First Round
- Chain 3 (this counts as your first double crochet).
- Make 2 double crochets into the center of the circle.
- Chain 2 (this creates a corner).
- Repeat: 3 double crochets, chain 2, three more times.
- Slip stitch into the top of the first chain 3 to close the round.
3: Making the Square Bigger
- Slip stitch into the next stitches until you reach a corner space.
- Chain 3 (counts as the first double crochet), then make 2 more double crochets in the same space.
- Chain 2 and make 3 more double crochets in the same space.
- Move to the next side space and make 3 double crochets.
- Repeat steps 2-4 around the square.
- Slip stitch to the top of the first chain 3 to finish the round.
Each new round follows the same pattern: corners get “3 double crochets, chain 2, 3 double crochets,” and sides get “3 double crochets.” Keep going until your granny square is the size you want!
For more details on double crochet, check out our Double Crochet Tutorial!
How to Join Granny Squares

Once you’ve made a bunch of granny squares, you’ll want to join them together. Here are a few ways to do that:
Slip Stitch Join (Flat and Simple)
- Place two squares next to each other, right sides facing up.
- Insert your hook into the first stitch of both squares.
- Yarn over and pull through both stitches.
- Repeat across the edge, keeping your stitches even.
- Fasten off and weave in the ends.
Single Crochet Join (Decorative Edge)
- Hold two squares together, right sides facing.
- Insert your hook into both loops of the first stitches.
- Yarn over, pull through both stitches, then yarn over again and pull through the loops on your hook.
- Repeat across the edge for a raised, decorative join.
Join-As-You-Go (JAYGO)
- When making the last round of a new granny square, slip stitch into the corner of the square next to it instead of chaining 2.
- Continue crocheting while slip stitching into the edges of the squares already joined.
Whip Stitch Join (Invisible Seam)
- Use a yarn needle and matching yarn.
- Hold two squares together, right sides facing.
- Insert the needle under both loops of each stitch and pull the yarn through.
- Repeat across the seam and pull gently to keep the seam flat.
Flat Braid Join (Lacy Look)
- Add a chain stitch border around each square.
- Use slip stitches and chains to connect squares in an open, lacy pattern.
Each method gives a different look, so try them out to see which one you like best!
Customizing Granny Squares
Want to make your granny squares unique? Try these ideas:
Change Colors
Changing colors in your granny squares is a great way to add extra flair and make each square truly pop! Whether you want to create a rainbow effect or use contrasting shades for a bold look, adding color changes to your squares can completely transform your design.
- How to Change Colors Smoothly
To change colors, simply finish the last stitch of the old color, then when you’re ready for the new color, bring the new yarn through the loops on your hook. Make sure to leave a small tail of the new color so you can weave it in later. This will give you a clean, smooth color transition without any awkward gaps or knots. - Where to Change Colors
You can change colors at the end of any round or even in the middle of a round for more intricate patterns. For example, you could make the corners of your granny square a different color to create a fun contrast. Or, alternate colors every few rounds for a vibrant, striped effect. - Tips for a Beautiful Color Change
- Use colors that complement each other to keep the design cohesive.
- Don’t be afraid to experiment with unexpected color combos – it’s your project, so have fun with it!
- Keep your tension even while changing colors to ensure your stitches don’t get too tight or too loose.
With color changes, your granny squares will never be boring. You can use any colors you like, so don’t hesitate to get creative and explore endless possibilities!

Use Different Stitches
If you’re looking to add some unexpected flair to your granny squares, try out some unusual crochet stitches! These “weird” stitches can take your project from ordinary to extraordinary. Here are a few fun options to spice up your granny square designs:
- Puff Stitch Granny Square Puff stitches create a bold, textured look that pops out from the rest of your work. They are made by pulling up loops, then joining them together with a single stitch. Using puff stitches in your granny squares will give them a 3D effect and a fun, bumpy texture.
- Bobble Stitch Granny Square Bobble stitches create little “bubbles” of yarn in the fabric, adding another layer of texture and interest to your squares. These can be used as a fun contrast to the traditional smoothness of regular double crochet stitches.
- How to Do It: Yarn over and insert your hook into the stitch. Yarn over again, pull through, and repeat the process until you have five loops on your hook. Yarn over and pull through all five loops to complete the bobble.
- Front Post Double Crochet (FPDC) Granny Square The front post double crochet (FPDC) stitch is perfect for creating textured, raised patterns within your granny squares. It allows you to crochet around the posts of previous stitches, creating a visual depth that makes your squares stand out.
- How to Do It: Yarn over, insert your hook from the front of the stitch around the post, yarn over again, pull through, and complete a double crochet. FPDC stitches are ideal for making frames or textured designs in the middle of your squares.
- Catherine Wheel Granny Square The Catherine Wheel stitch creates a lovely, circular pattern within your square that looks like interlocking petals. It’s a bit more intricate than your basic stitches, but the end result is a beautifully textured design.
- How to Do It: The stitch involves creating clusters of double crochet stitches and chaining between them to form wheel-like shapes. It’s a great way to bring a bit of retro charm to your granny squares.
- V-Stitch Granny Square The V-stitch is a combination of double crochet and chain stitches that form a “V” shape within the square. This stitch is perfect for creating airy, lacy designs that are both delicate and visually interesting.
- How to Do It: In a single space, work a double crochet, chain 1, and double crochet. This stitch adds an open, lacy texture to your granny square, perfect for light and breathable designs.
- Shell Stitch Granny Square Shell stitches create a fan-like effect within your square. They are made by working several double crochets into the same stitch space. Shell stitches are great for adding a whimsical or flowery feel to your granny squares.
- How to Do It: Work 5 double crochets into the same stitch space, and you’ll have a lovely shell design. Mix and match these shells with other stitches to add more visual interest!
Create Shapes
Want to go beyond the classic square shape? You can turn your granny squares into all kinds of fun shapes! Adding creative shapes to your design is an awesome way to make your project stand out.
- Hexagons
If you love the look of a granny square but want something a little different, why not try a hexagon? A hexagonal granny square is similar to the classic square, but with six sides instead of four. This shape works great for projects like blankets and pillows, and it creates a lovely, honeycomb-like effect when joined together. - Hearts, Stars, and Flowers
Shapes like hearts, stars, and flowers are another way to get creative with your granny squares. These shapes are made by using different stitch combinations and clever increases or decreases in your pattern. For example, a flower granny square could start with a circle in the middle and bloom out into petals, while a heart shape can be created by working in the round with double crochet stitches. - Circles and Diamonds
Don’t limit yourself to just squares! Try making circular or diamond-shaped granny squares for a fun twist. Circles can be joined in a way that looks like a flower or a mandala, while diamond shapes can give your blanket or pillow an elegant, geometric look.
By experimenting with different shapes, you can create beautiful and one-of-a-kind designs for any project. Whether it’s a blanket, scarf, or bag, adding shapes to your granny squares opens up a world of creative possibilities!
Play with Borders
Once you’ve finished making your granny squares, don’t forget to add a little extra magic with a decorative border! Borders can really elevate the look of your project and give it a polished finish. Plus, it’s a great way to add some personality to your design!
- Simple Shell Border
A shell border is a lovely, easy option that works well for most granny square projects. It’s made by crocheting a series of double crochets into each stitch along the edge, creating a shell-like effect. You can add chains in between the shells to make it even more lacy and delicate. - Picot Border
If you want to add a bit of whimsy, a picot border is a great choice! A picot is made by chaining 3 stitches, then slip stitching into the first chain, which creates a little “bump” on the edge of your project. Picot borders give a dainty, decorative touch to any granny square design. - Ripple or Wave Border
For a more textured, wavy effect, try a ripple or wave border. This type of border alternates between increases and decreases, creating a flowing, wave-like pattern. Ripple borders are perfect for adding movement and flow to your blanket or scarf projects. - Adding Colorful Stripes
You can also use your border to add a fun striped pattern around your squares! Simply switch colors every few stitches or rounds to create a bold, striped border. This is an easy way to tie together different colors from your granny squares and create a cohesive look for your whole project.
Adding a decorative border is the perfect finishing touch to your granny squares. It allows you to tie the whole piece together and make it look like a complete work of art!
Customization allows you to make each project special and one-of-a-kind!
Final Thoughts
Granny squares are an easy and fun crochet project that anyone can do. With this easy granny square tutorial, you’ll be able to make beautiful designs in no time. Whether you’re making a blanket, a bag, or something totally unique, learning how to make a granny square is a skill you’ll use again and again.
If you enjoyed this granny square tutorial, check out our other tutorials: How to Chain Crochet, Double Crochet Tutorial, and Granny Square Projects. Have a lovely day!